
As of this week, I’ve lived in my home for 8 years. As I’ve done semi-annually since moving in, I will hereby provide an update on improvements made to my home in the past six months.
By the way, if you’re interested, here’s the blog post detailing what improvements happened during the six months prior to these most recent six months.
UPSTAIRS BATHROOM
- As you can see from the previous home improvement post, there’s a new sink in this bathroom. This required taking out a counter top that extended past the sink and over the Jacuzzi. The new counter was not as big, so I had to cut and install tiles where the old one extended.
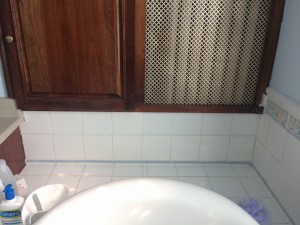
The previous vanity stretched along under this cabinet – just above the tub. The new one, seen in the very left of the image, stops at the cabinet. So I installed 10 tiles in this new opening.
UPPER STAIRWELL
- The small bit of sheetrock that wrapped around the stairwell is finally repaired and has dutifully been painted to match the rest of the living room. (See image, below.)
- I also painted the radiator cover the matching color. The wall behind this radiator will also (soon, I hope) be painted to match. But it needs a bit of repair work first.
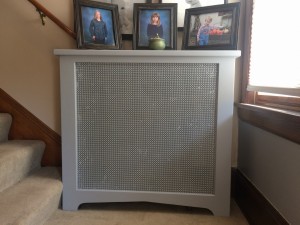
You can see how this radiator cover matches the wall at right (which is the color of the whole living room). It used to be the color of the wall at left (which is the color of the stairwell walls). One day, all of this will be the same color.
LIVING ROOM
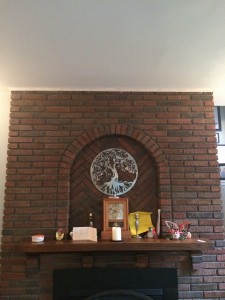
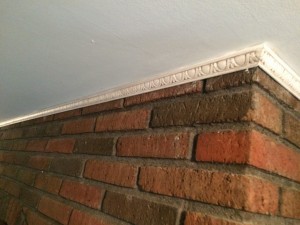
- Scrubbed the fireplace bricks. They were dirty and dusty. And though some of them had been cleaned years ago, the rest languished. I scrubbed them with a wire brush in preparation for…
- Installed trim around the fireplace. Where the chimney meets the ceiling, there had been a small gap, but now there’s some sleek, painted trim to go around all four sides.
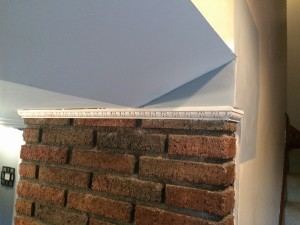
Beside showing the trim, this photo also shows the triangular piece of sheetrock that I painted to match the rest of the living room.
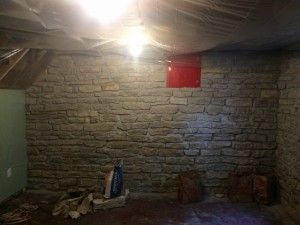
BASEMENT COMMONS AREA
- Moved the radiator. See below for an image, but there was a lone radiator in the basement until this March. It actually intersected a wall. An expert came over and moved that radiator so that it is now completely in the commons area.
- Installed sheetrock where the radiator used to be. Obviously, since the radiator used to intersect a wall, moving the radiator left a hole in the wall. I created a 2×4 frame for the spot and installed a piece of sheetrock over it. This was actually trickier than it sounds, since I had a narrow area to wok in between the radiator and the wall. I even had to borrow a very long drill bit from a neighbor in order to get the sheetrock screws in.
SPARE ROOM
- Installed a second light fixture. This is going to be Owen’s room (one day…), so I figured he’d like more light.
- Installed a second outlet on the south wall, and moved and replaced the existing outlet. Yeah, I figured Owen would also want more outlets.
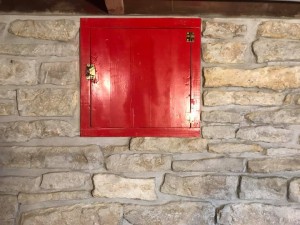
- Painted the access door. This unappealing door affords access to the area under the porch. I replaced the hardware, cleaned and sanded the door, and I asked Owen what color he wanted it. He picked this:
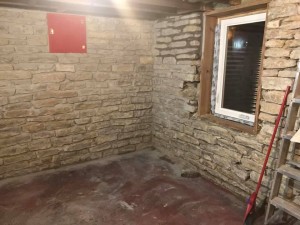
- Refinished small window. The smaller window in what will be Owen’s room needed some love. I refinished it and installed new hardware and a new coat of paint. Three of the glass panes were cracked, so I removed them and installed three new, shatter-resistant panes.

- Installed a new radiator. As I said above, an expert came over with his apprentice and they moved the existing radiator into the commons area. They then rerouted some of the piping and installed a radiator fully in this spare room. I then stripped the existing paint, and repainted it to Owen’s color specification.
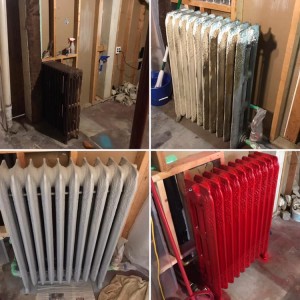
Clockwise from top left: Original radiator intersecting the wall, new radiator in spare room on the day it was installed, new radiator with primer, new radiator painted.
- Created an angled transom on the south wall where it meets the ceiling. There are a lot of wires running along this area, as well as the tubing for the bathroom’s exhaust fan. I initially considered building a squared-off box, but this is cooler looking (I think) and was way easier.

- Insulated the ceiling and the south wall. Okay, I know insulation isn’t necessary on interior walls and ceilings, but the idea here is to both contain the heat in the winter (so it stays warmer for Owen) and cut down on the sound of his siblings running on the floor above. I also hope that if anyone is in the adjacent bathroom, the sound will be cut down from there, too.
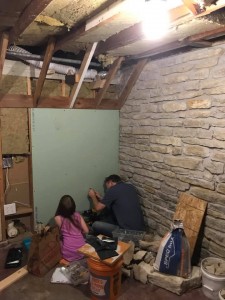
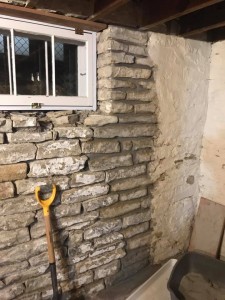
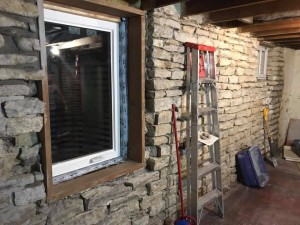
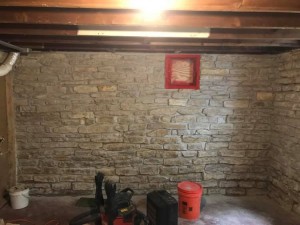
- Mortared the west wall, and a good portion of the north wall. This is the most labor-intensive item on this list, having required jackhammering large chunks of the old, wrong mortar (thanks, previous owner!) and hand-chiseling out the rest. It also meant chipping off the ugly paint splattered on most of the stones. Jennifer took the lead in mortaring the stones correctly. It’s slow going, but she’s gotten a lot of it done, and it looks great:
This is before the re-mortaring started. You can see we’ve chiseled away about half the old paint and some of the mortar in between the stones.
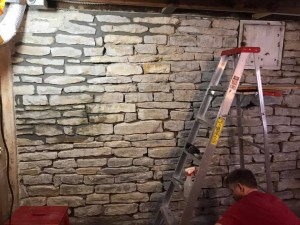
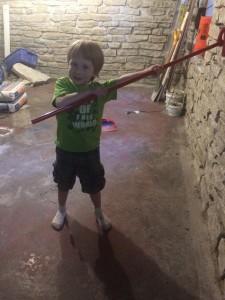
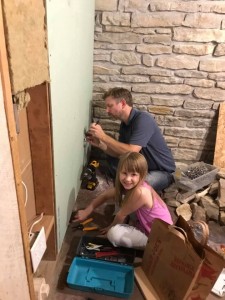
Emmett helping by brushing the loosened, old mortar out from between the stones.

Again, Emmett helping. Only this time, I used the flash.
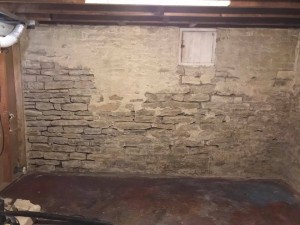
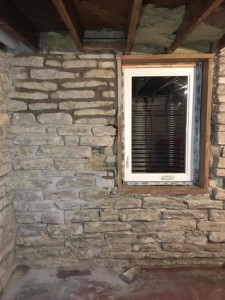
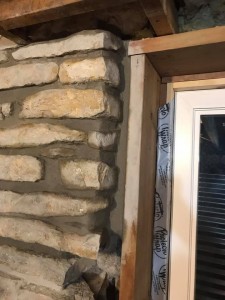
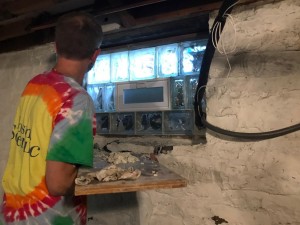
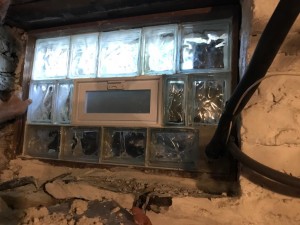
- Replaced east window with a glass block window. The ugly window that was here before – which looked out half above and half below the deck, is now a glass block window. There’s more privacy now, and the center glass block opens to let in fresh air.
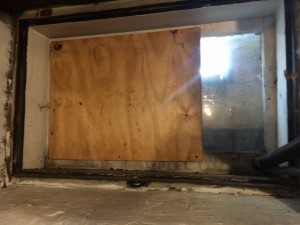
Here’s what the window looked like before. I busted out the two other glass panes and covered them with this piece of plywood back in March. Why? Because I locked myself out of the house, and had to break the window to get in. And, actually, I couldn’t fit through the hole, so I sent in my daughter. It was too dangerous for me, anyway.
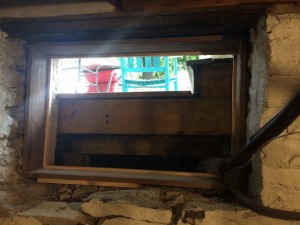
Here, you can see the old glass and the plywood are gone, and my friend and I have installed a new frame, ready for the glass blocks. You’ll notice the deck is directly outside this window, that was a big reason for wanting glass blocks here.
Me. Mortaring like a boss.
YARD / HOME EXTERIOR
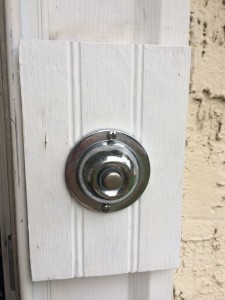
- Replaced doorbell escutcheon. The prior one, which I also installed, was just a quick job to satisfy the need of having something to affix the doorbell to. This time, I took my time with a nice piece of wainscoting, which I covered with weather-proof paint.
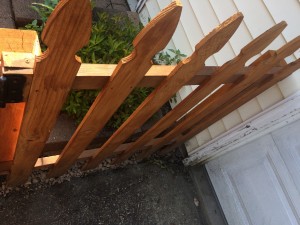
- Installed rocks below the fence panel that divides the workshop from the driveway. Nearly all the other fence panels are suspended over the retaining wall, but the one that abuts the garage is just above the ground – but it’s not paved (like the driveway), and it’s not a spot where grass can grow. So I asked Isla to pull out all the weeds, dig down a couple inches, lay down some plastic, and dump in a bunch of rocks. I think she did a great job!

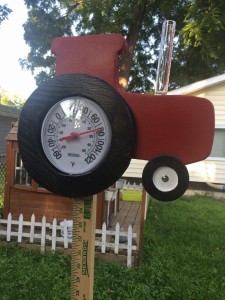
- Installed a rain gauge.
- Planted a pretty flower. Isla bought me this plant for my birthday. I think it really beautifies the area:

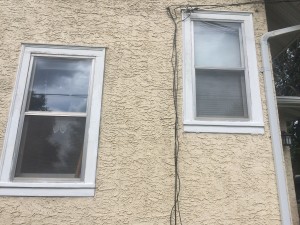
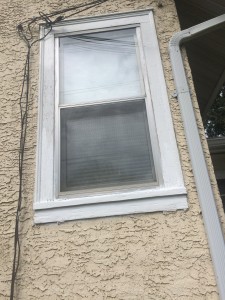
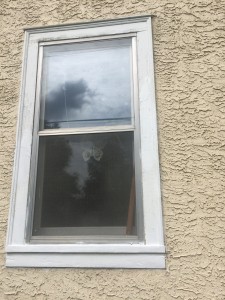
- Painted the bottoms of two windows. They were peeling. So I sanded off the old paint and gave them a fresh coat:
GARAGE
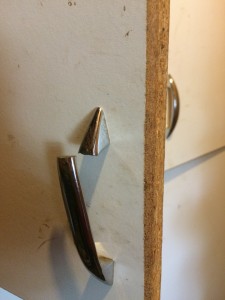
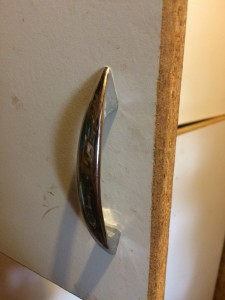
- Replaced a broken handle on a cabinet door. Here’s the before and after:
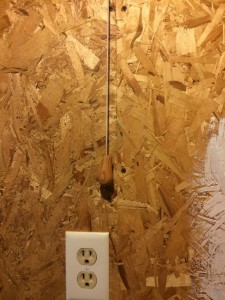
- Added a weight to the pullchain light. There’s one light in the garage that’s on a pull chain, and I often pulled on the chain, only to have it snap up and twist around itself. By adding a decorative weight to it, I’ve solved that problem.
Great job, James.
Thank you, Debbie.