Before this blog moves on from the amazing experience that was Washington, D.C., I want to share one more photograph – one that didn’t really fit in with the mood of the others.
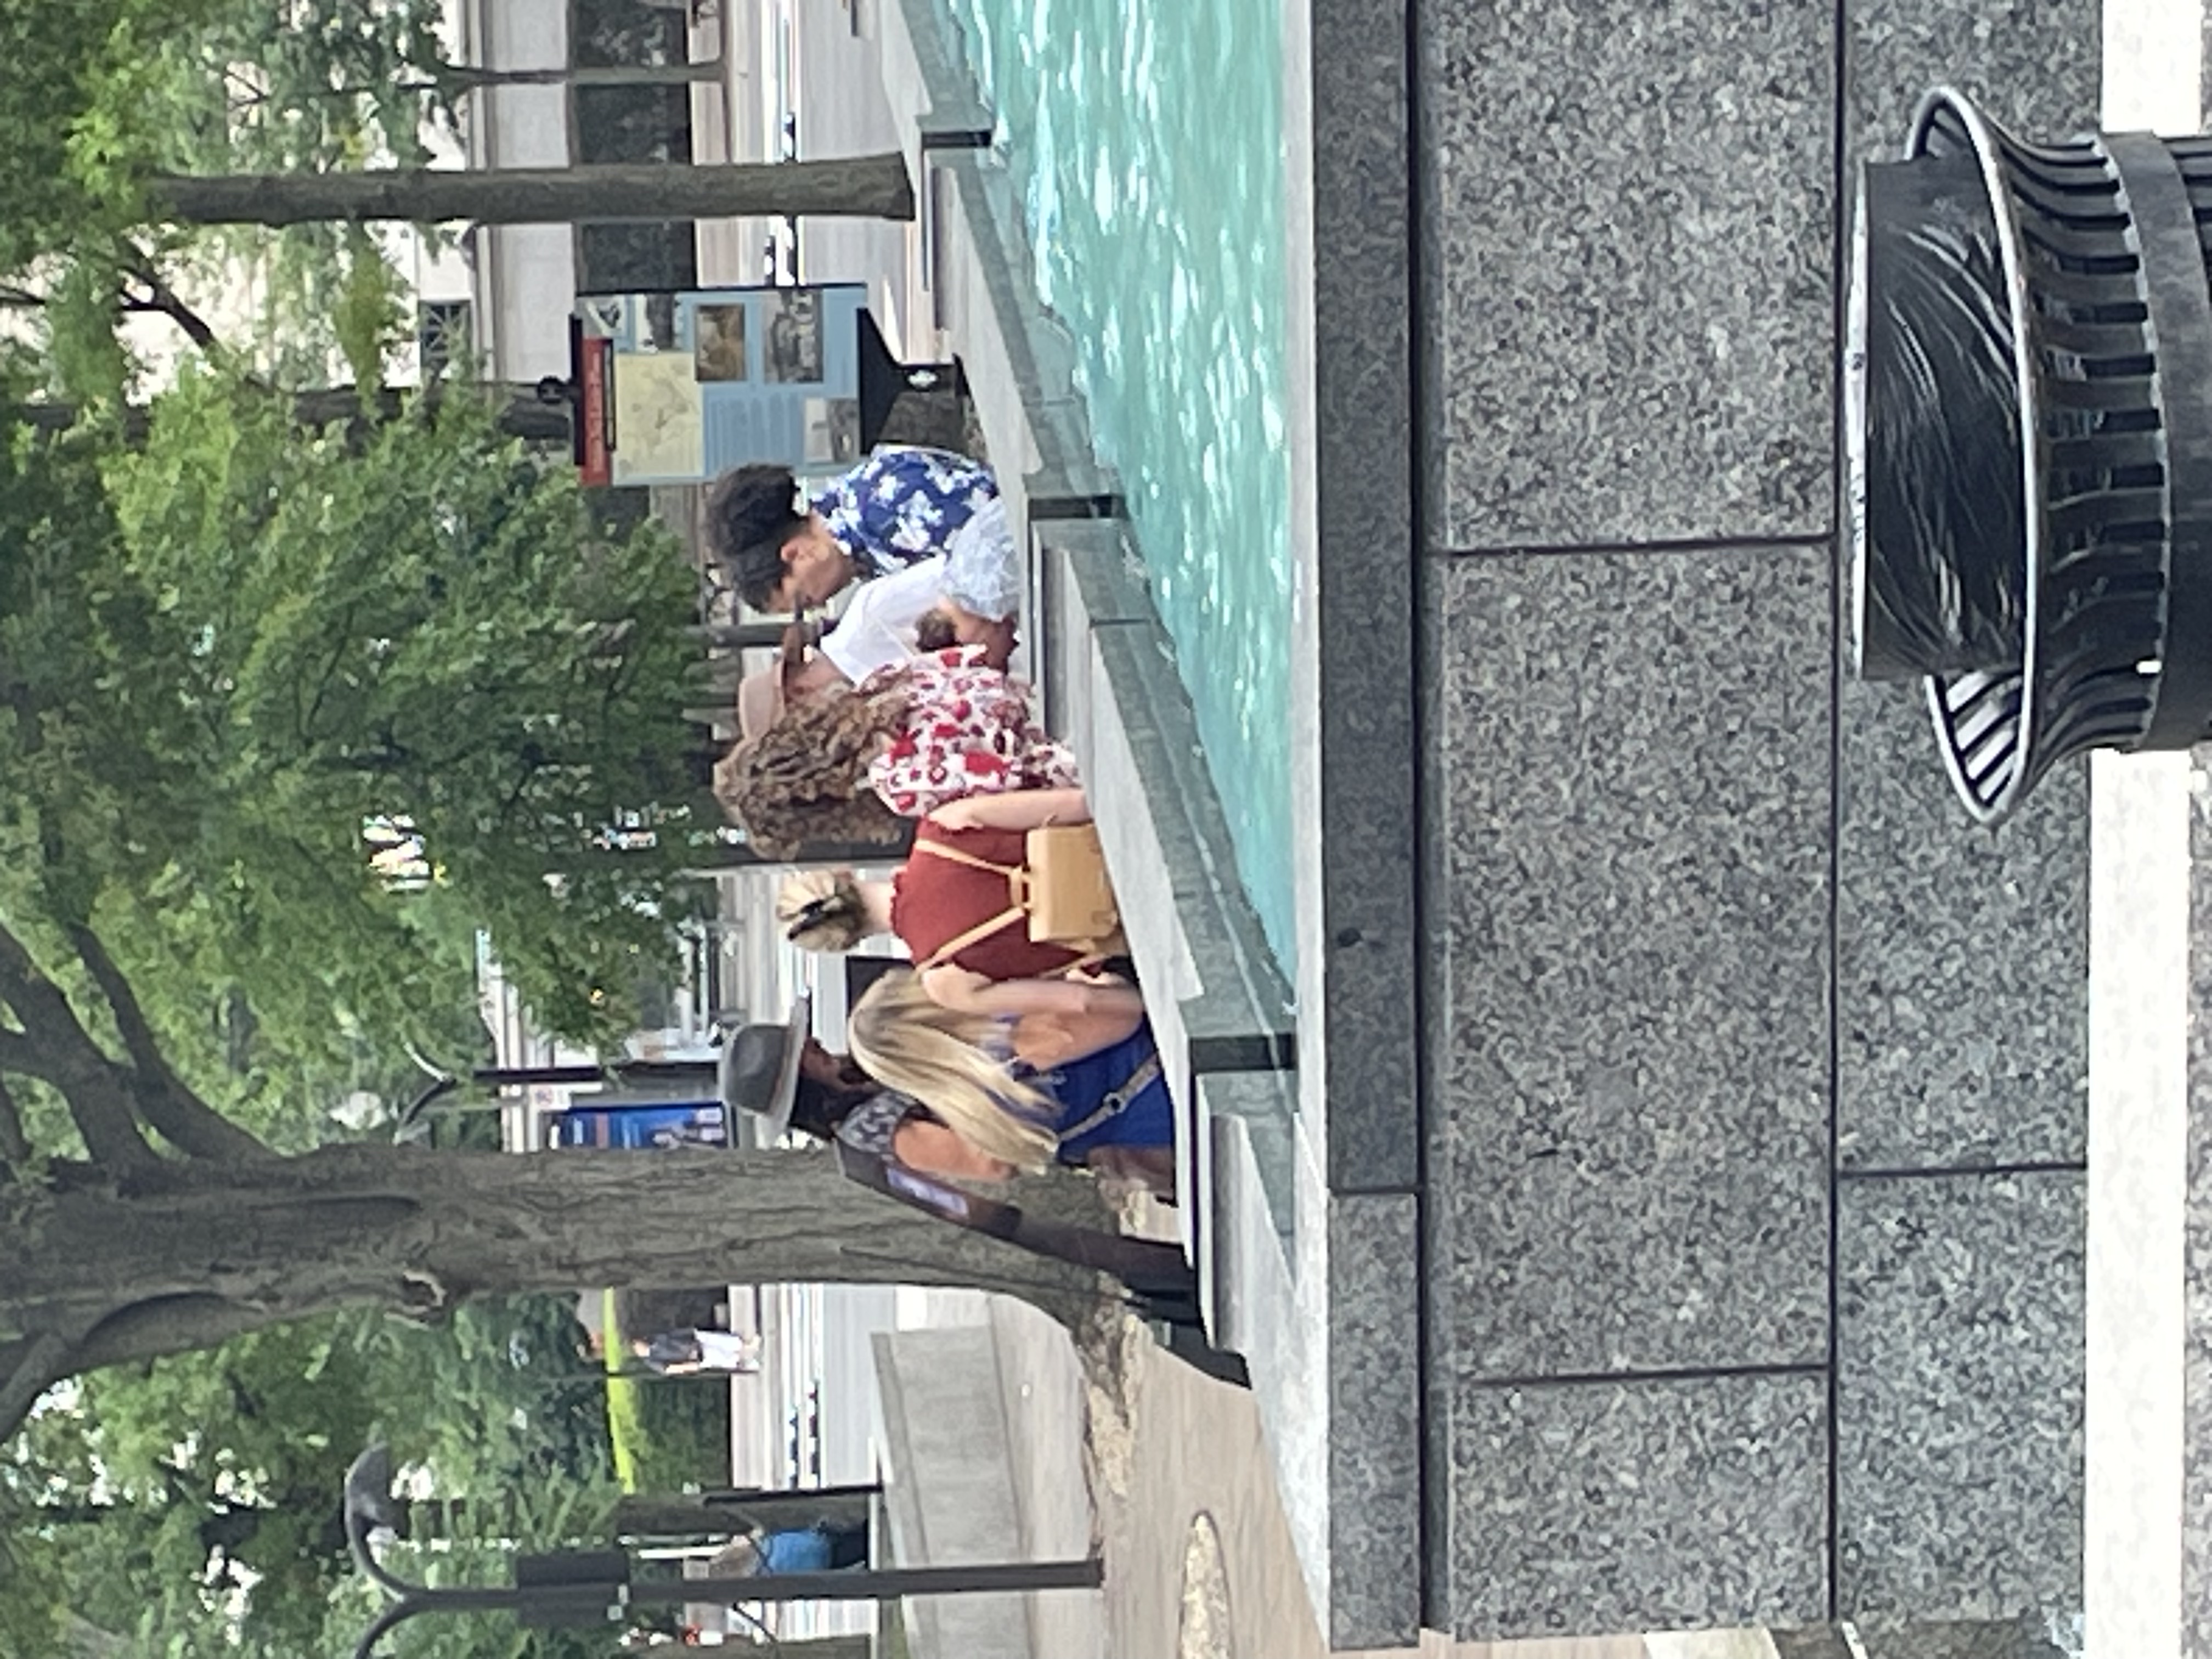
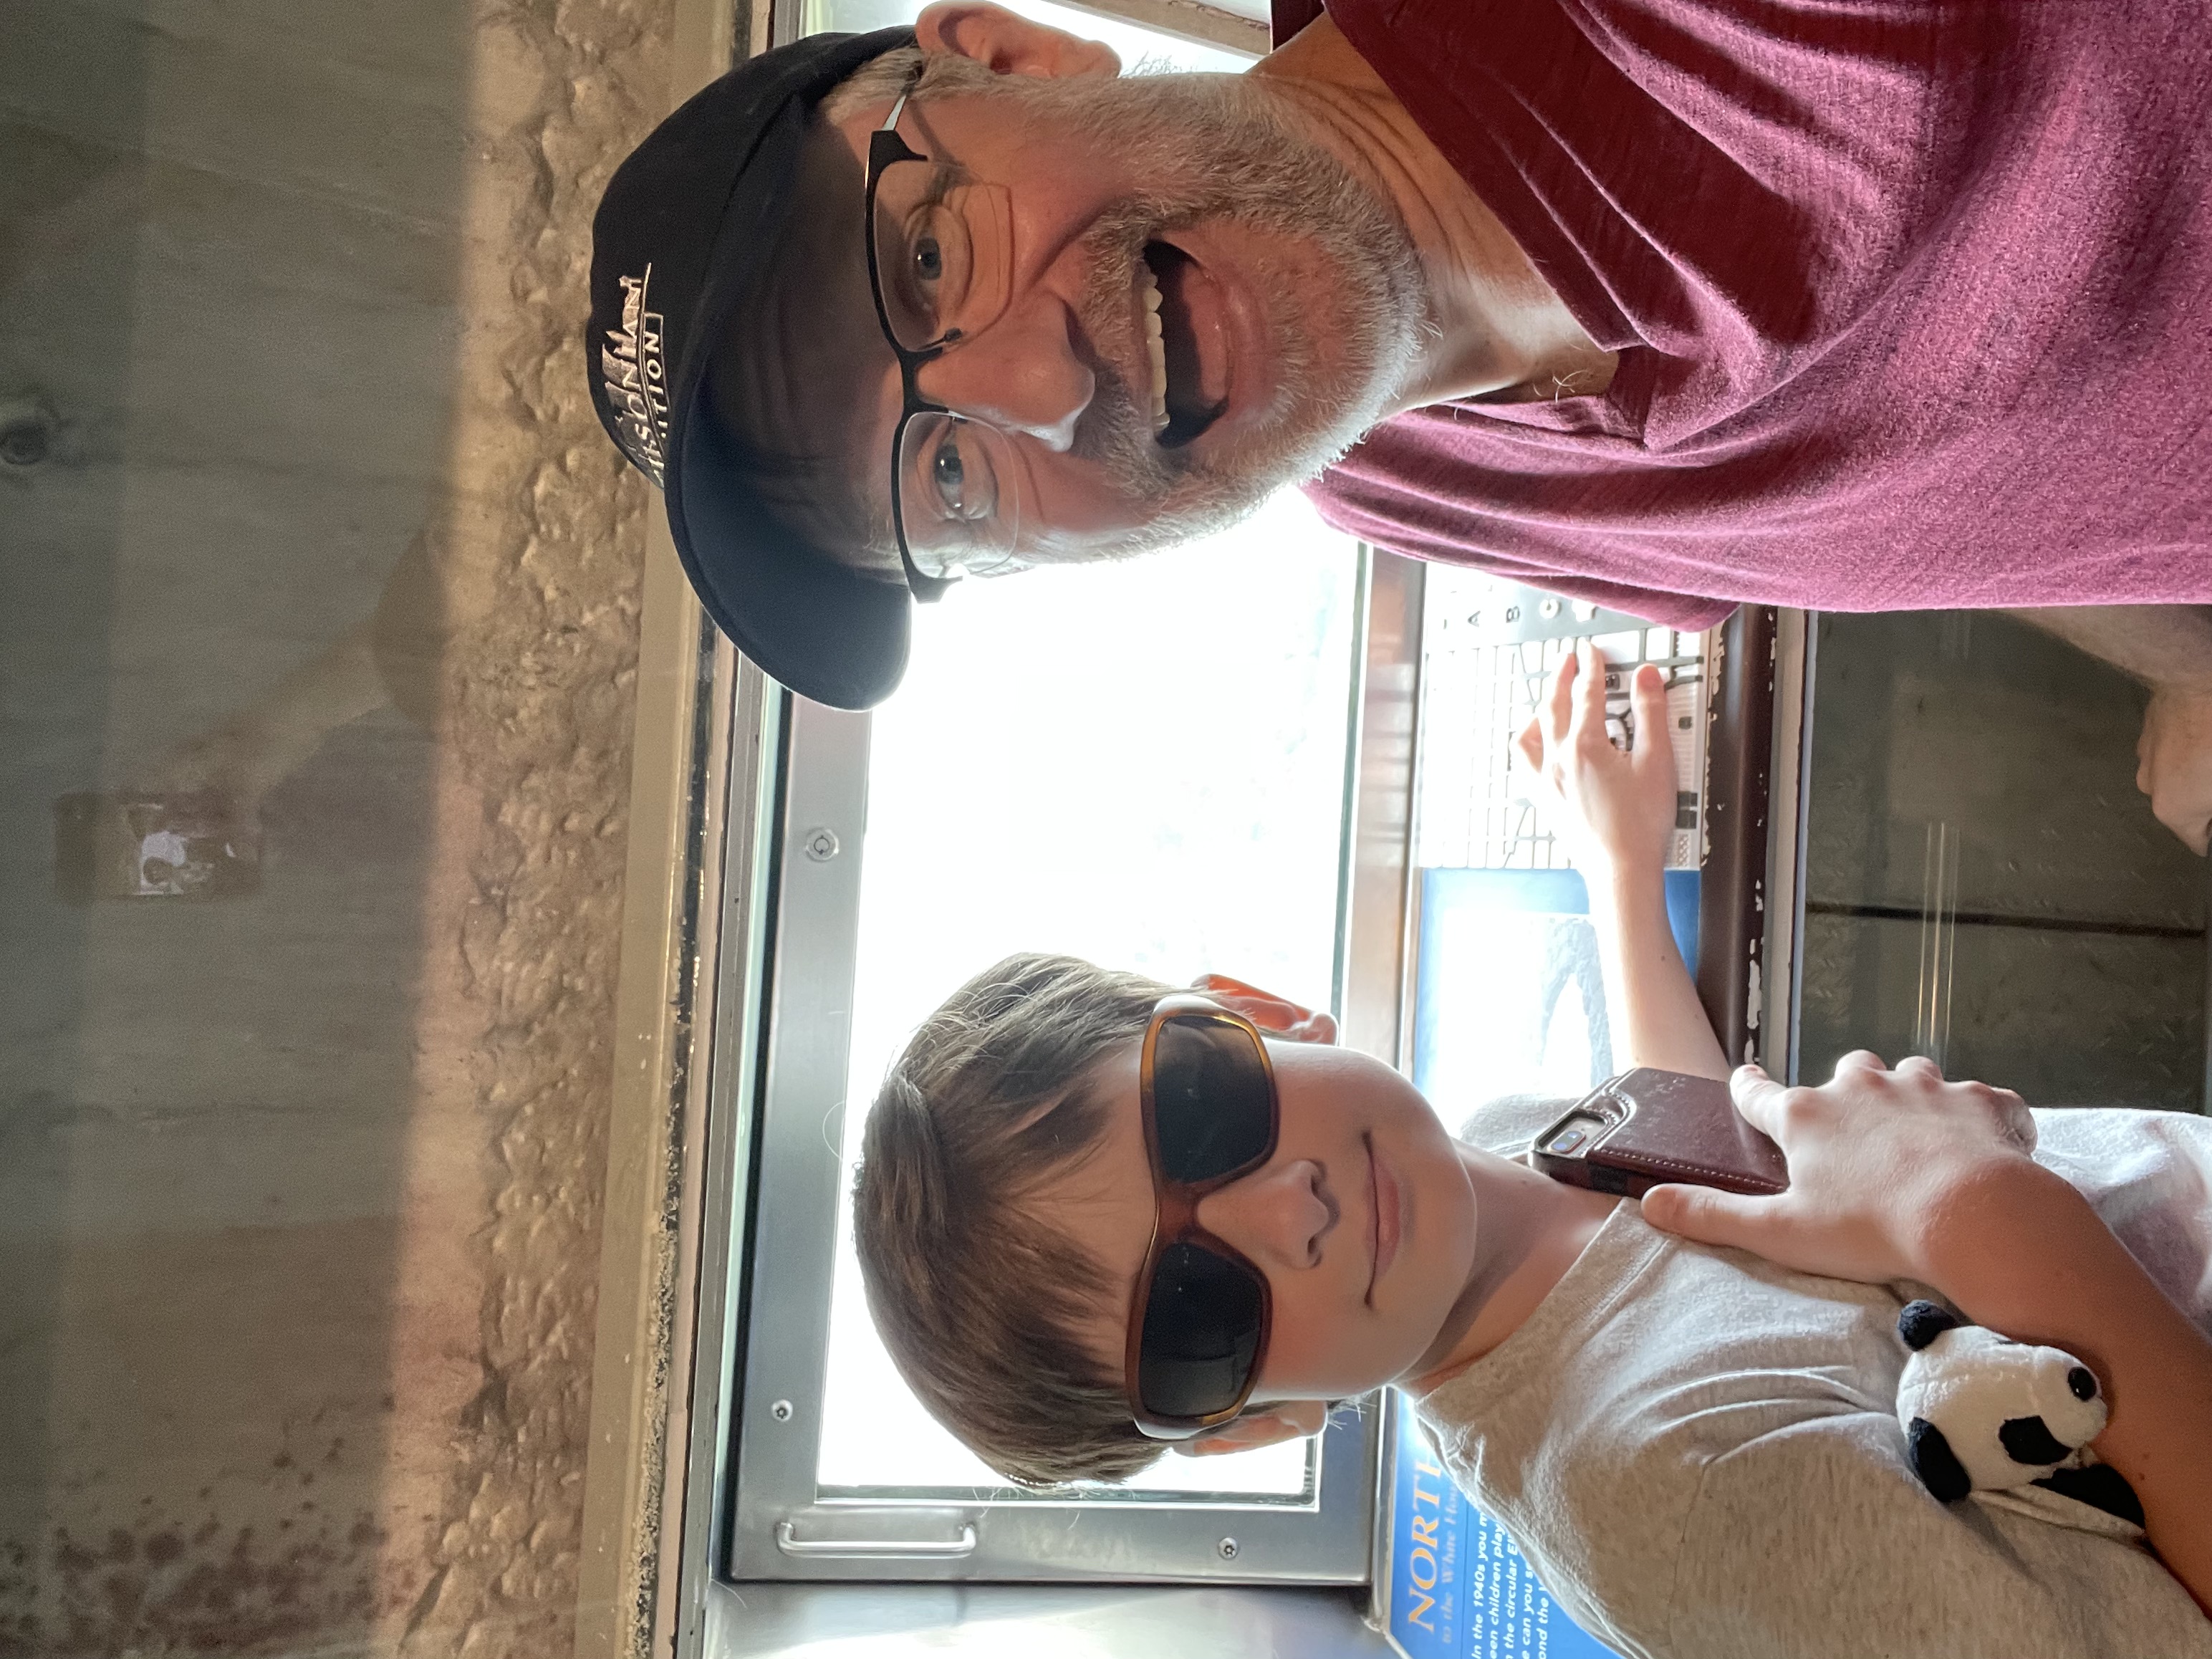
Prior to our visit to the National Archives, Joey, Emmett, and I walked up the stairs to exit the train station, and we saw this:
It’s not a very good picture, so sorry about that. But what you see here are seven Jehovah’s Witnesses standing around two carts. The carts were filled with recent issues of their magazine and not a single issue sitting there was in English (I know because I asked). In the 25 minutes that Joey, Emmett, and I sat in that park waiting for the National Archives to open, none of them spoke with anyone else beside me, and a guy who walked up to them asking directions. And they weren’t sure which way to point him…and, oh boy, does that ever track.
I approached them to see if they had any magazines I might like to take – you know, just to thumb through as a way to remember the good life choices I have made. I didn’t see anything in English, so I asked one of them, and she stopped talking with her friends long enough to walk in front of the carts and help me look. She seemed as surprised as I was that there was not a single piece of literature in English. A few minutes later, while I was sitting on a bench with the boys, she walked over to me with a Spanish magazine and pointed out that there is a QR code on the back, and that I can scan that to find English versions of their propaganda.
This was definitely the most pathetic “witnessing” I have ever seen. Back when I was a faithful cult member, we had to wear uncomfortable suits and knock on people’s doors, harassing them to take our “literature”. And on the occasions when we stood on the streets, we didn’t just hide behind carts. We approached people! And the things were handed out were in English! And it certainly didn’t take seven of us to hold up a single magazine.
Pathetic.
I take a certain schadenfreude in observing what a farce the cult has become in the years since I’ve exited. The old guys in charge are clearly scrambling to make it a more palatable lifestyle for the members who are sticking with it. They don’t need to wear ties anymore, they can have beards, and – evidently – they can just stand around in a big group socializing with each other while cheap metal carts sit idly by holding non-English magazines that are only half the pages they used to be, and are largely just pictures now. The dumbing down is in full force!
In early August, Brycie had yet another work trip. This one was taking her the Gaylord Hotel, in Oxon Hill, Maryland. I had attended a work conference for my job at this very same hotel 2 years ago, and the best thing about the hotel is it’s close proximity to our nation’s capital. So of course I tagged along with Brycie. We brought two of our kids (Joey and Emmett) with us. While Brycie did corporate stuff, I took the boys around to see the District of Columbia. It was Emmett’s first time there, Joey’s second time, and my third time. I don’t know how many times a person needs to visit D.C. to see everything there, but it’s more than three.
Here are some highlights:
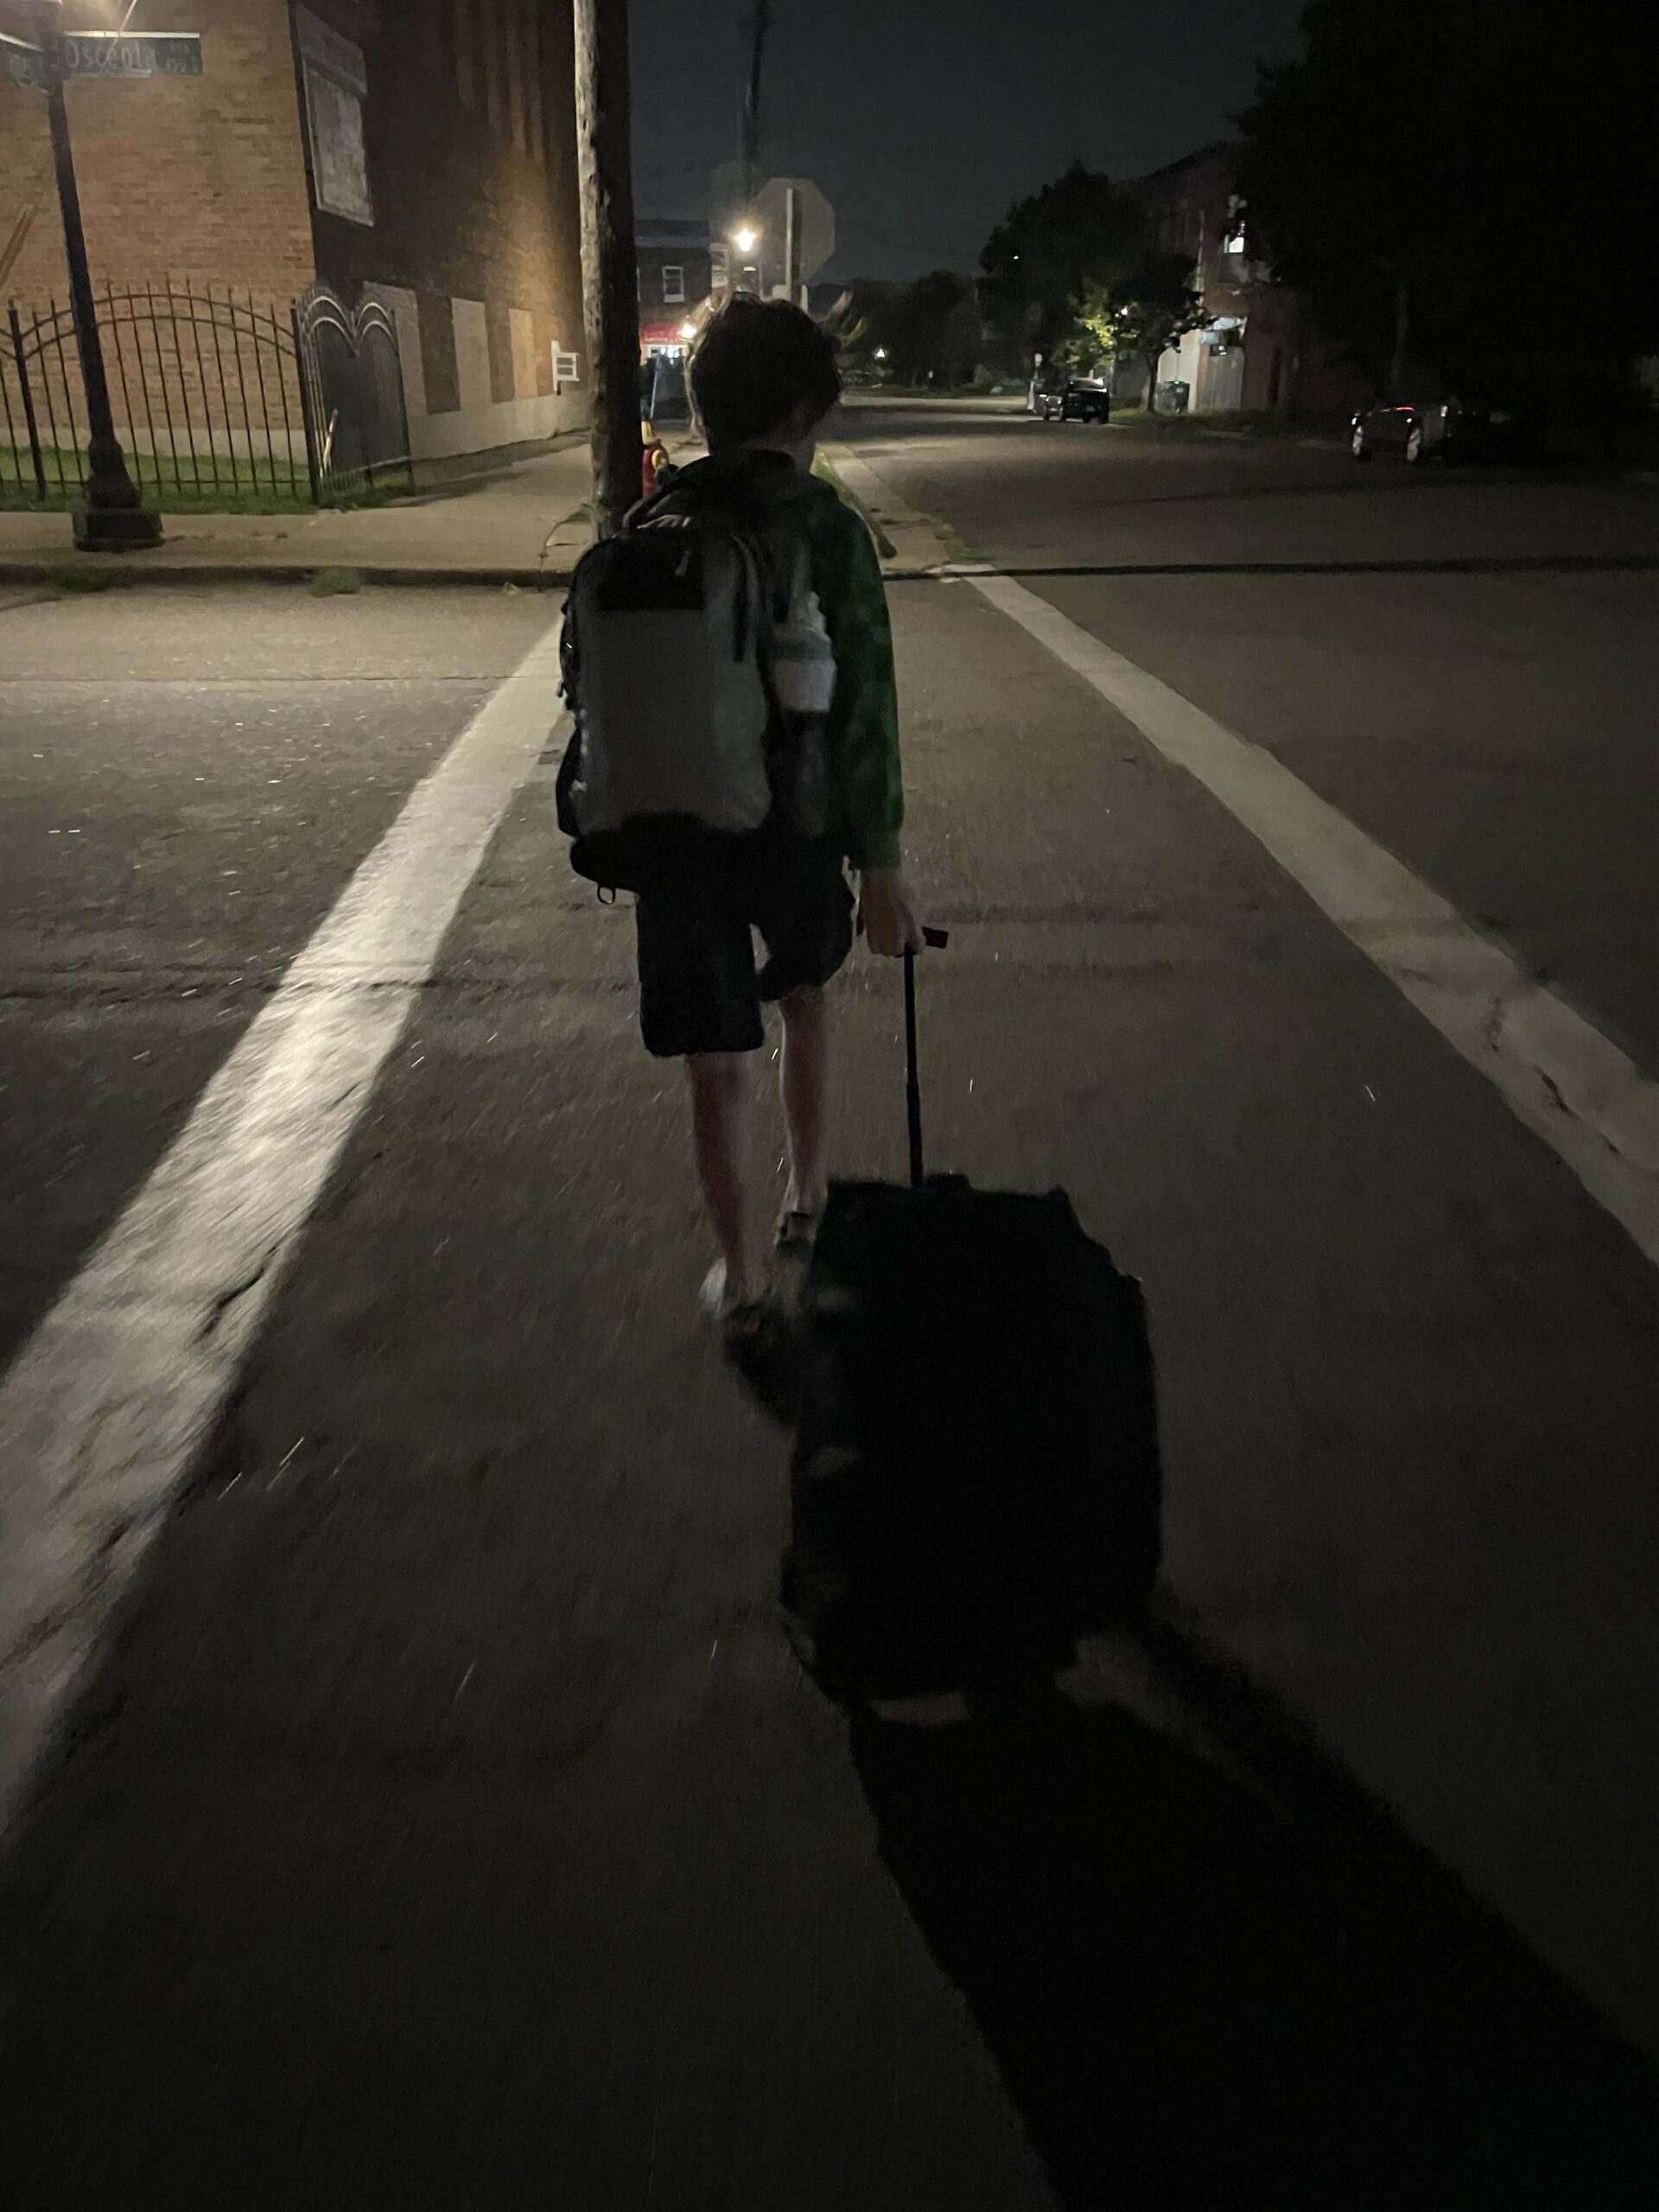
Here’s the very first picture I took of our trip. We were only about 50 feet away from home. It was 4:07 in the morning, and we were on our way to catch a bus to the airport.
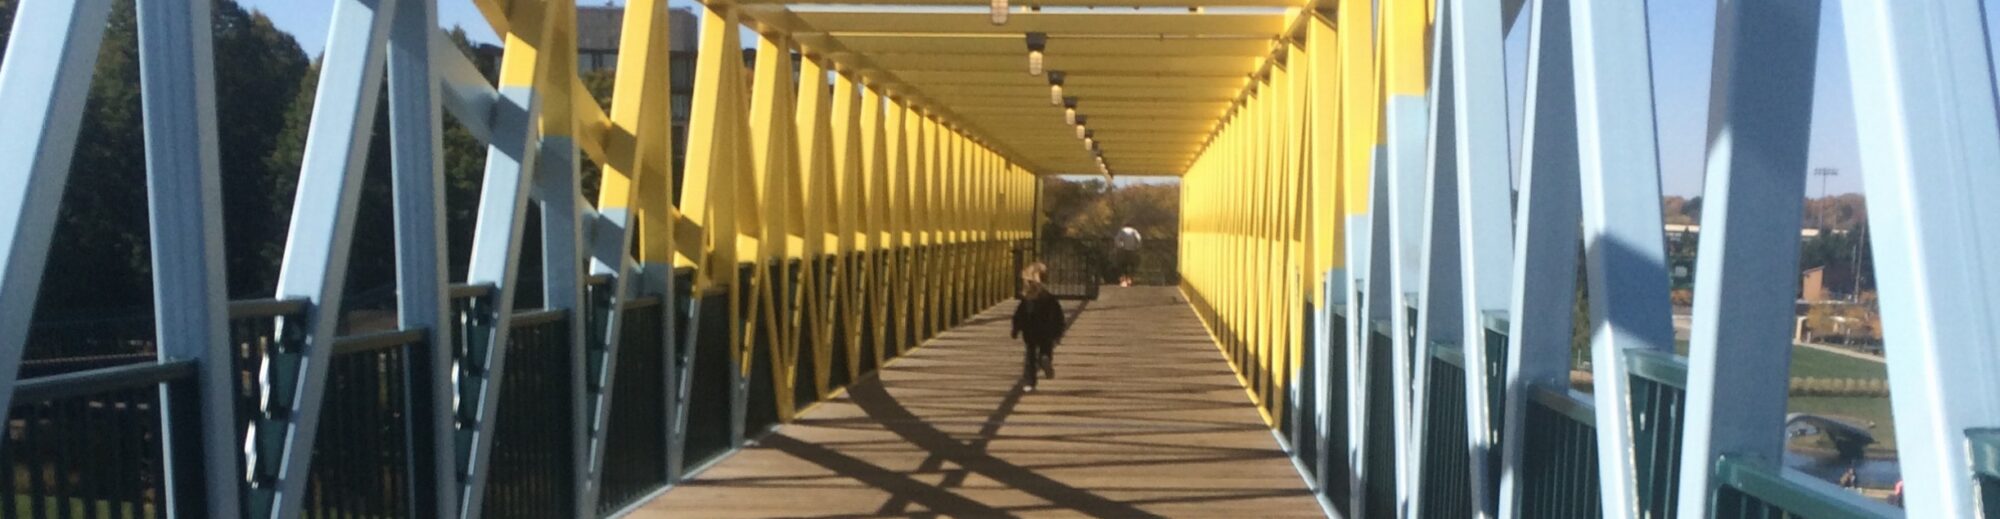
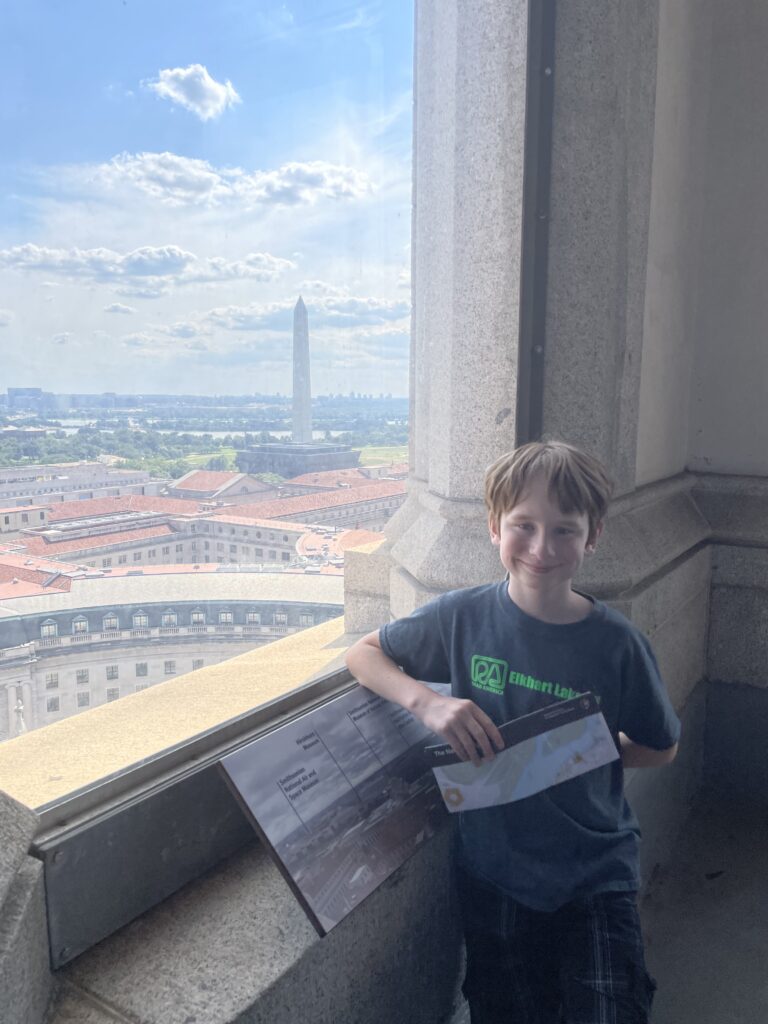
Our first stop, mere hours after landing in the DC area, was a visit to the old post office. Here’s a view from the top. It is the second tallest building in DC. Can you guess what is the tallest? Hint: you can see it in the above image.
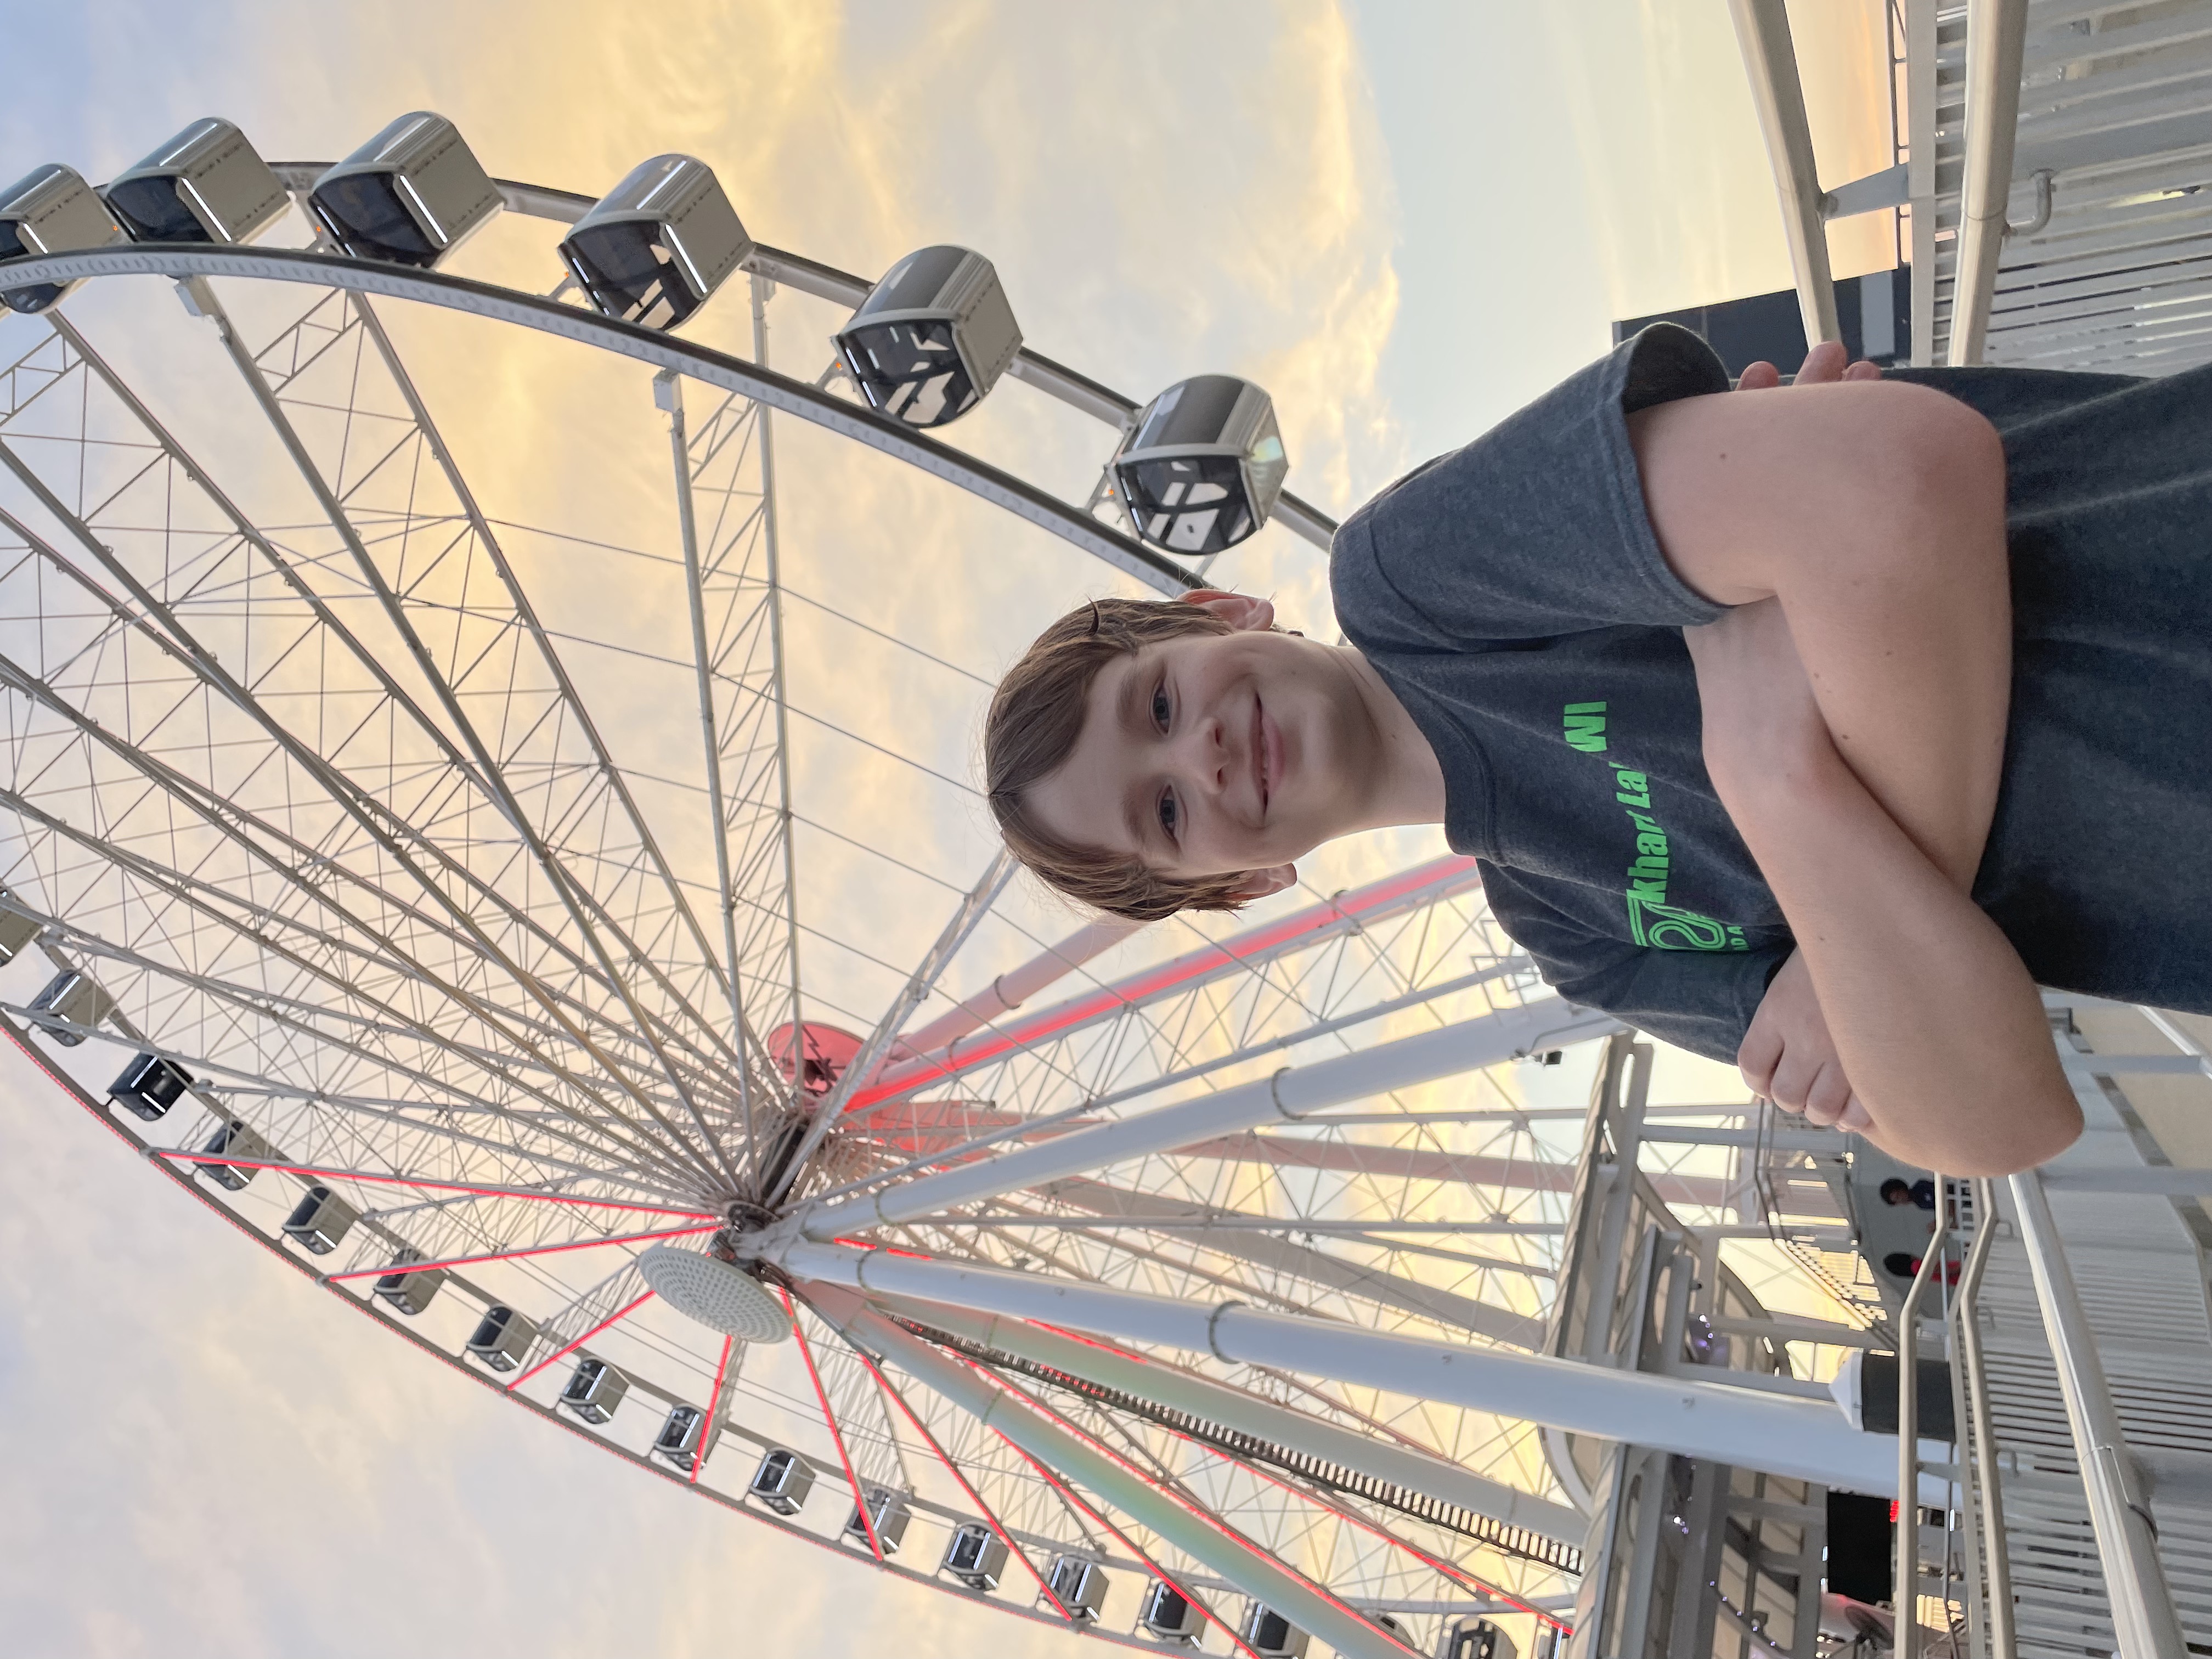
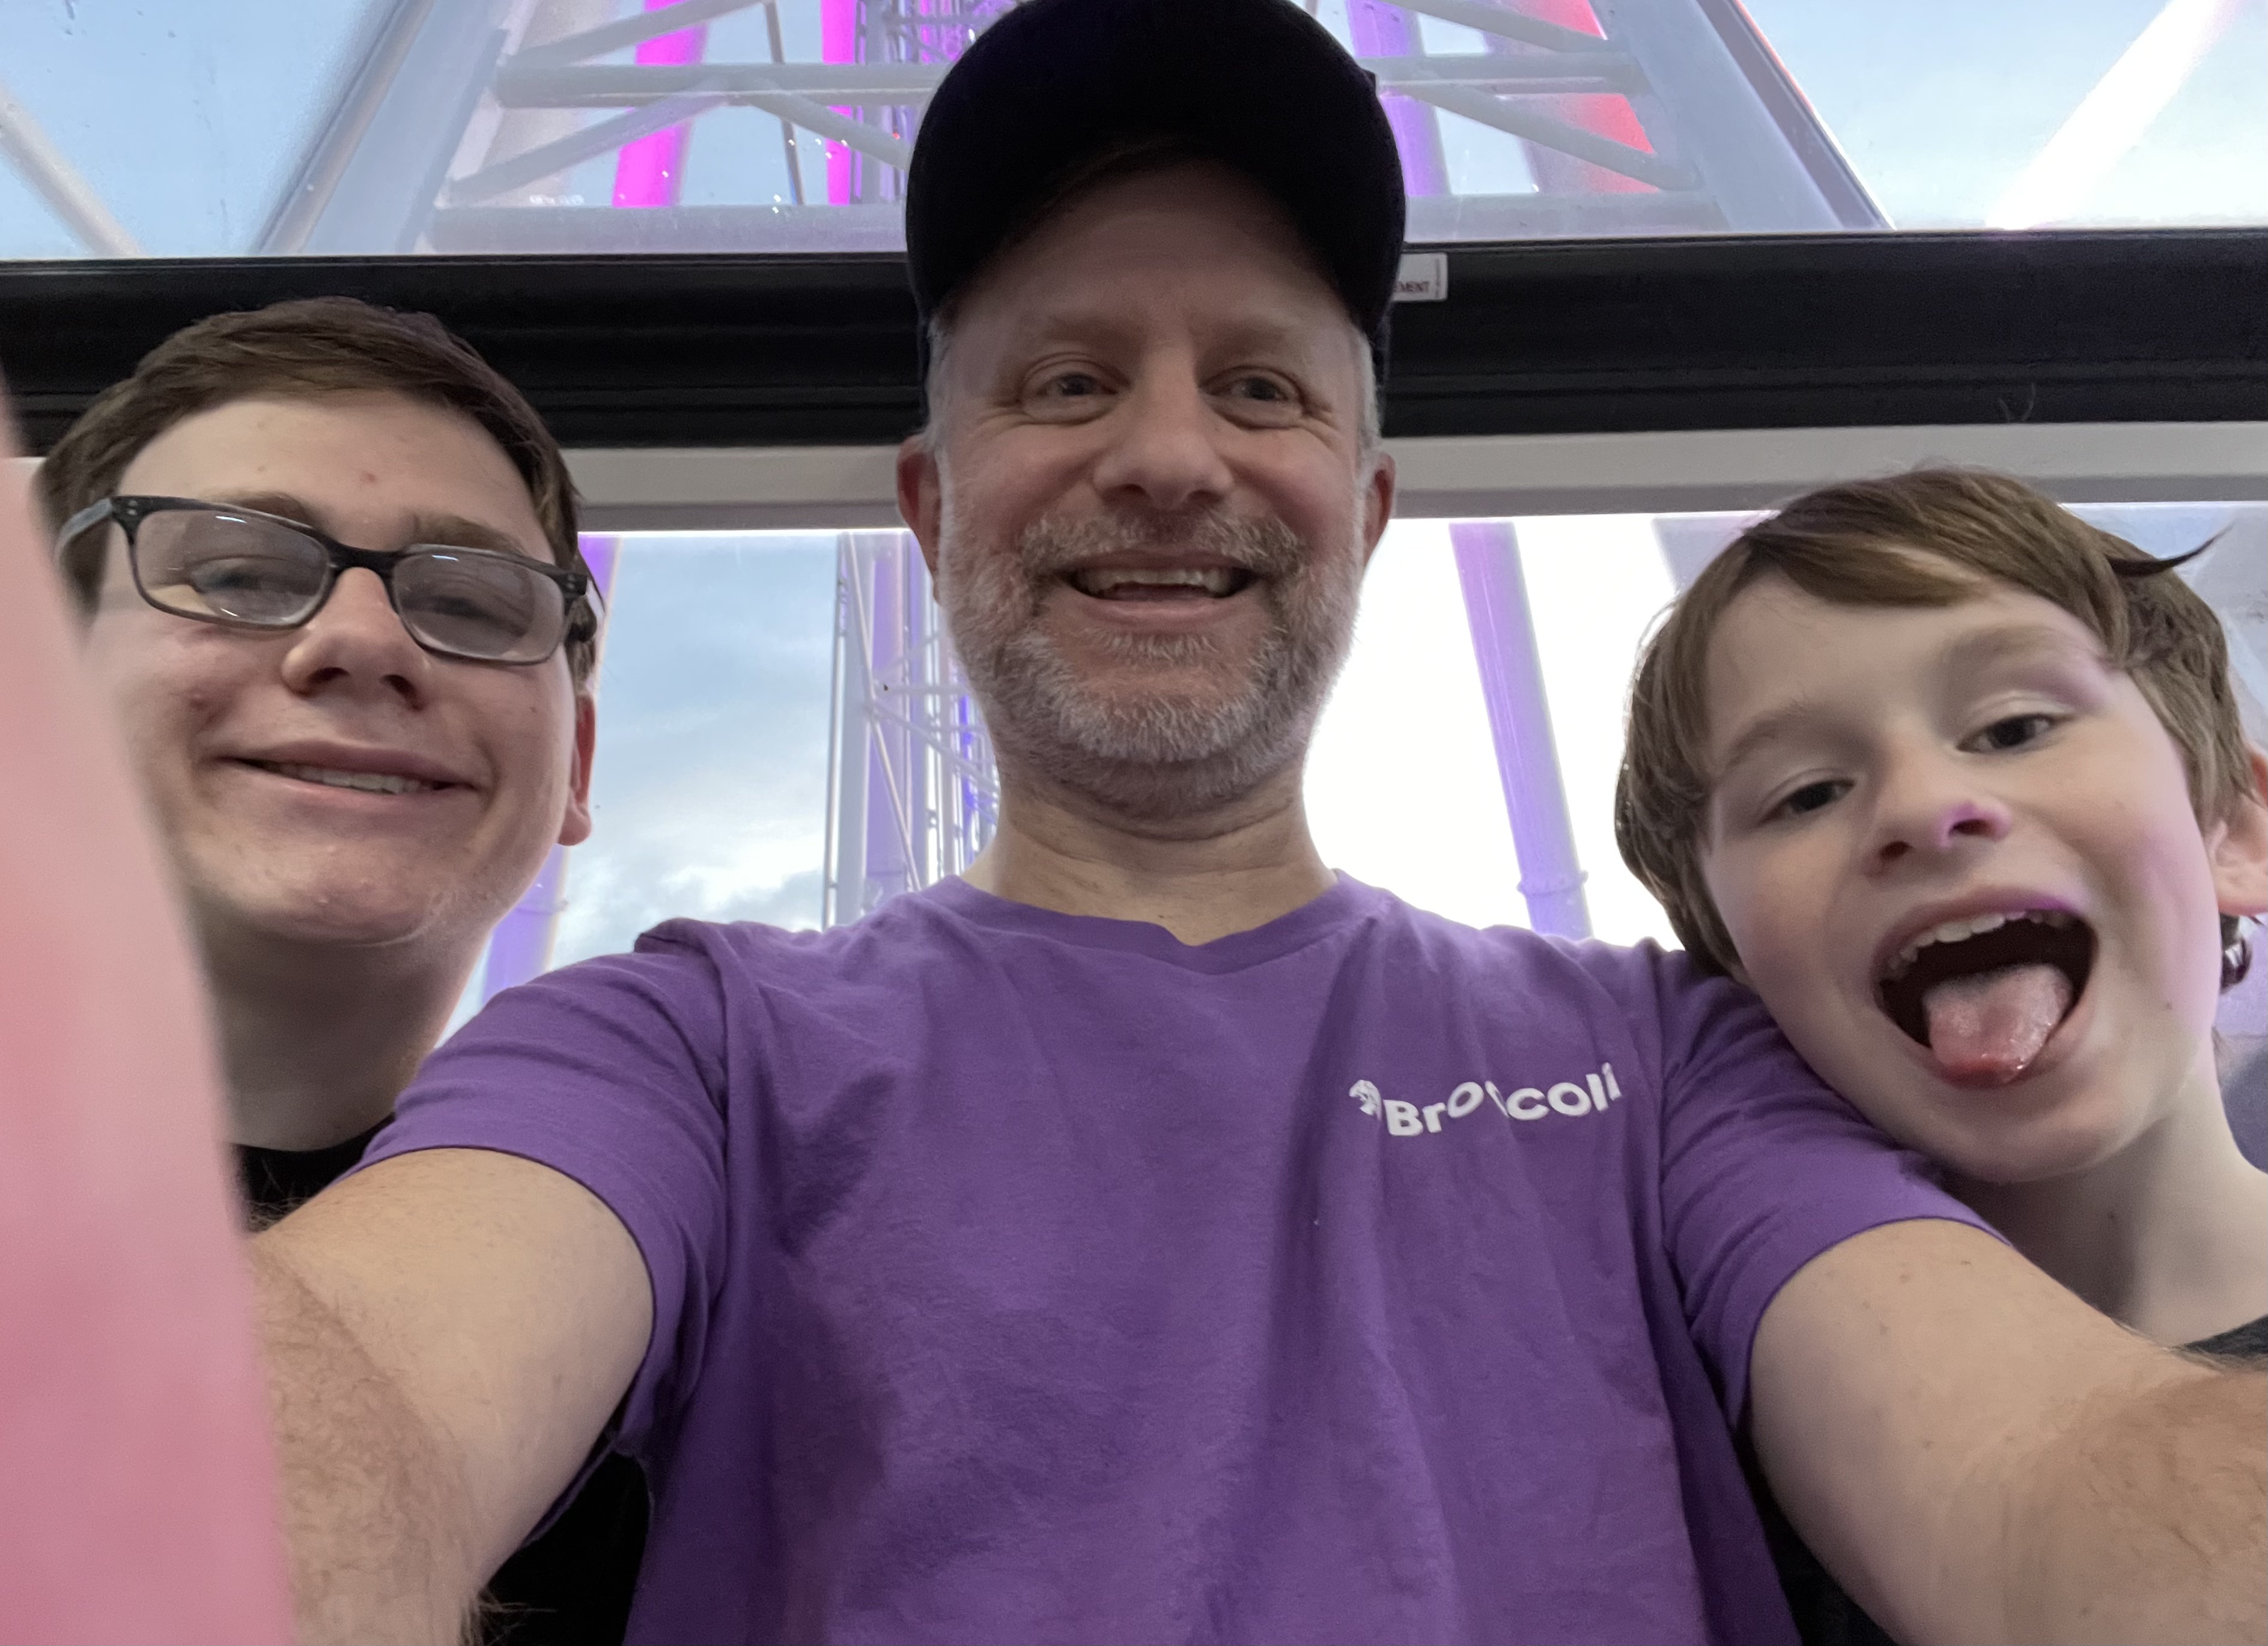
Near our hotel (in Oxon Hill, Maryland), is the national ferris wheel. I saw this Ferris wheel everyday for four days when I was here 2 years ago for a work trip, so it was about time I experienced it in person. I’m calling this Noteworthy Event #3.
Here we are nearing the top of the wheel.
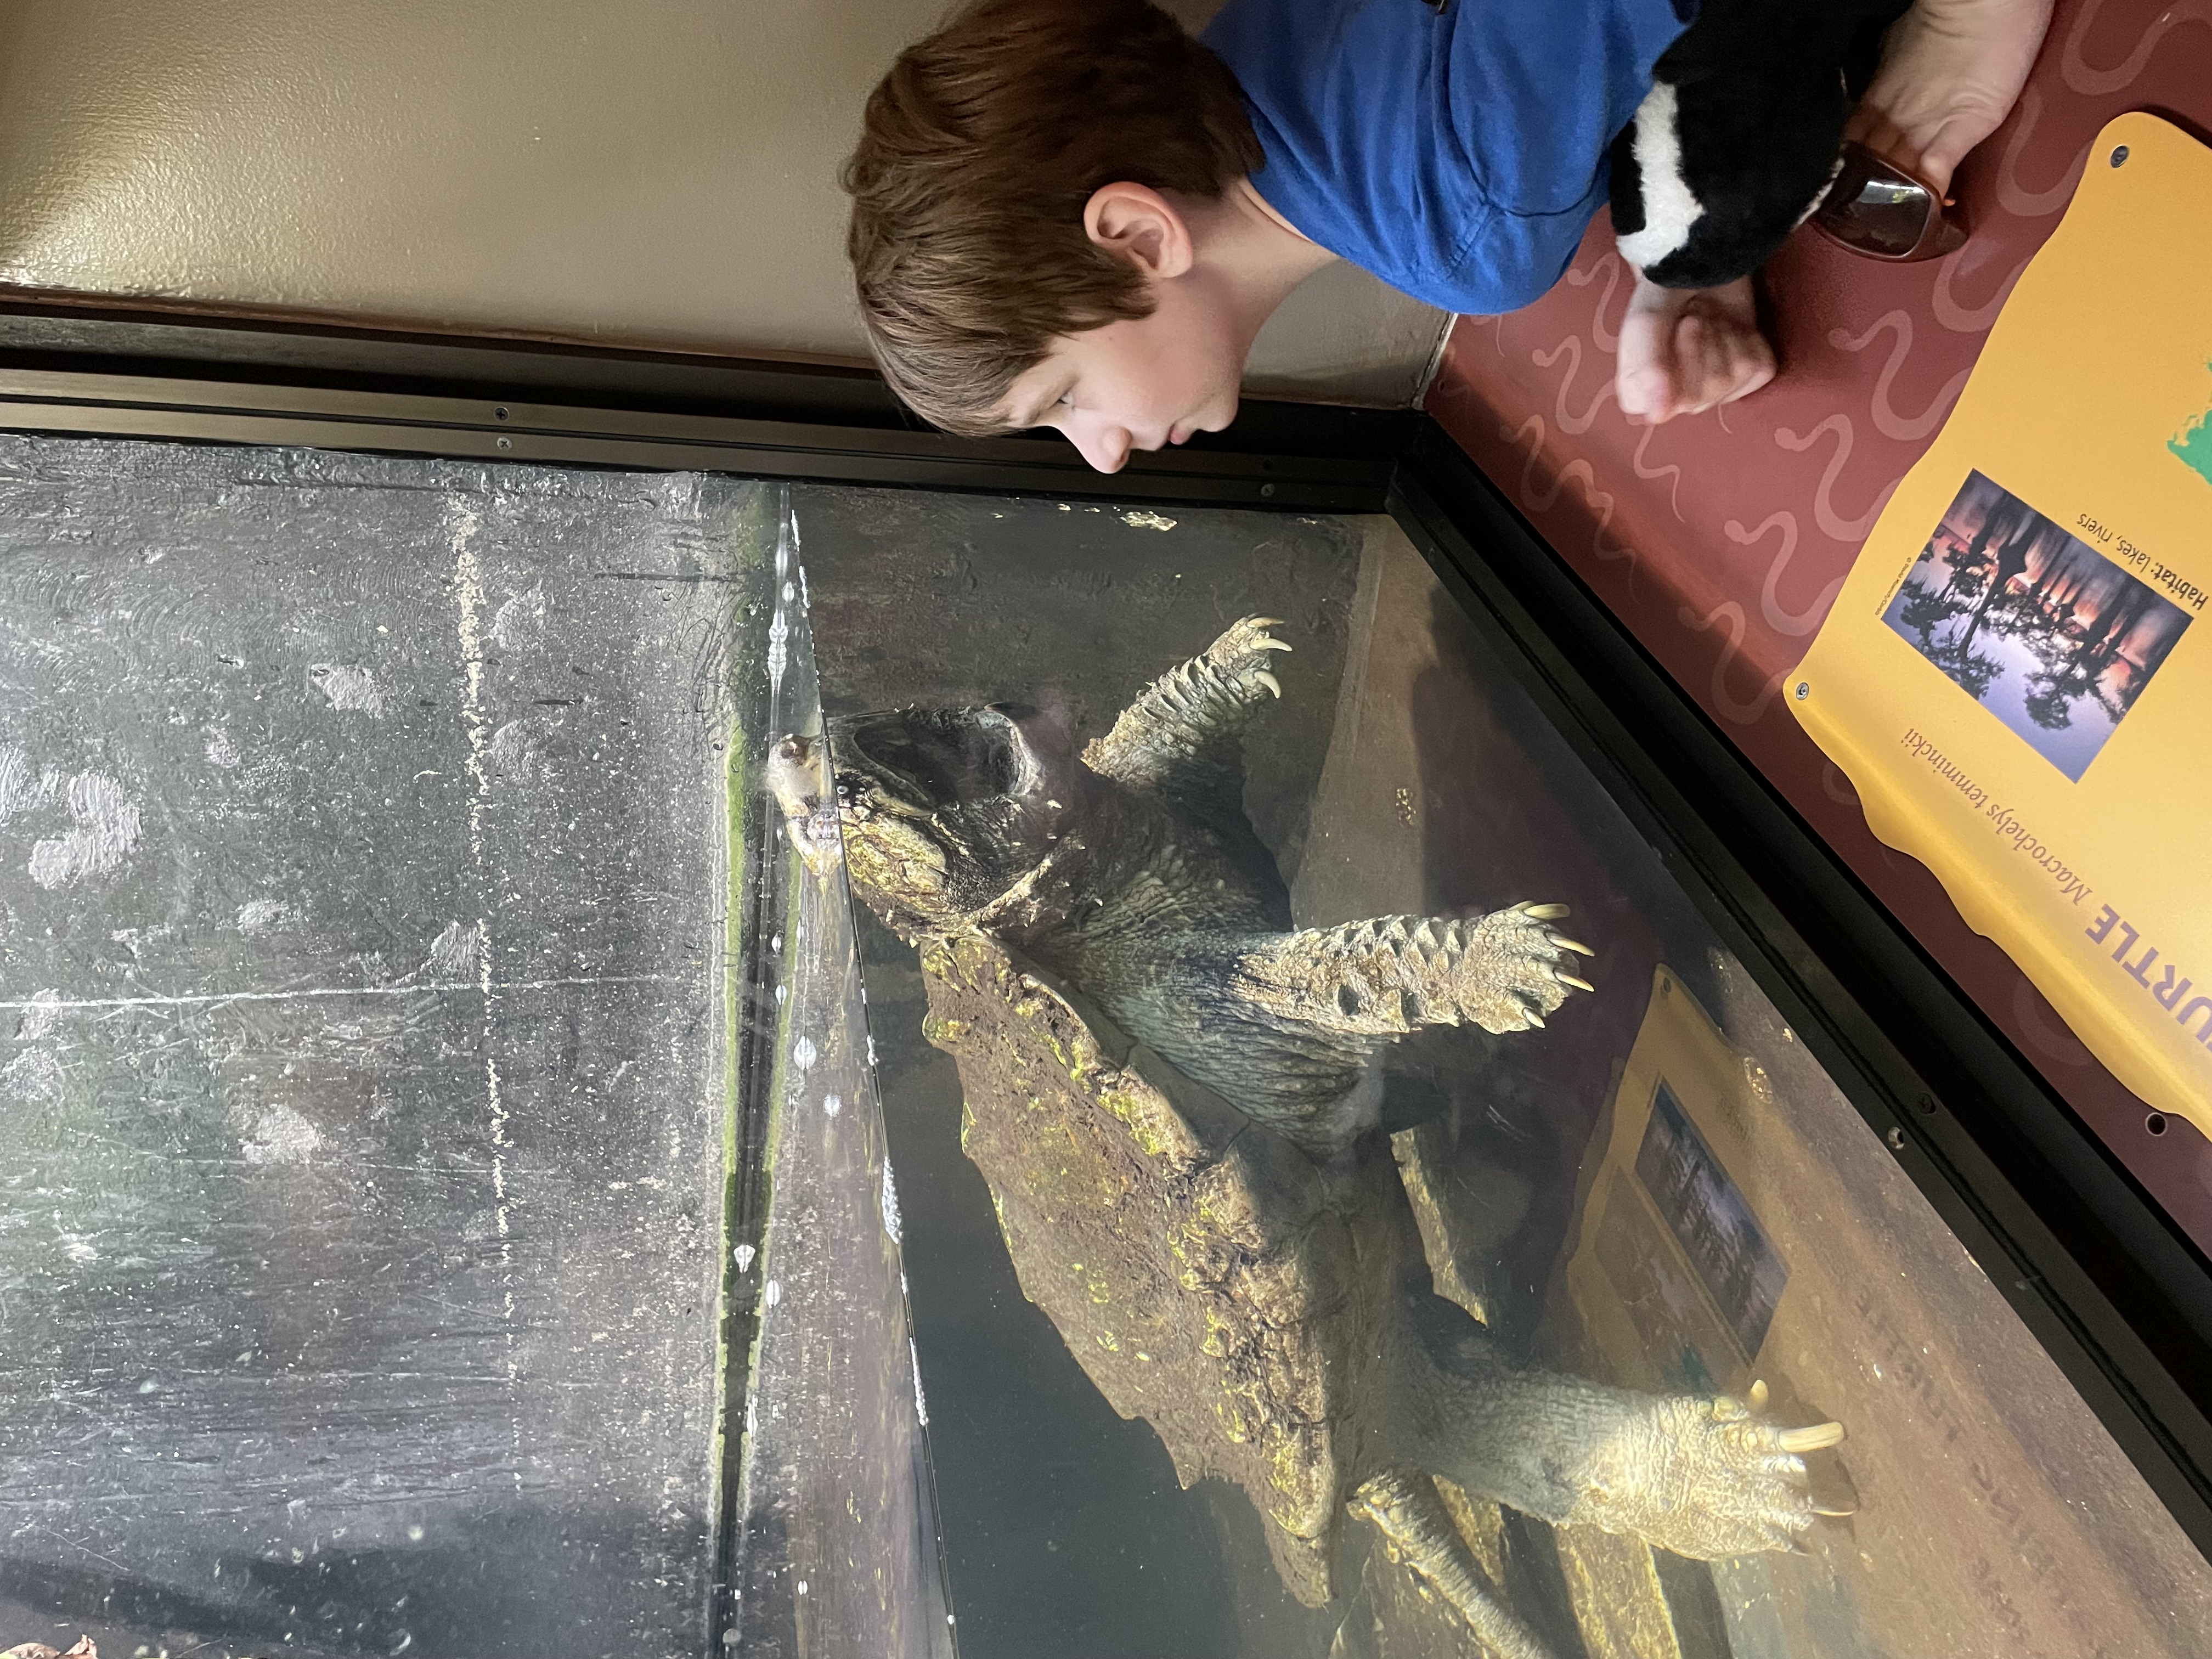
On our first full day in the DC area, we visited the Smithsonian Zoo. There was a lot to see, but it wasn’t really Joey’s thing, and it was very hot there. We were only there about 2.5 hours.
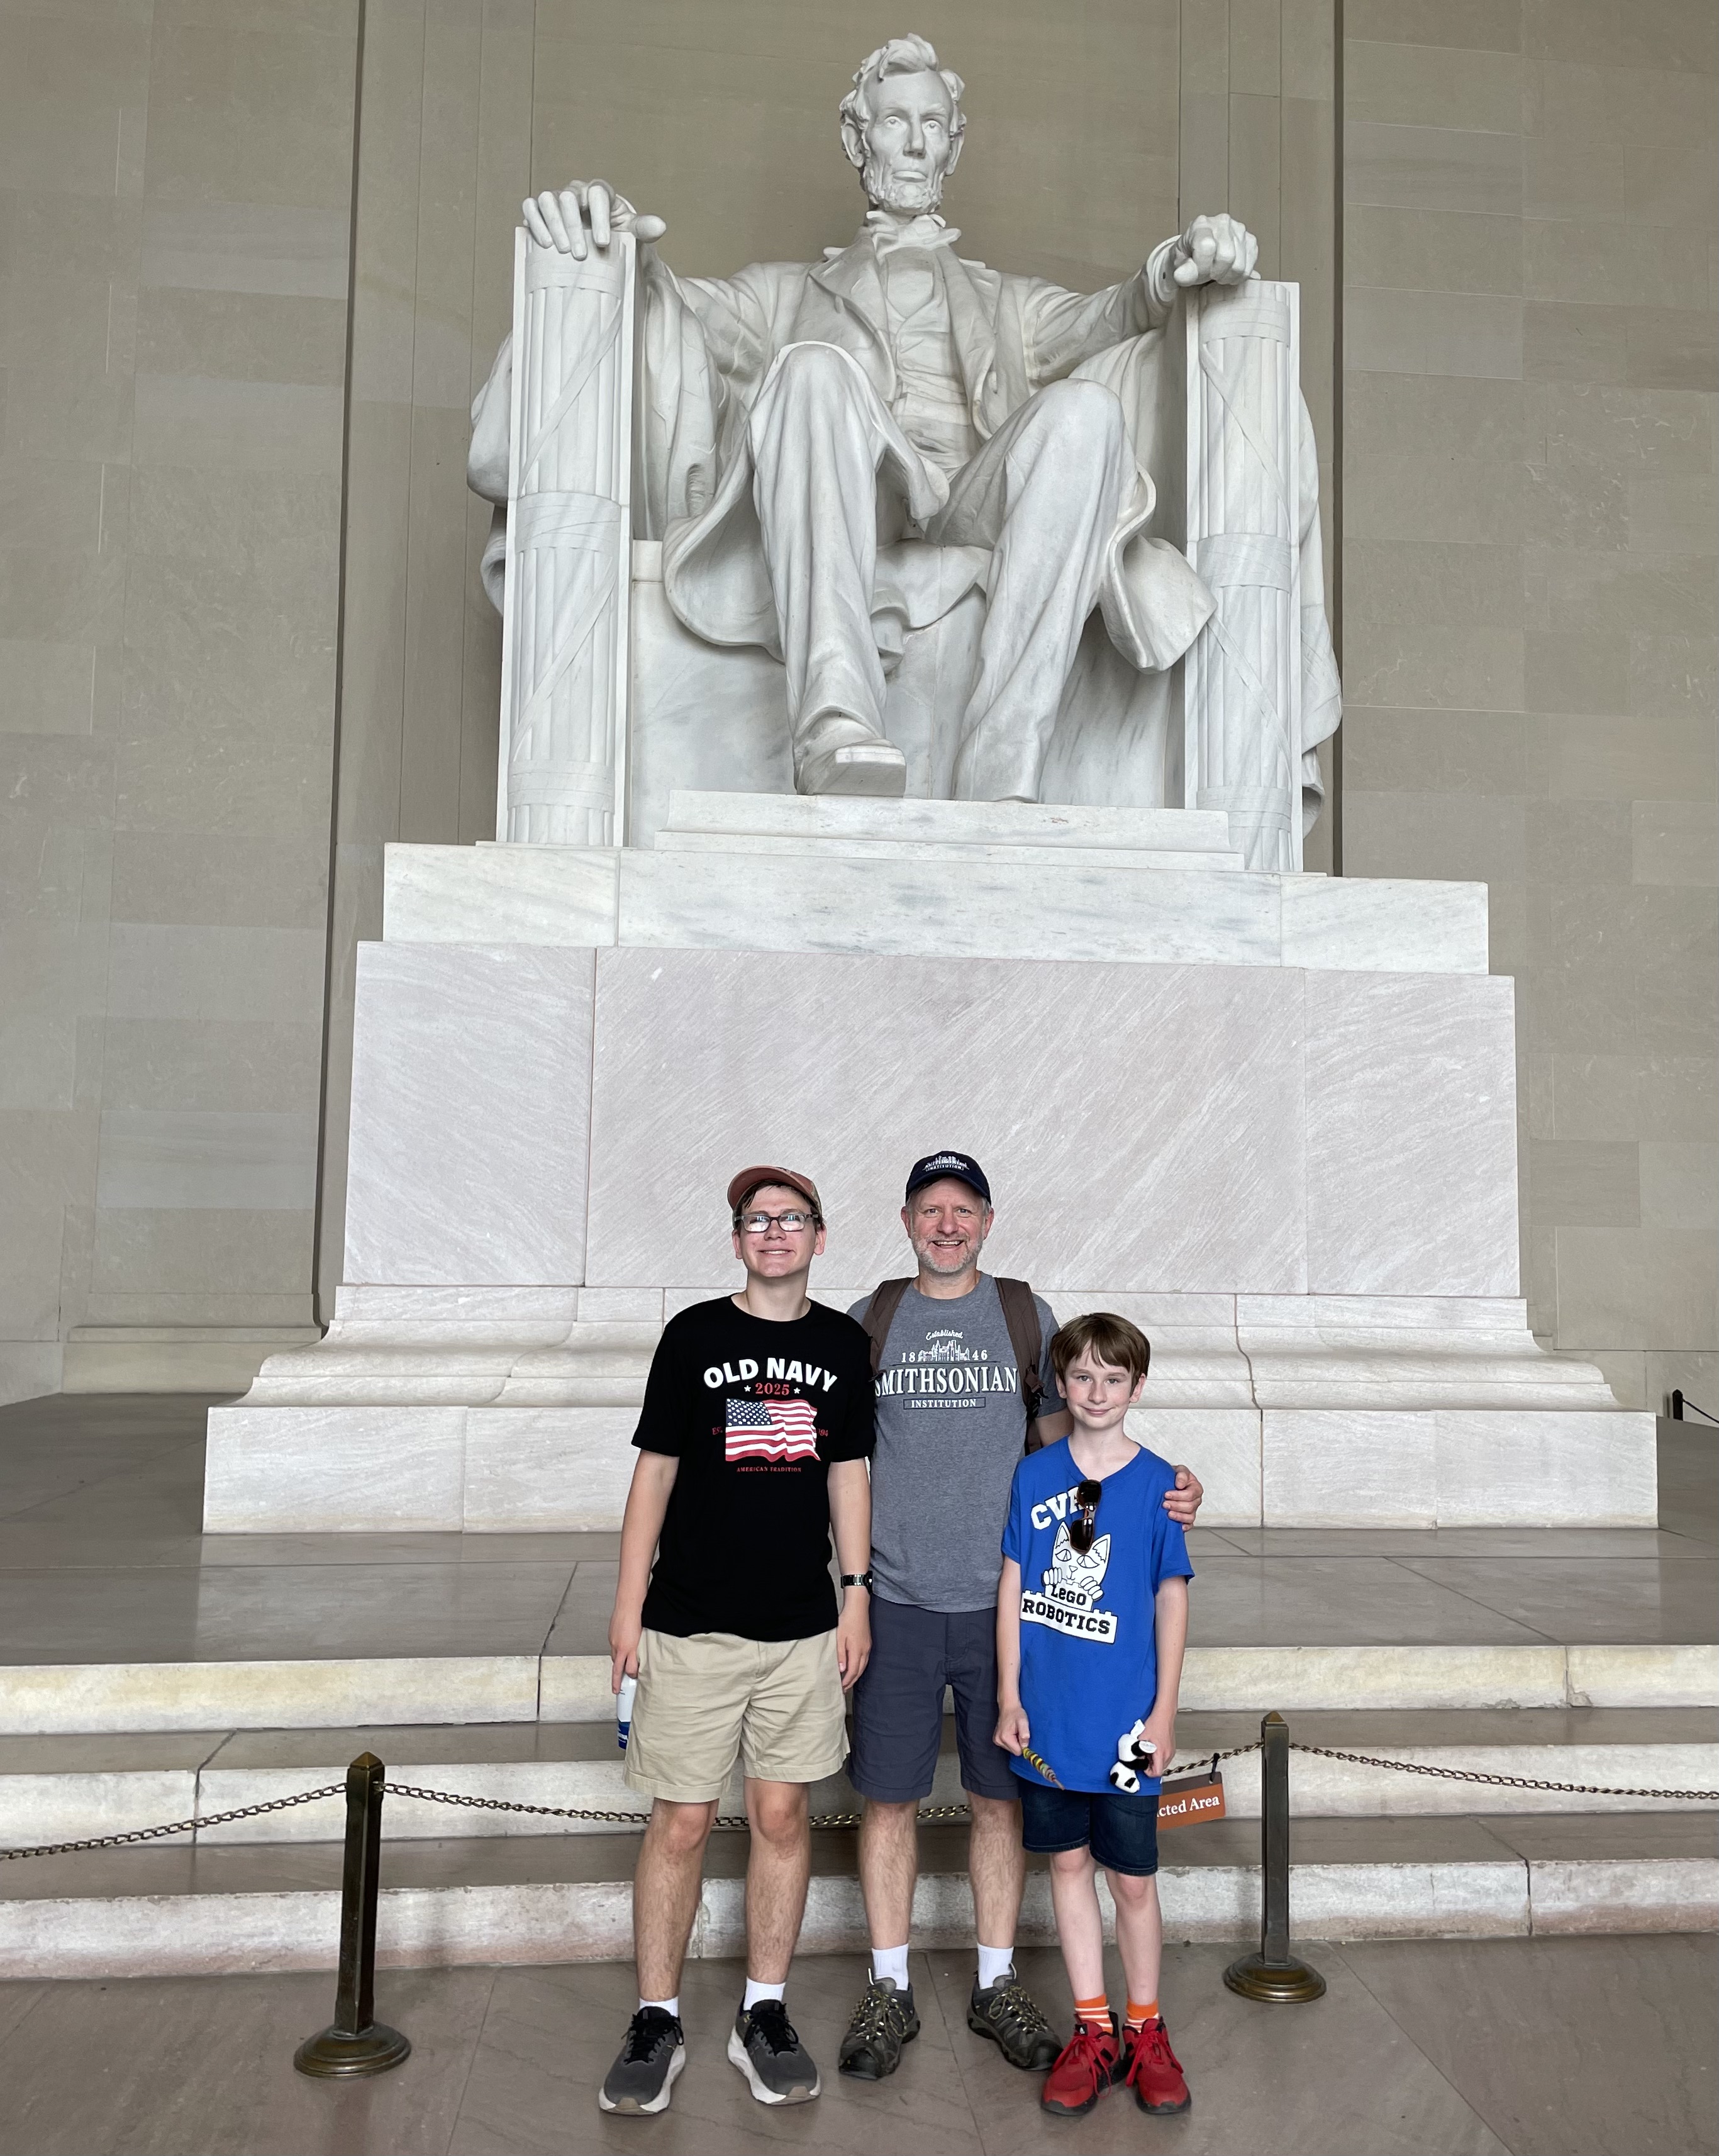
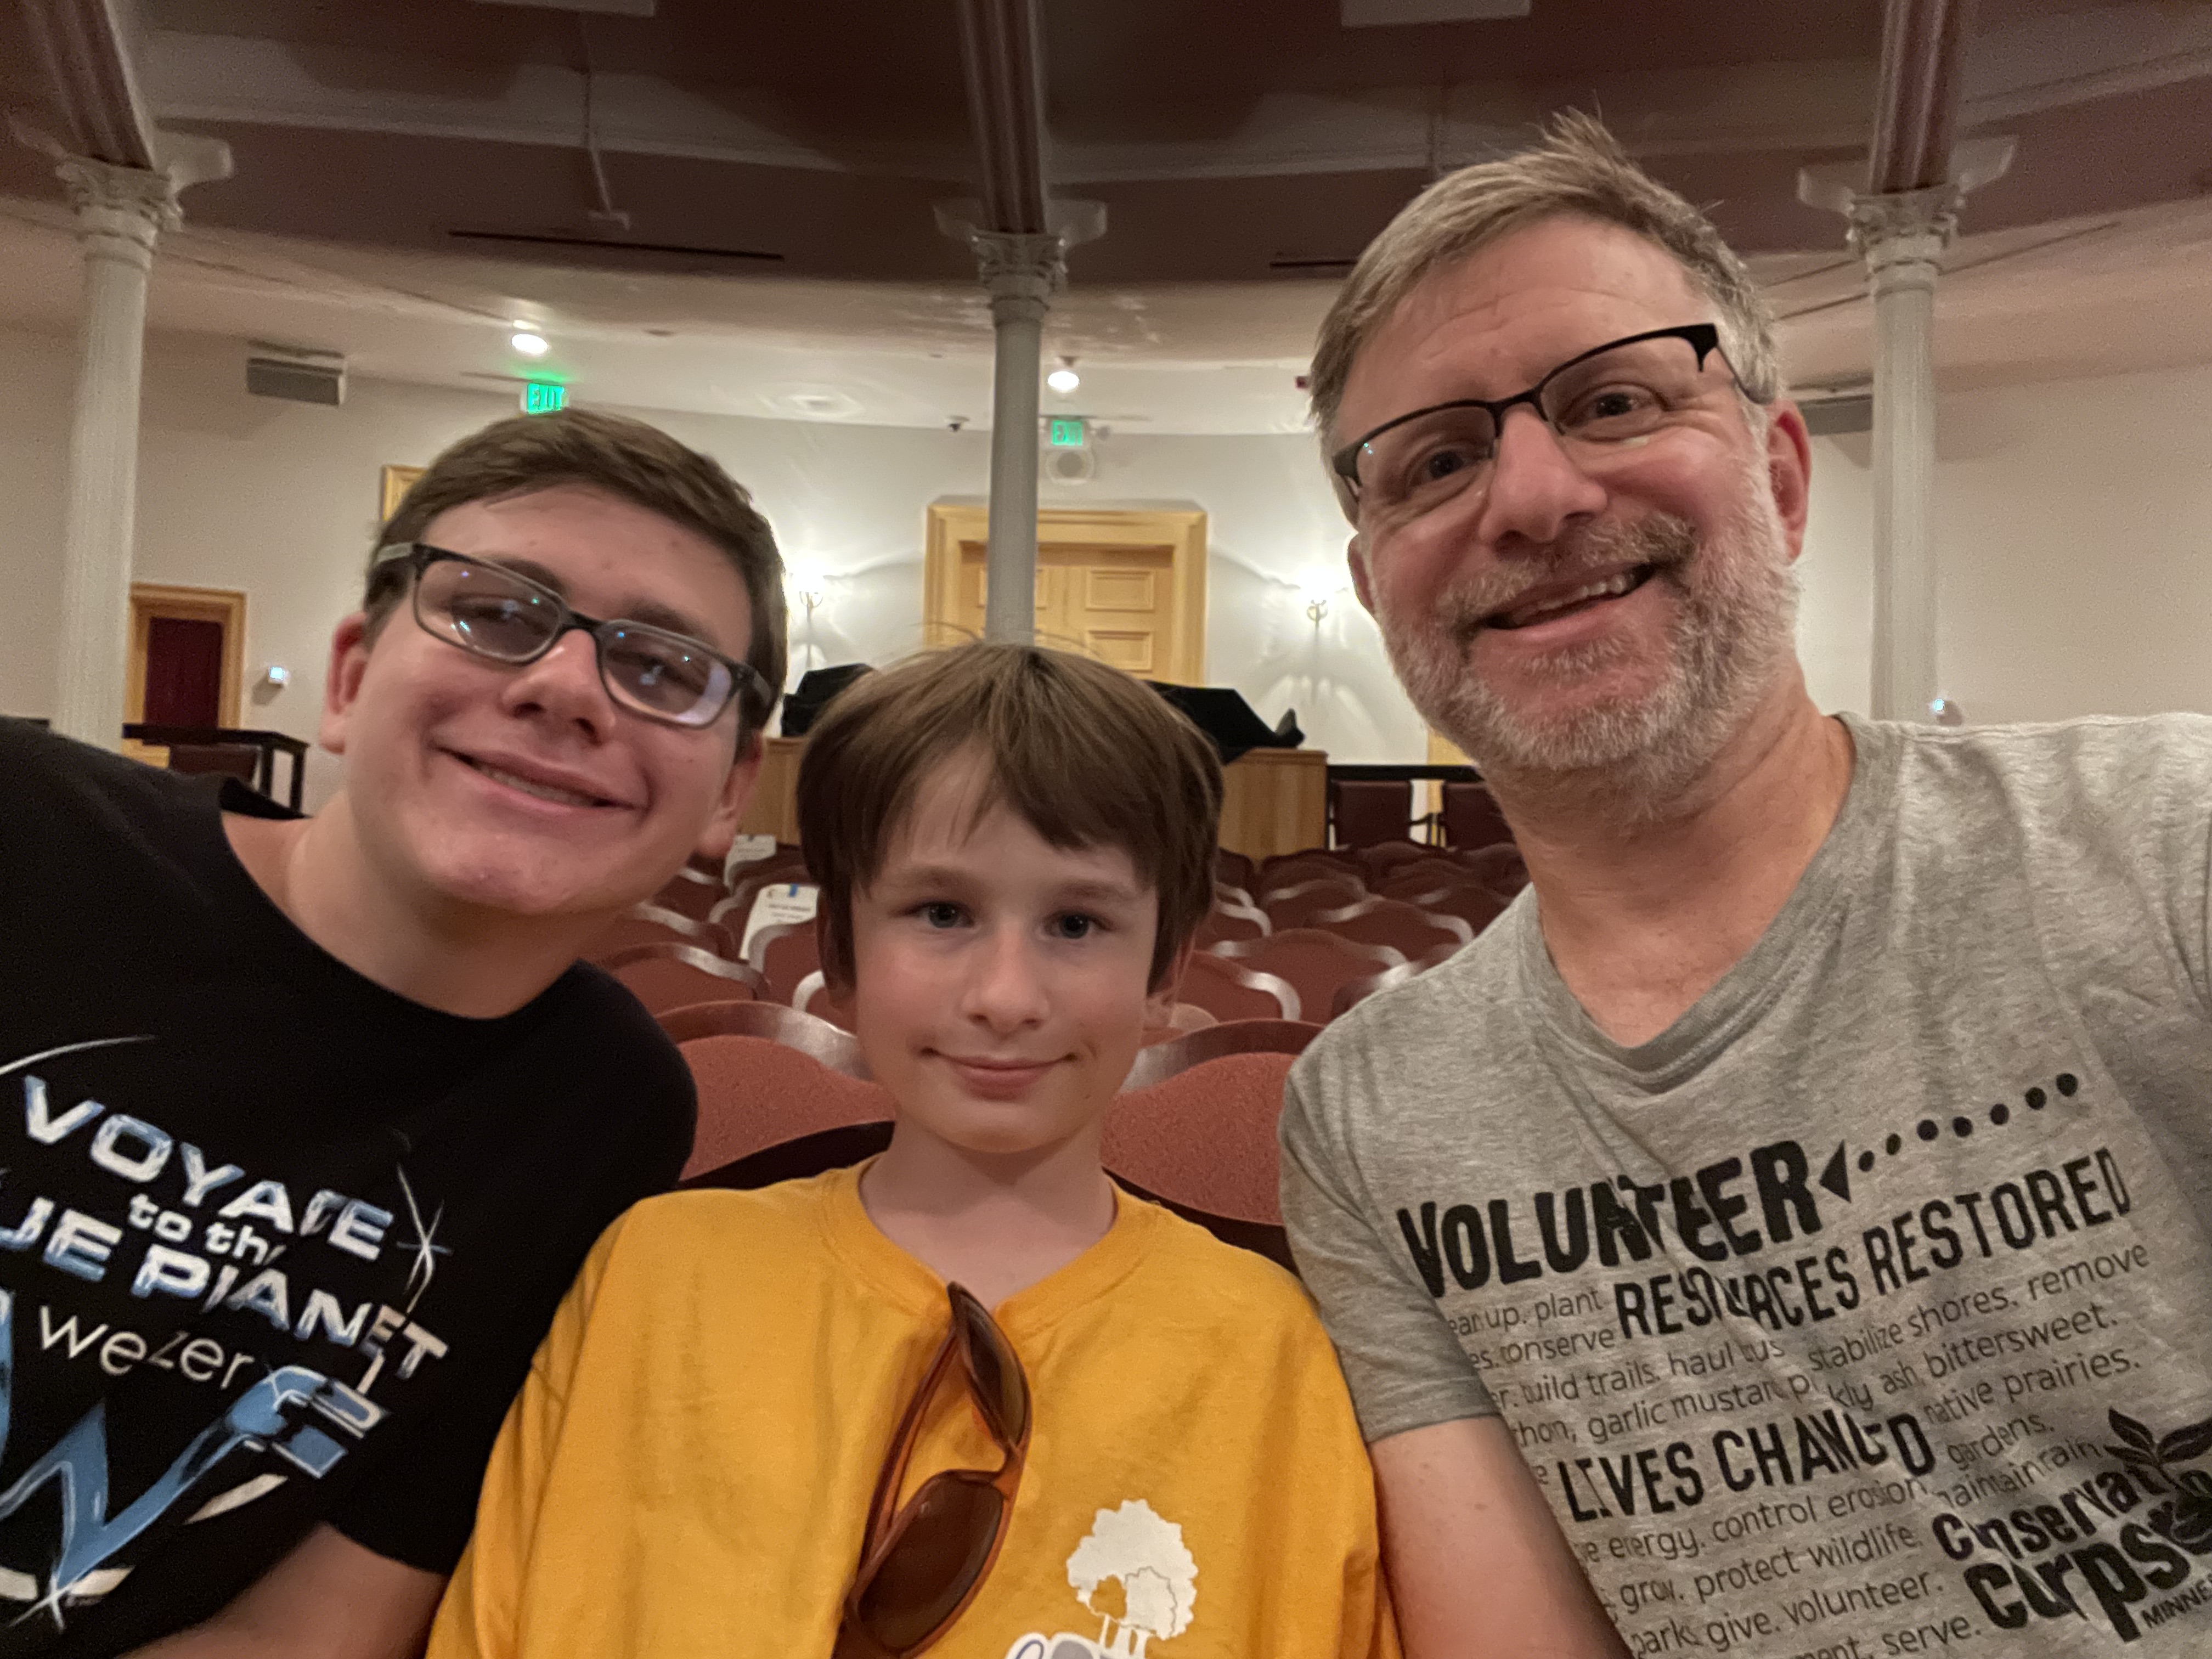
Then we headed to the National Mall. Our first stop was the Lincoln Memorial. Pictured in front (L to R): Joey, James, Emmett. Pictured in back (L to R): Abraham Lincoln. This was my third visit to the Lincoln Memorial, and I can never get over how tall he was.
While Joey and I sat off to the side to rest our feet, Emmett continued to walk around the memorial. Here you can see him (at left) working on a large lollipop he scored at the zoo.
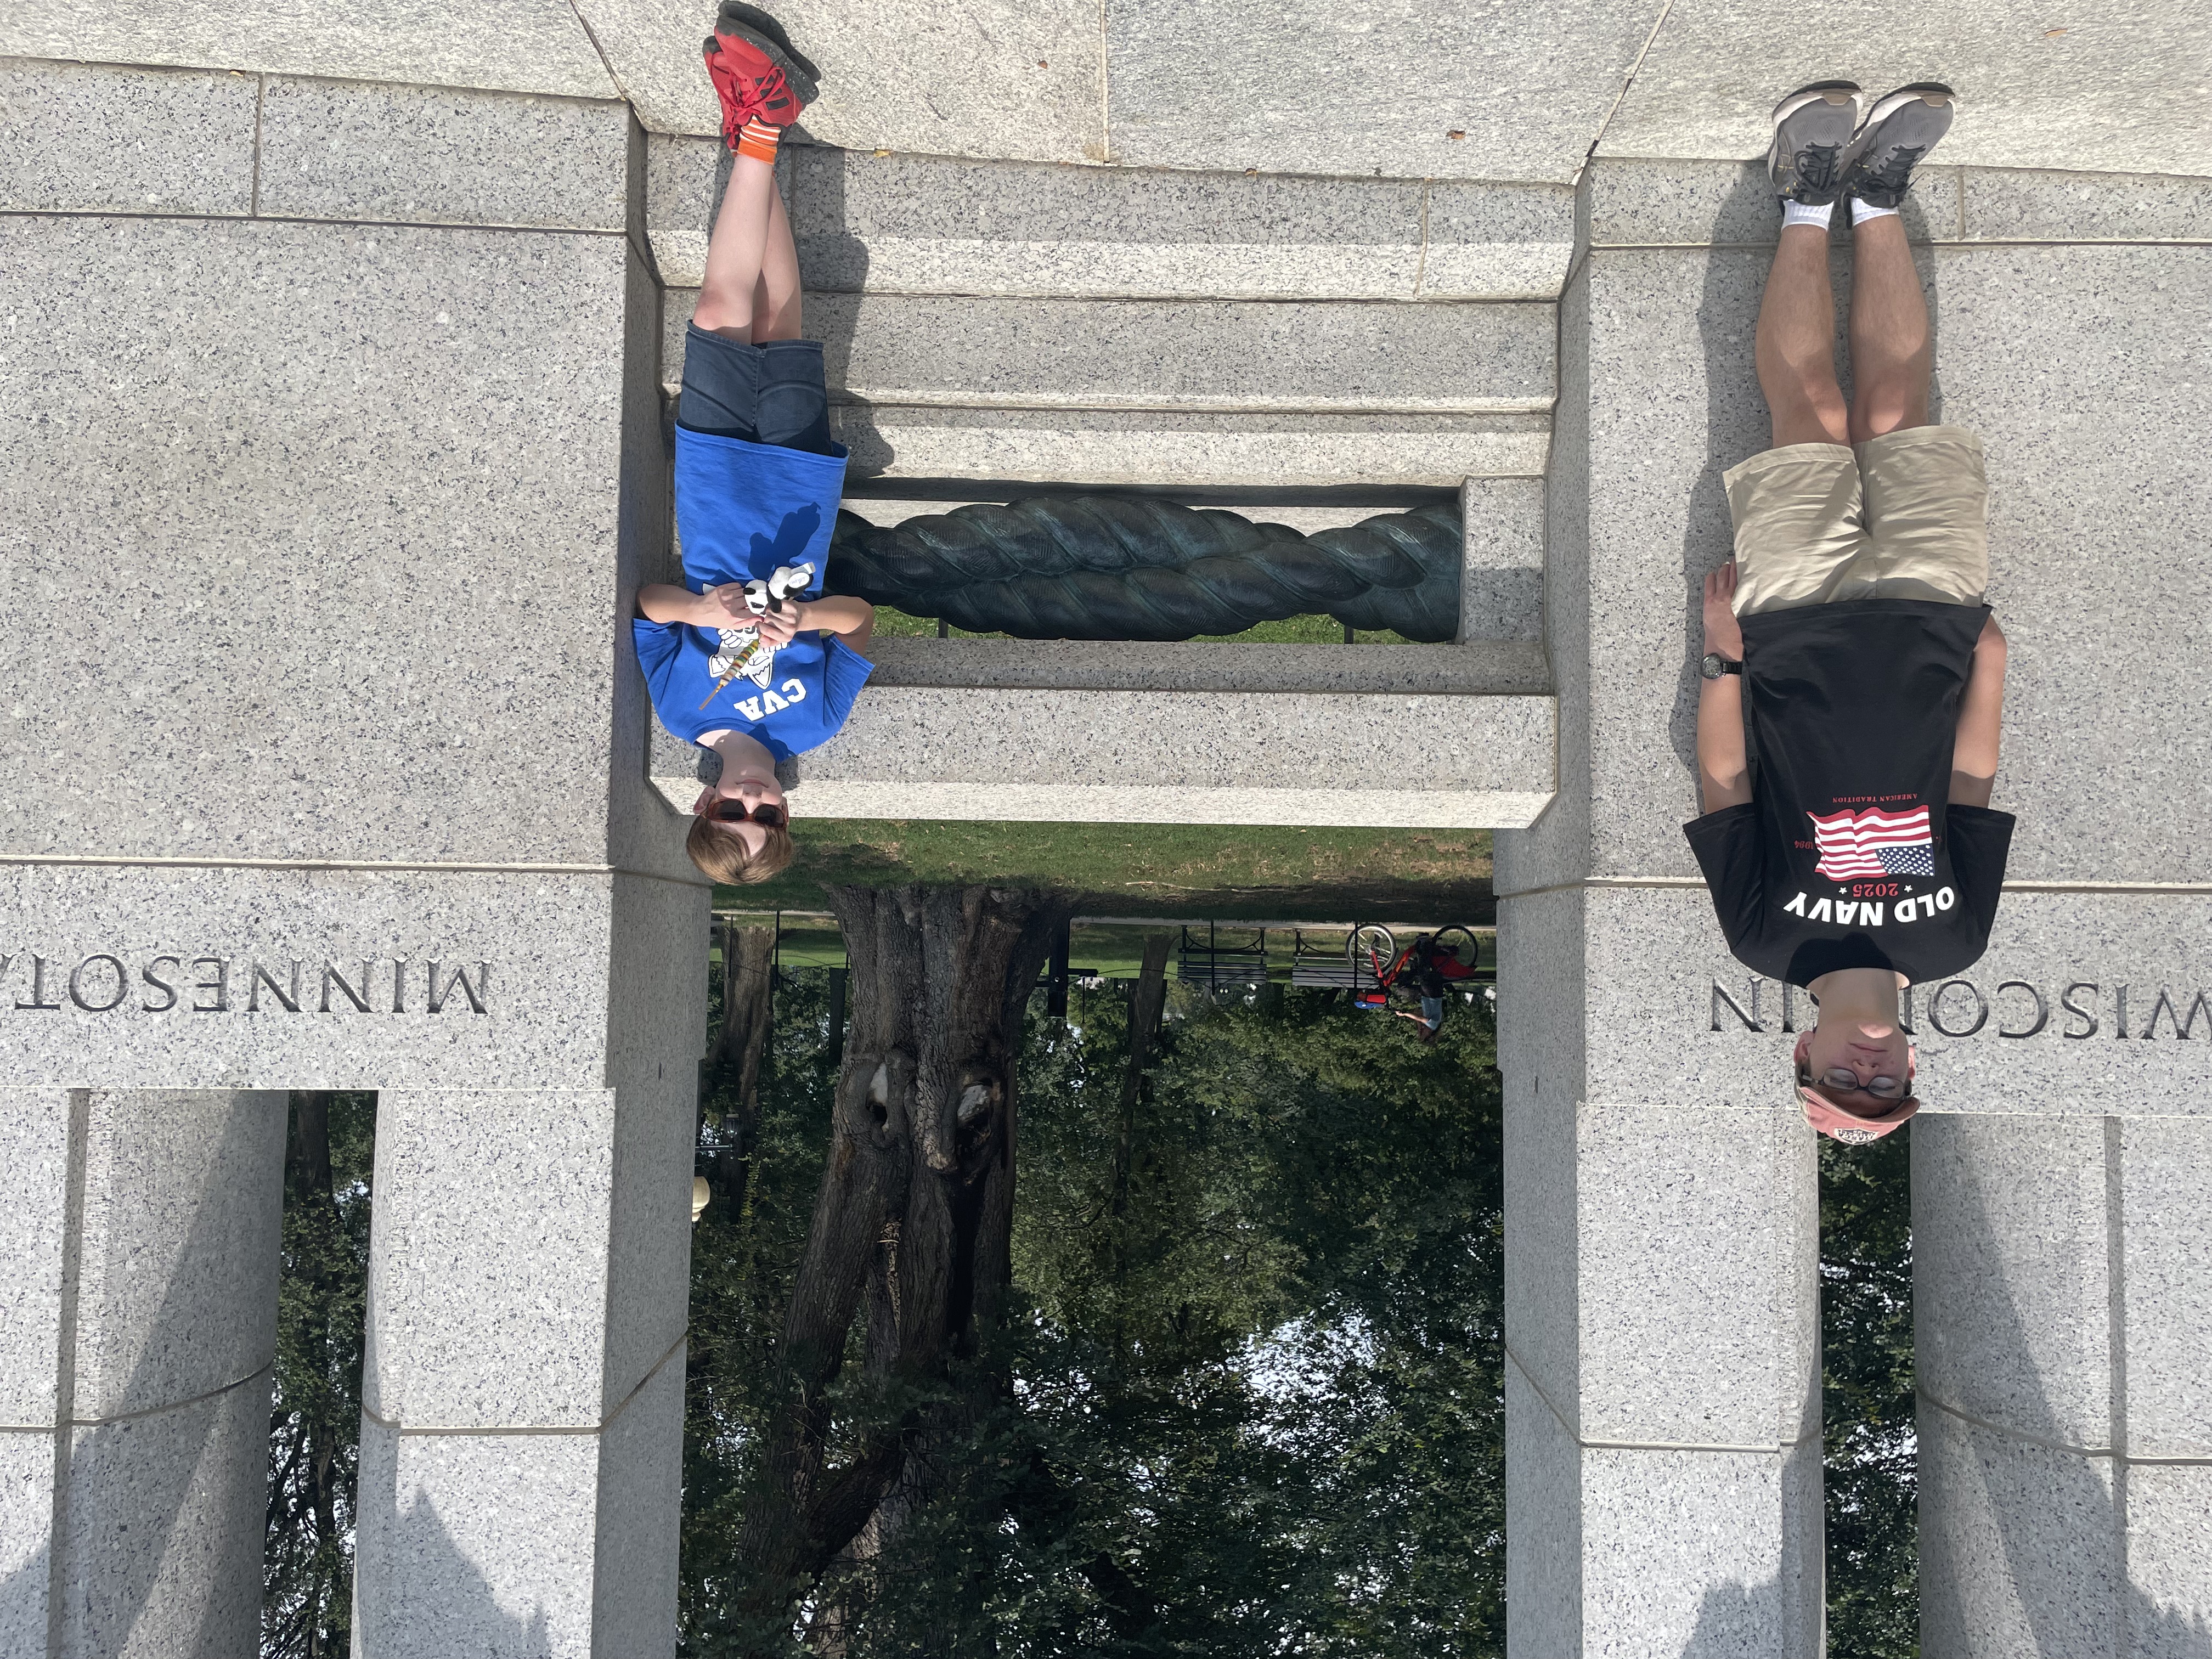
Here we are at the World War II Memorial. I tried taking a picture of Joey standing next to the Wisconsin section of the memorial, and Emmett by the Minnesota section. Clearly I failed the framing portion of the assignment.
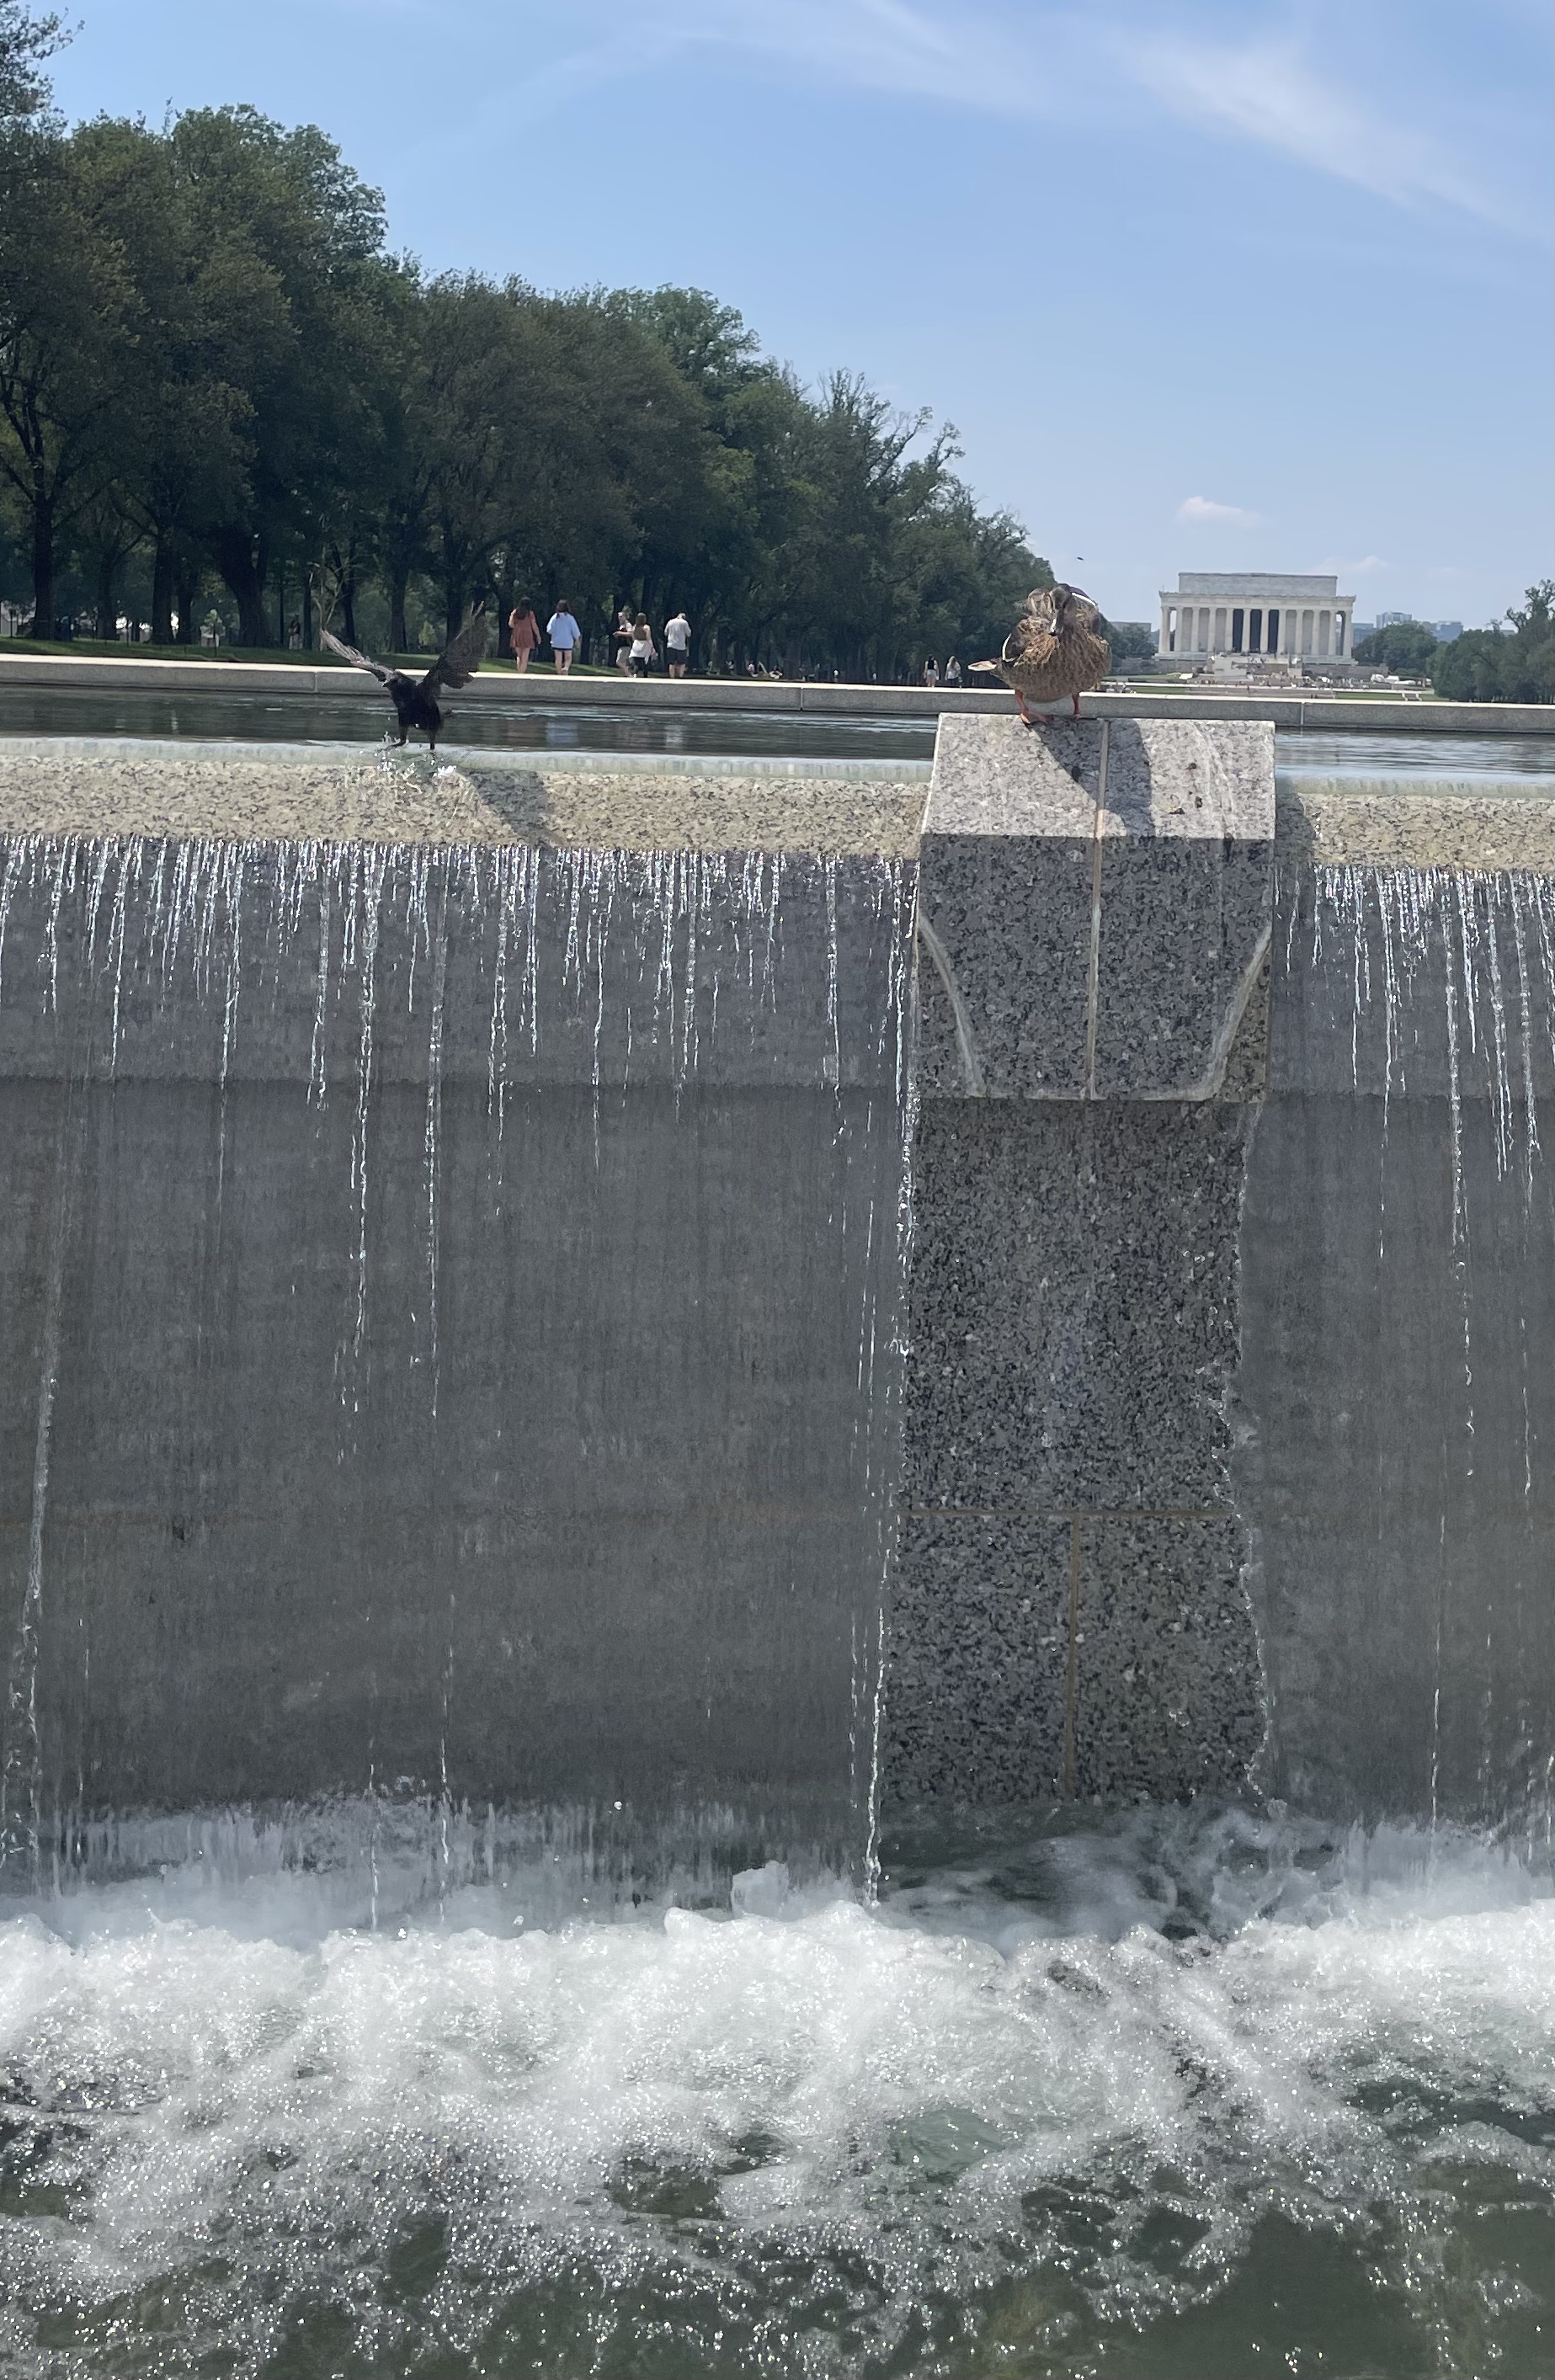
This is very typical of the kind of things I like to photograph. It’s just a duck and and a crow standing on the edge of the World War II Memorial, with the Lincoln Memorial in the distance.
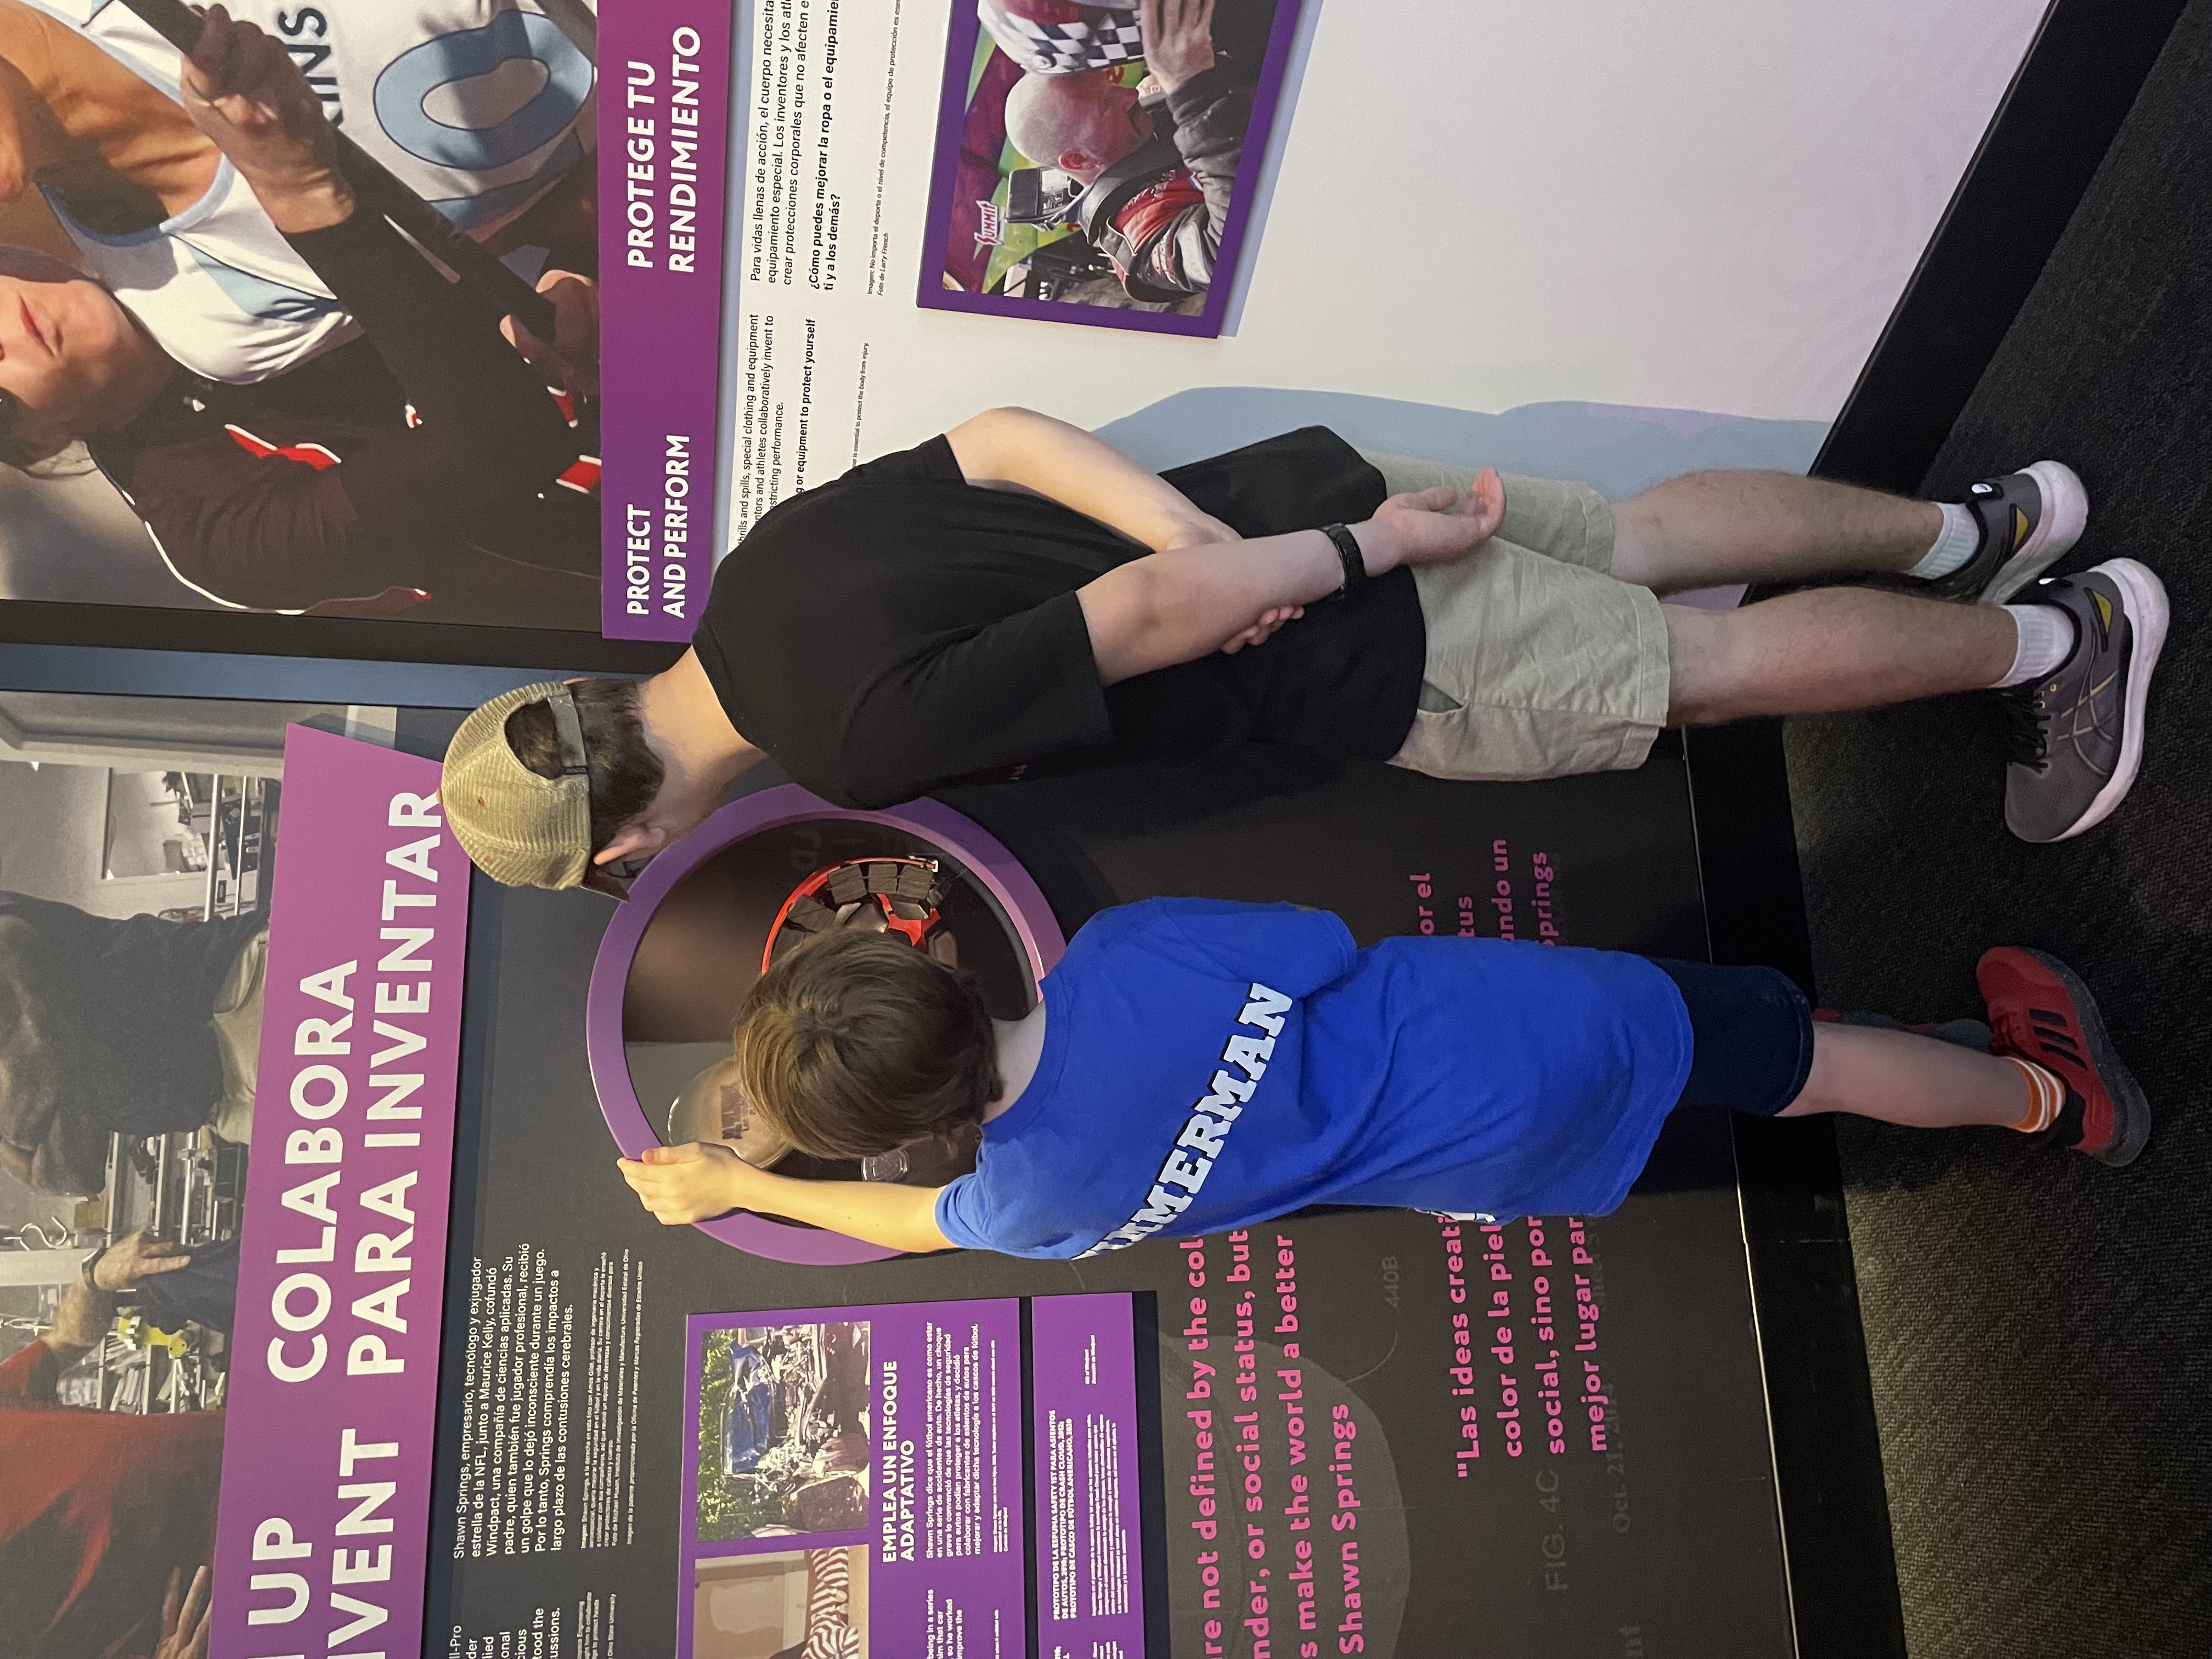
Joey and Emmett exploring the technology involved in protective sporting equipment while we visited the Smithsonian Museum of American History.
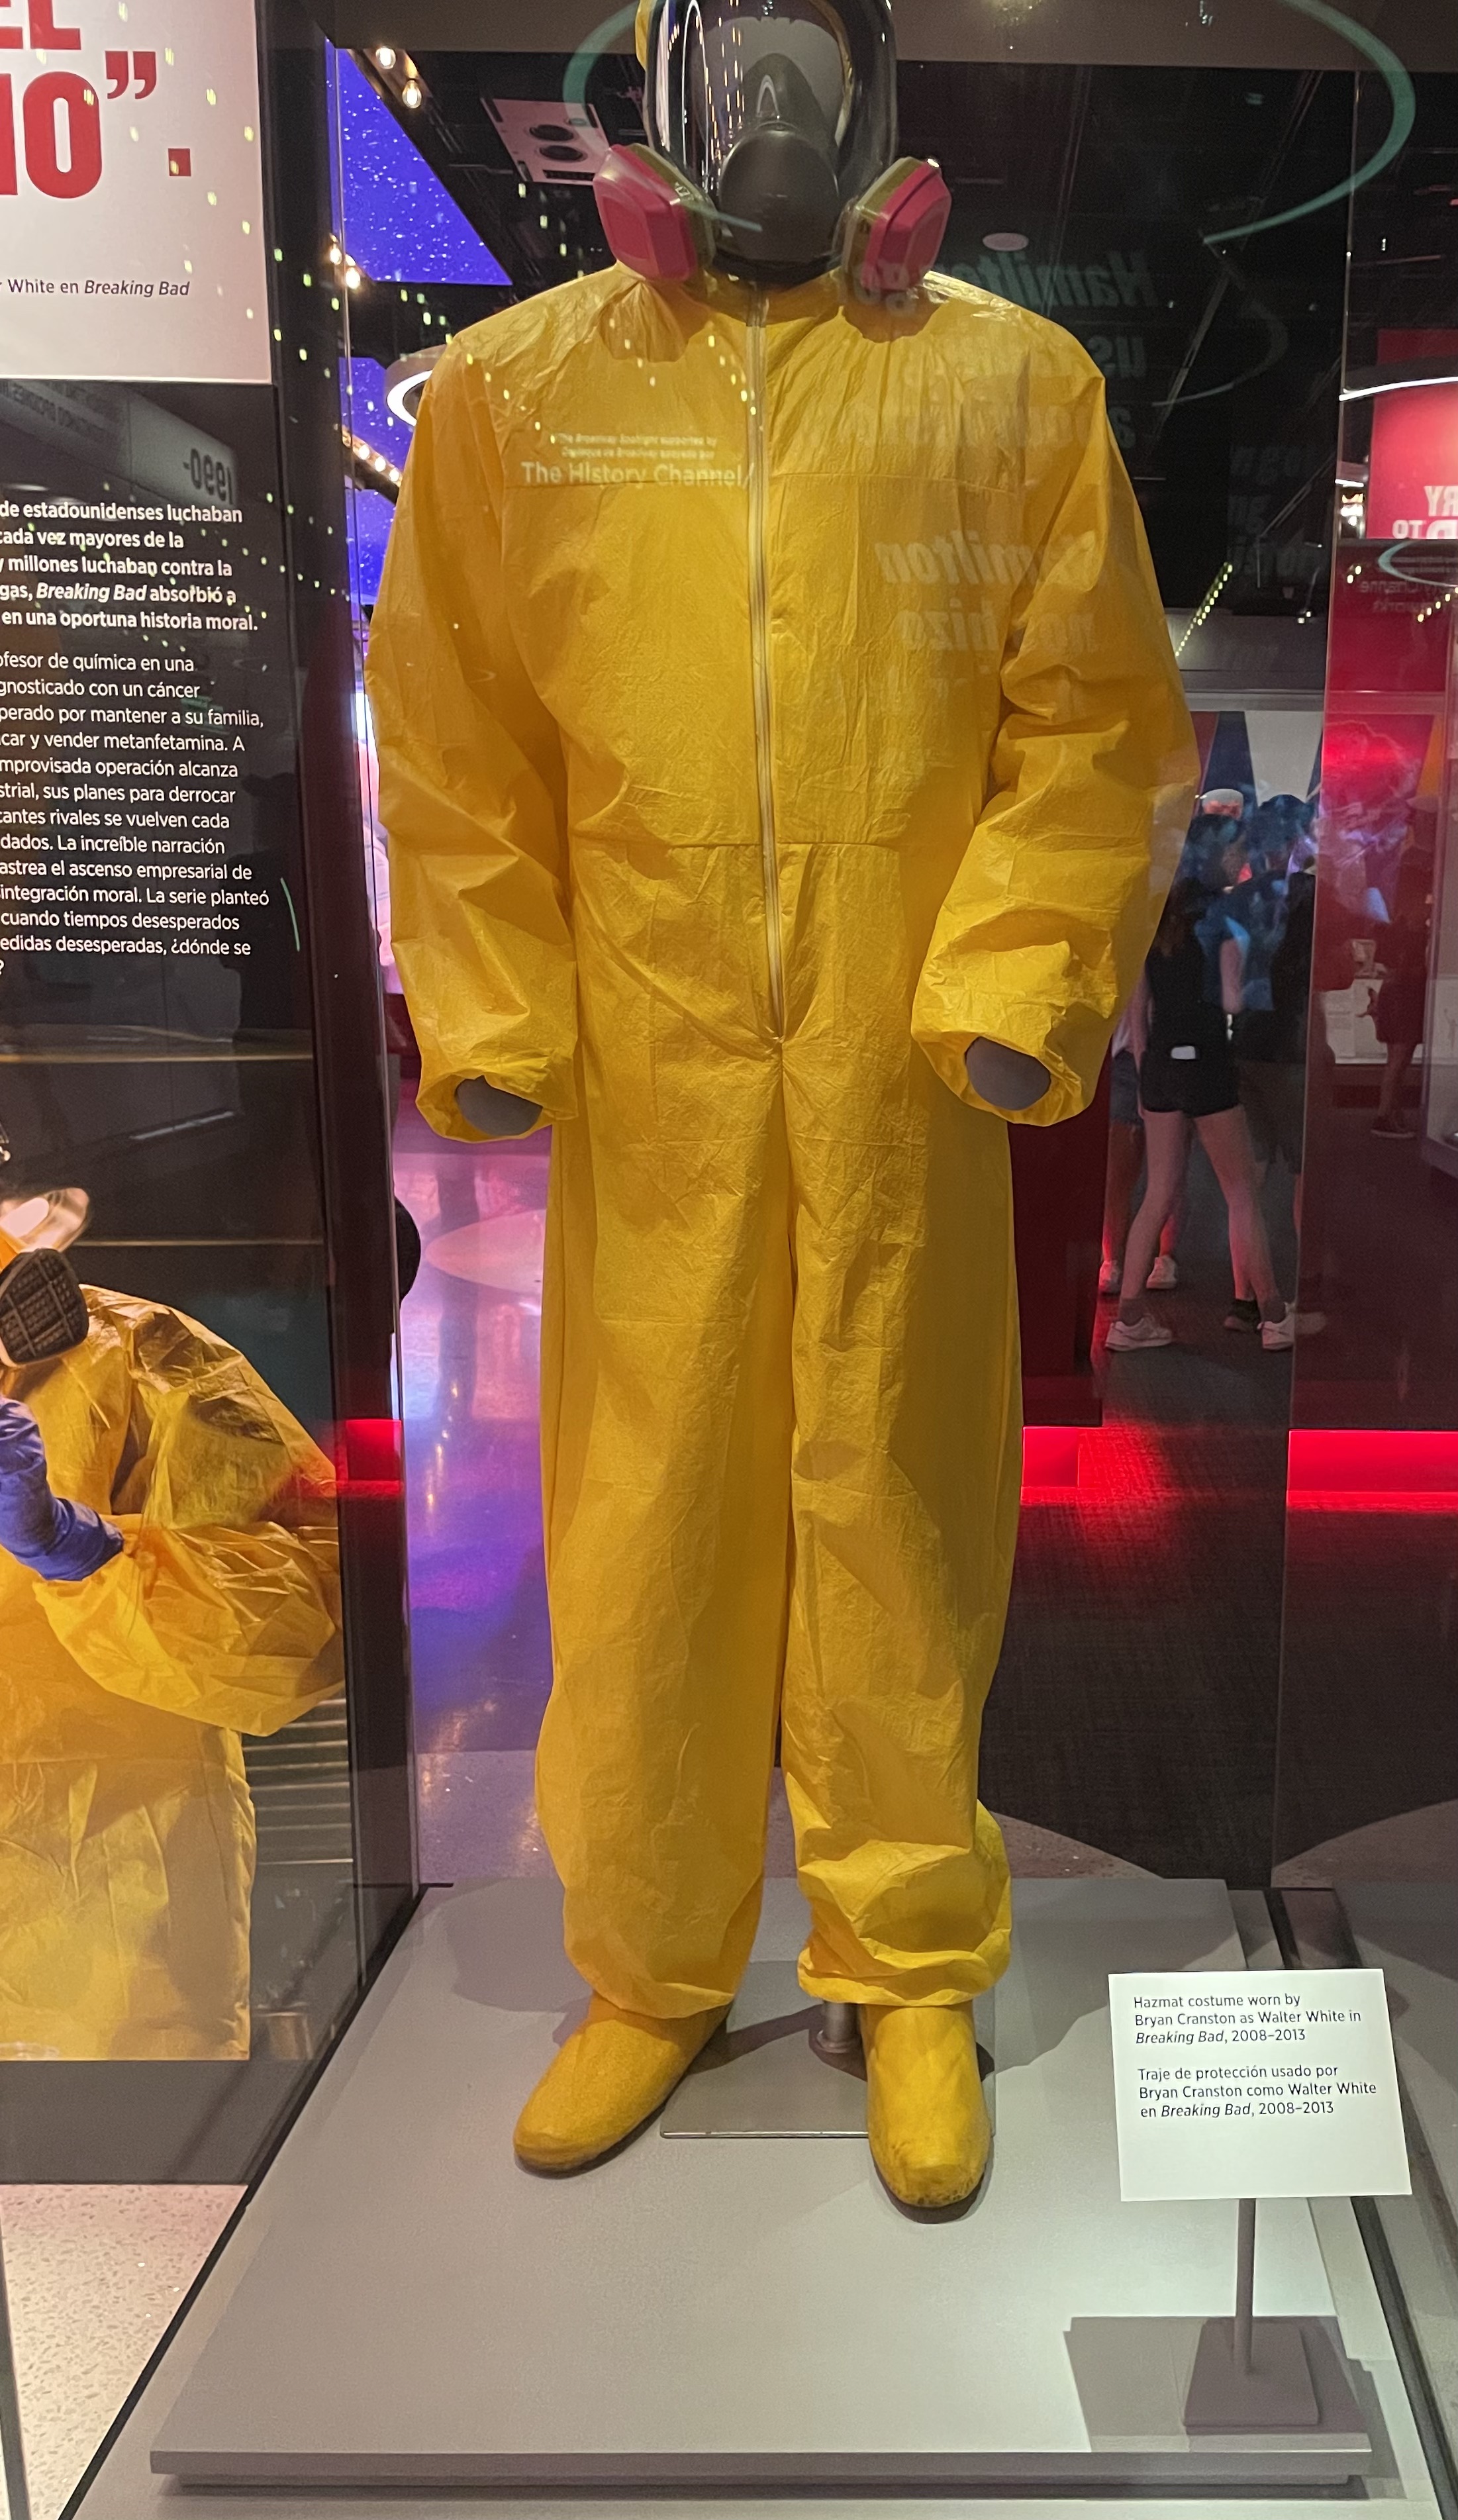
Look! It’s the hazmat suit Bryan Cranston wore while playing Walter White in the TV series Breaking Bad.
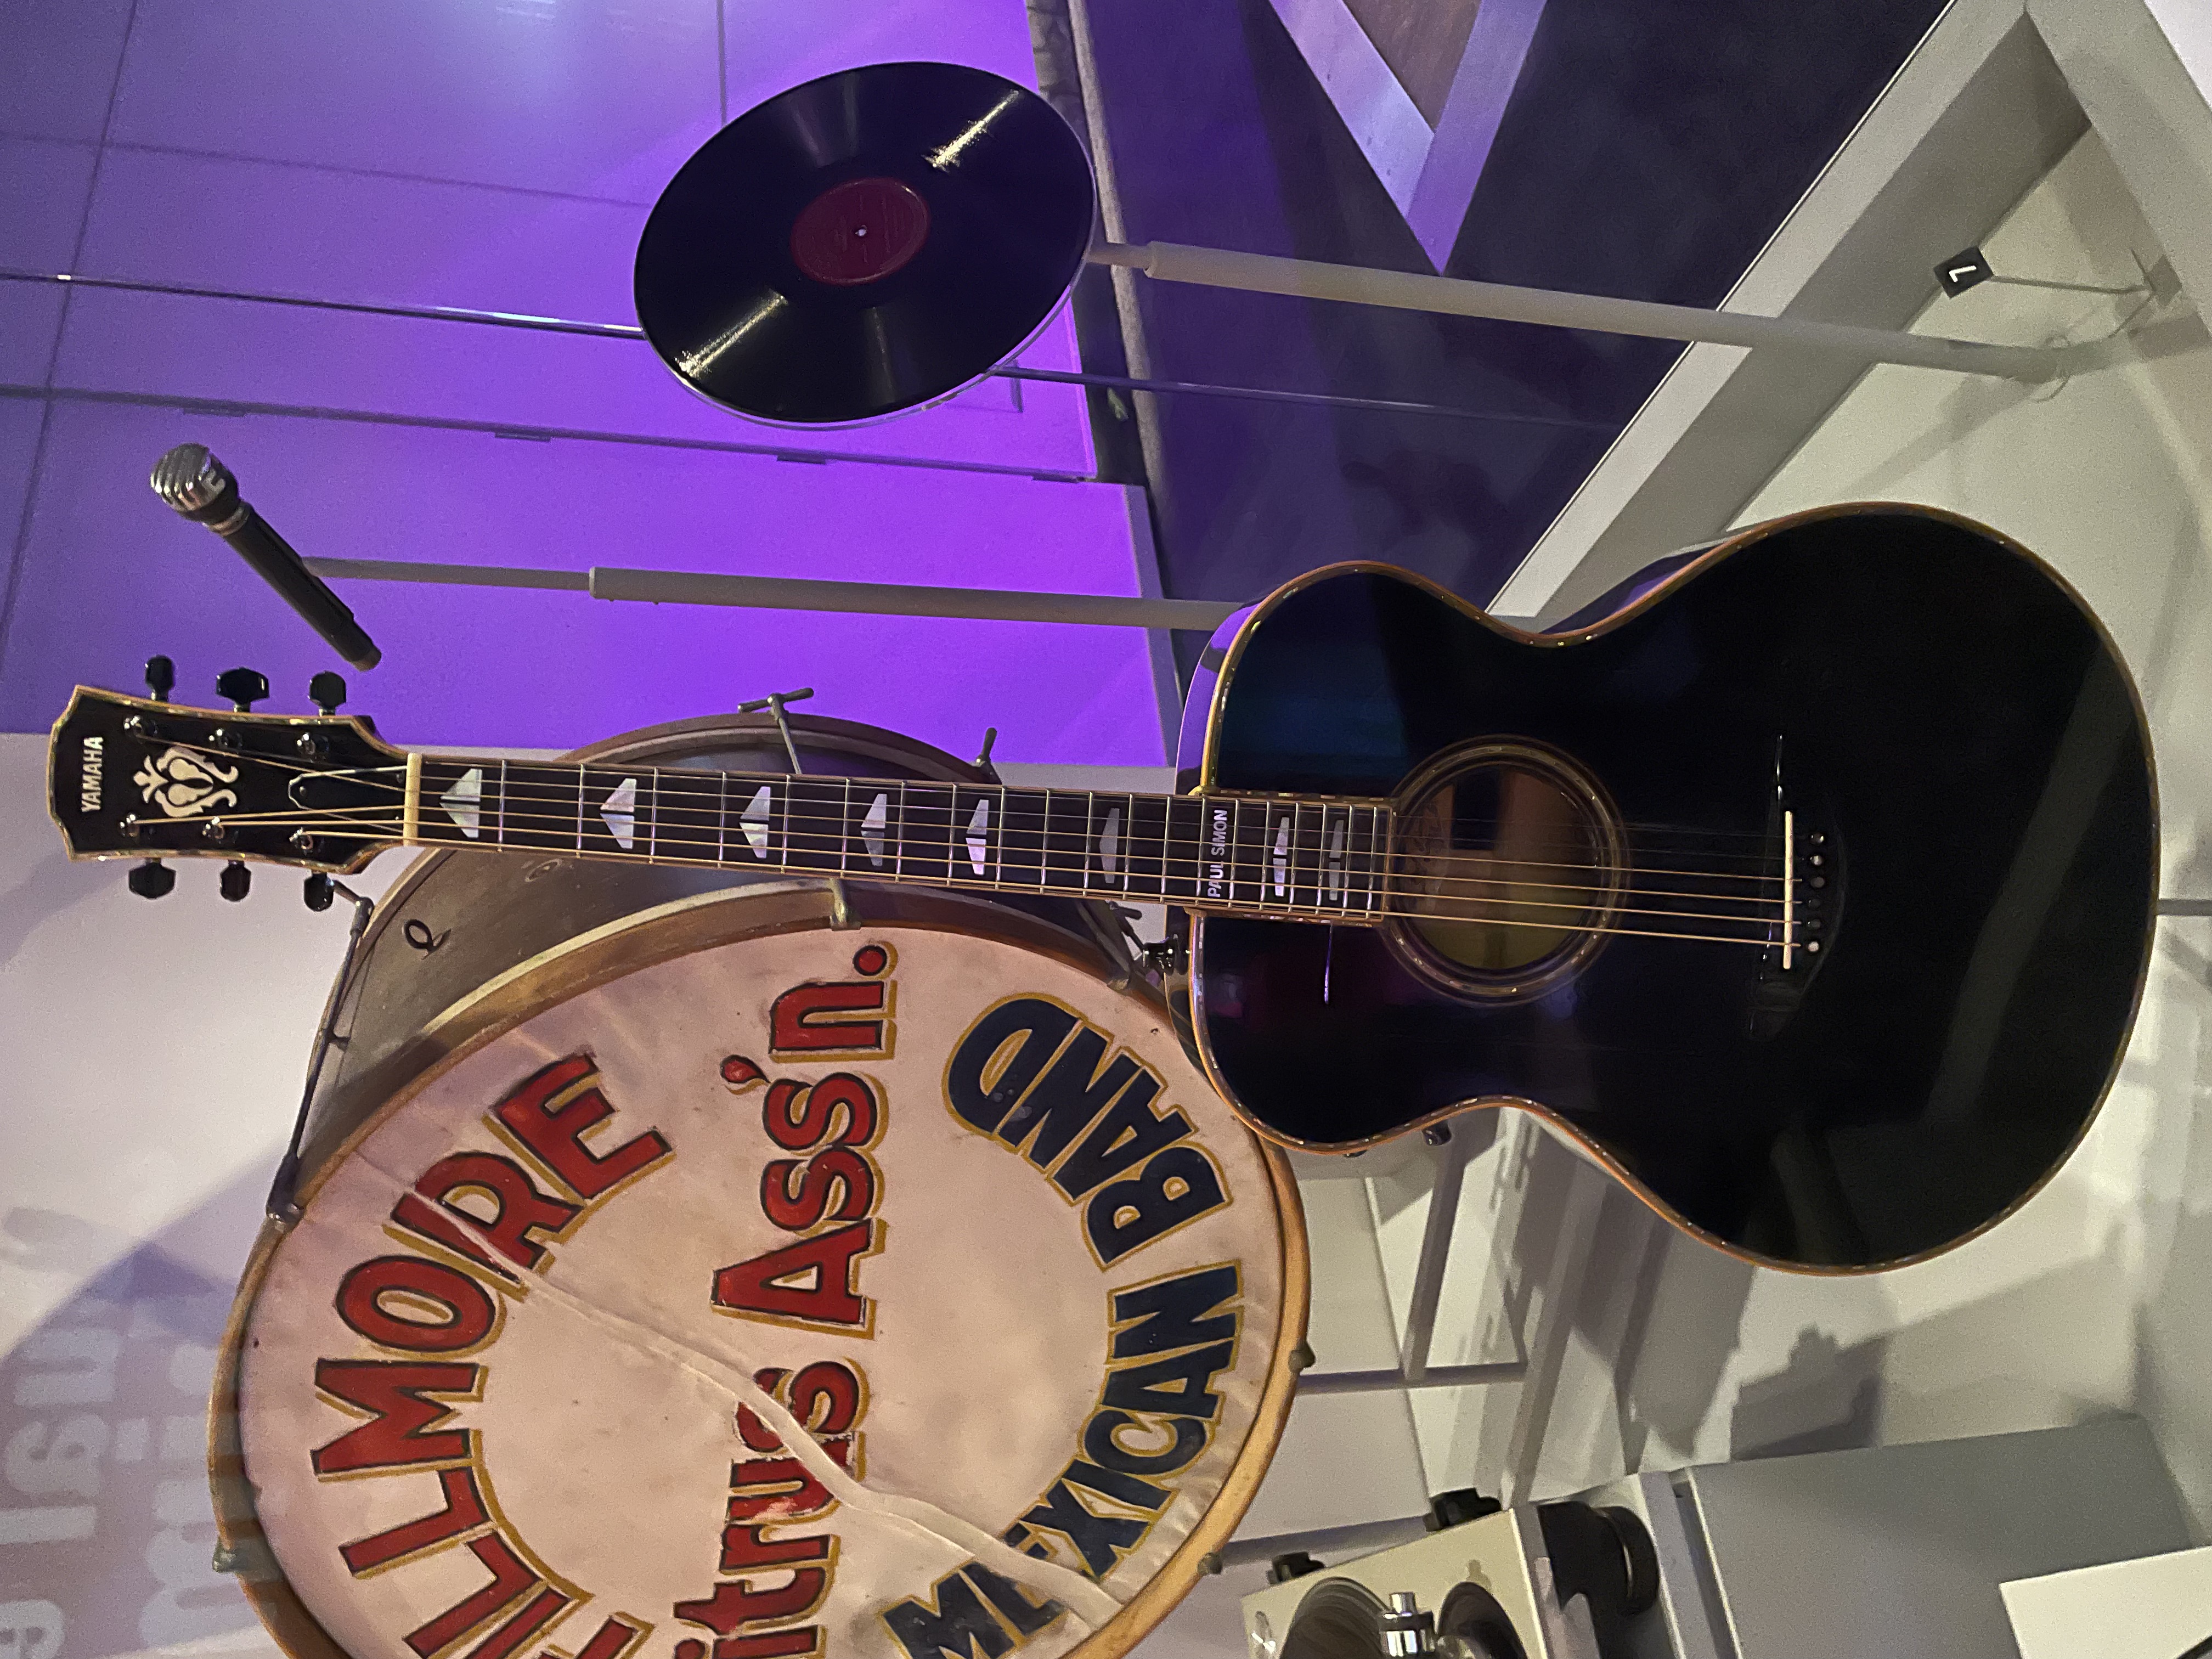
This guitar belonged to Paul Simon. Most notably, he used it during his free concert in Central Park, New York, in 1990.
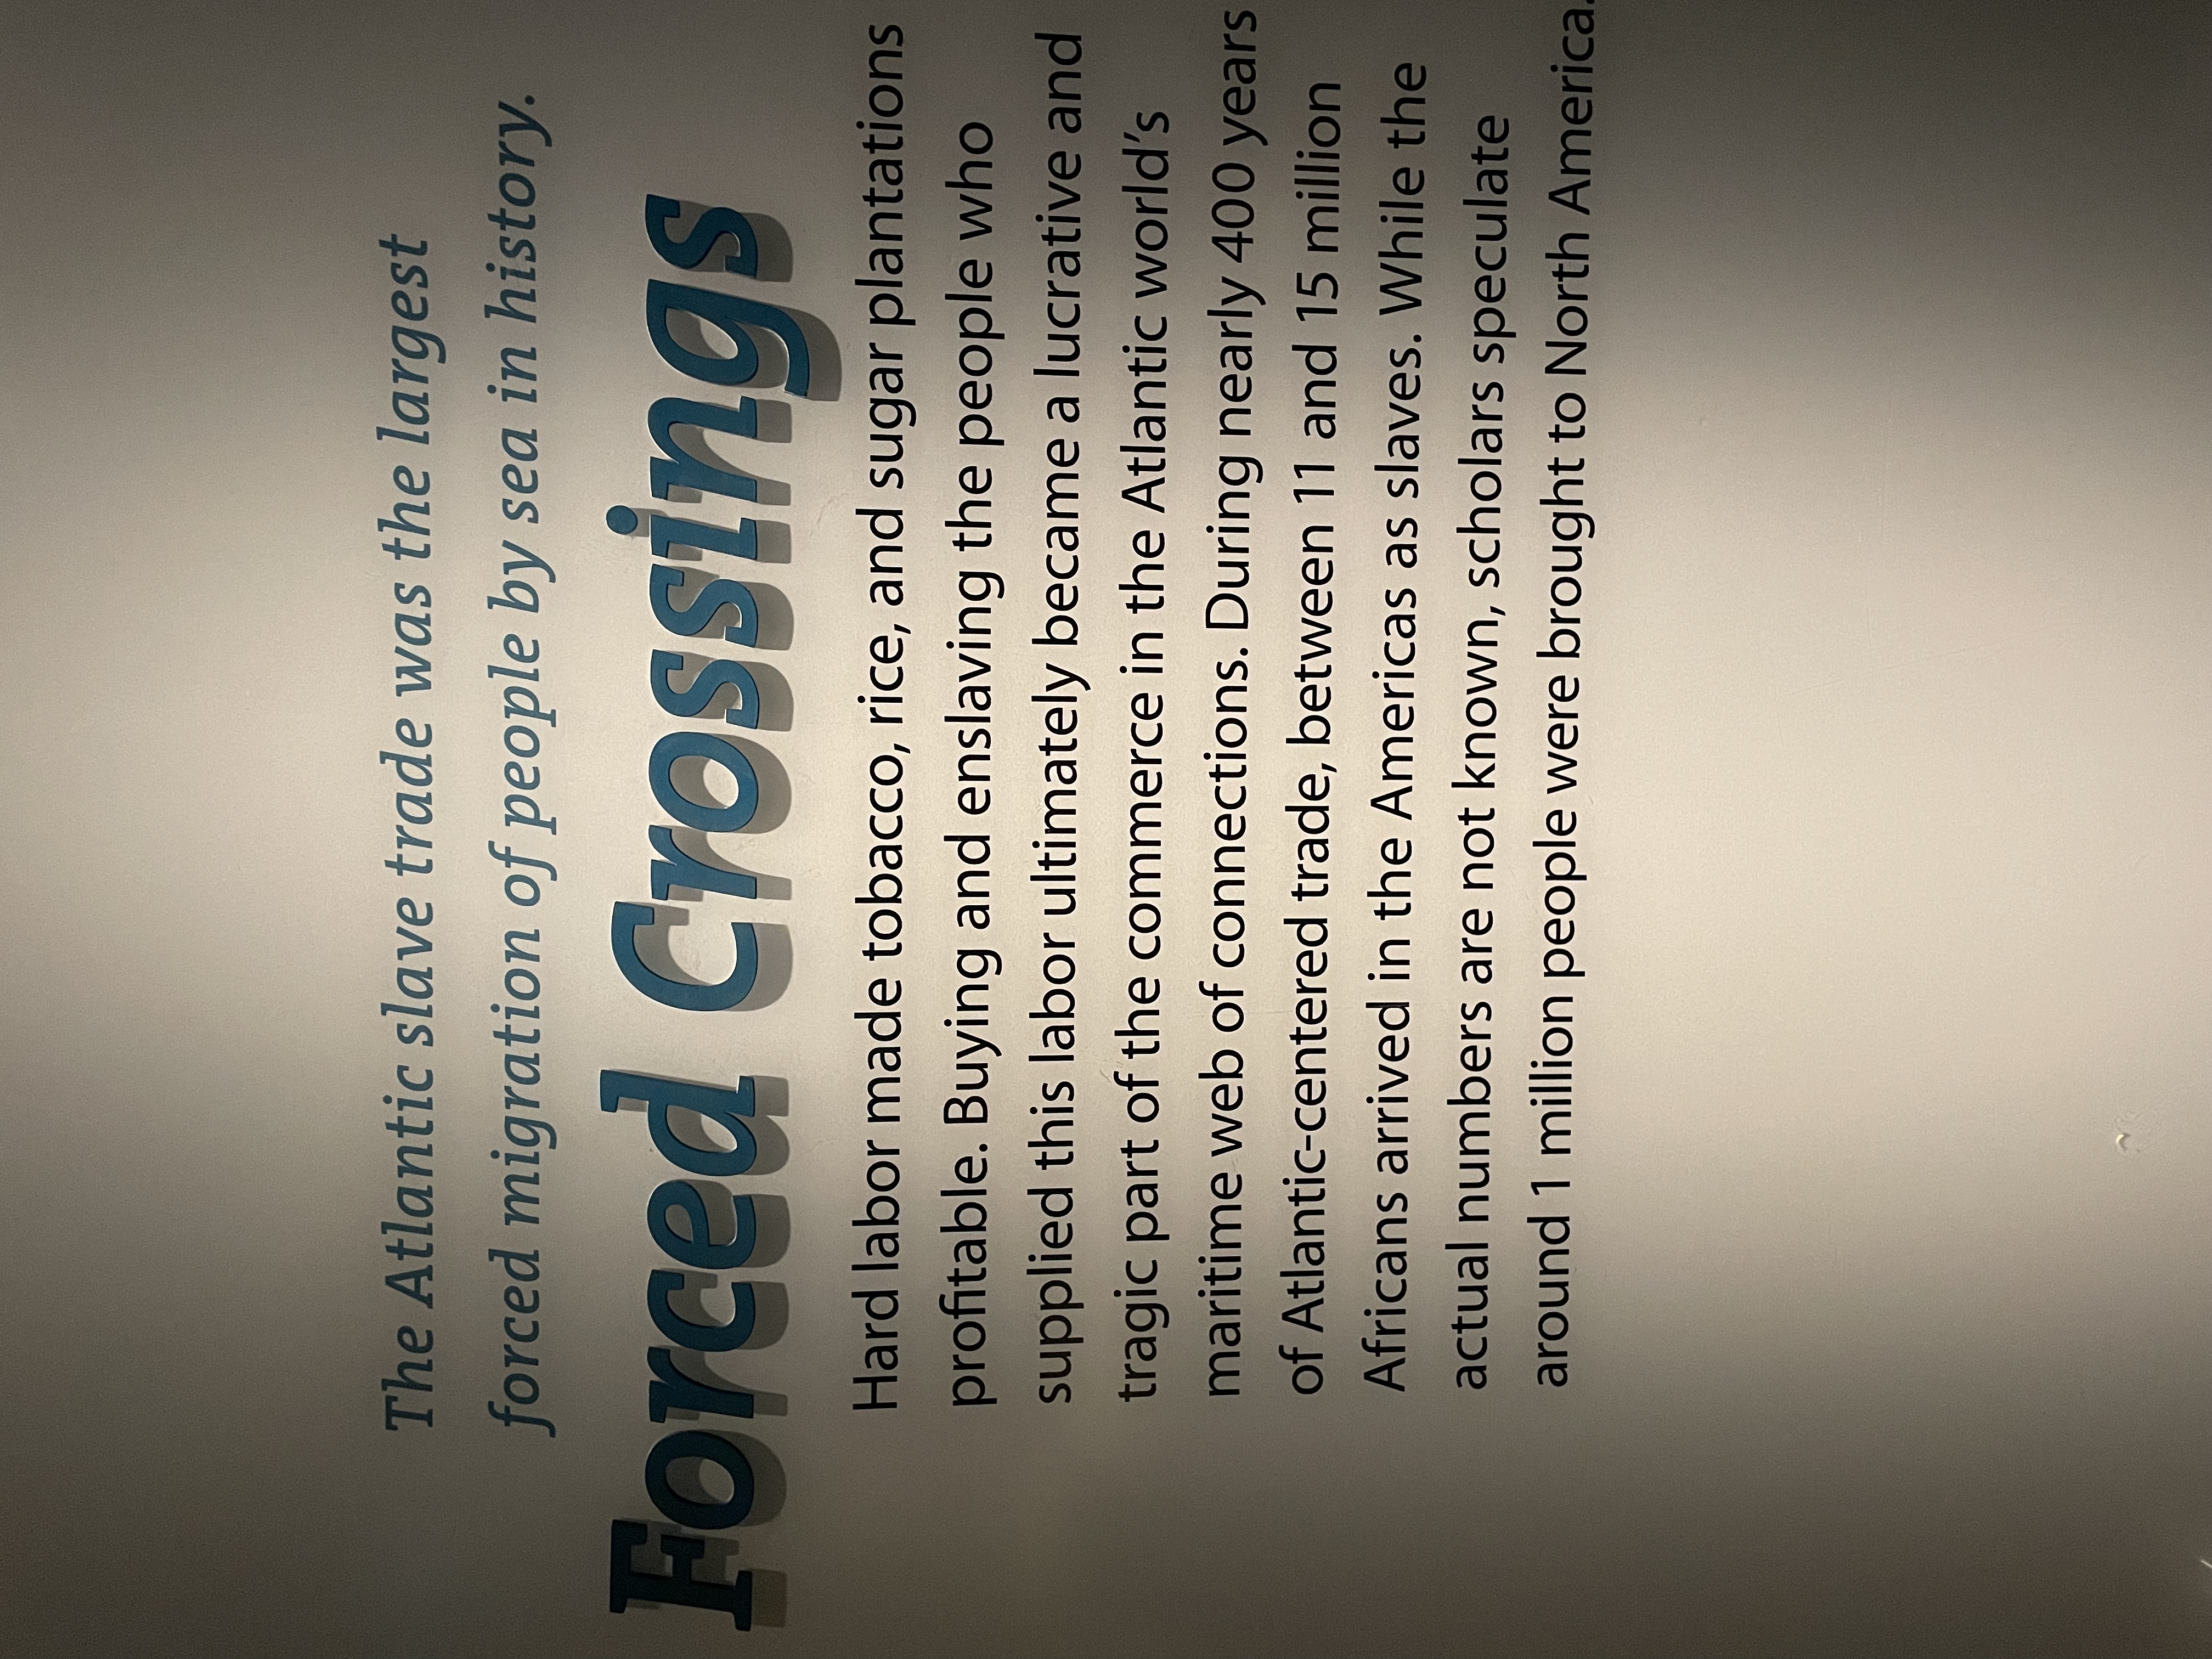
This placard hangs in the Smithsonian Museum of African American History, which we visited next. Okay, with all due respect…how many Africans were forcibly brought to the Americas? I can’t tell if it was ~1,000,000, or over 11,000,000. Is there an error here, or am I just not understanding the text?
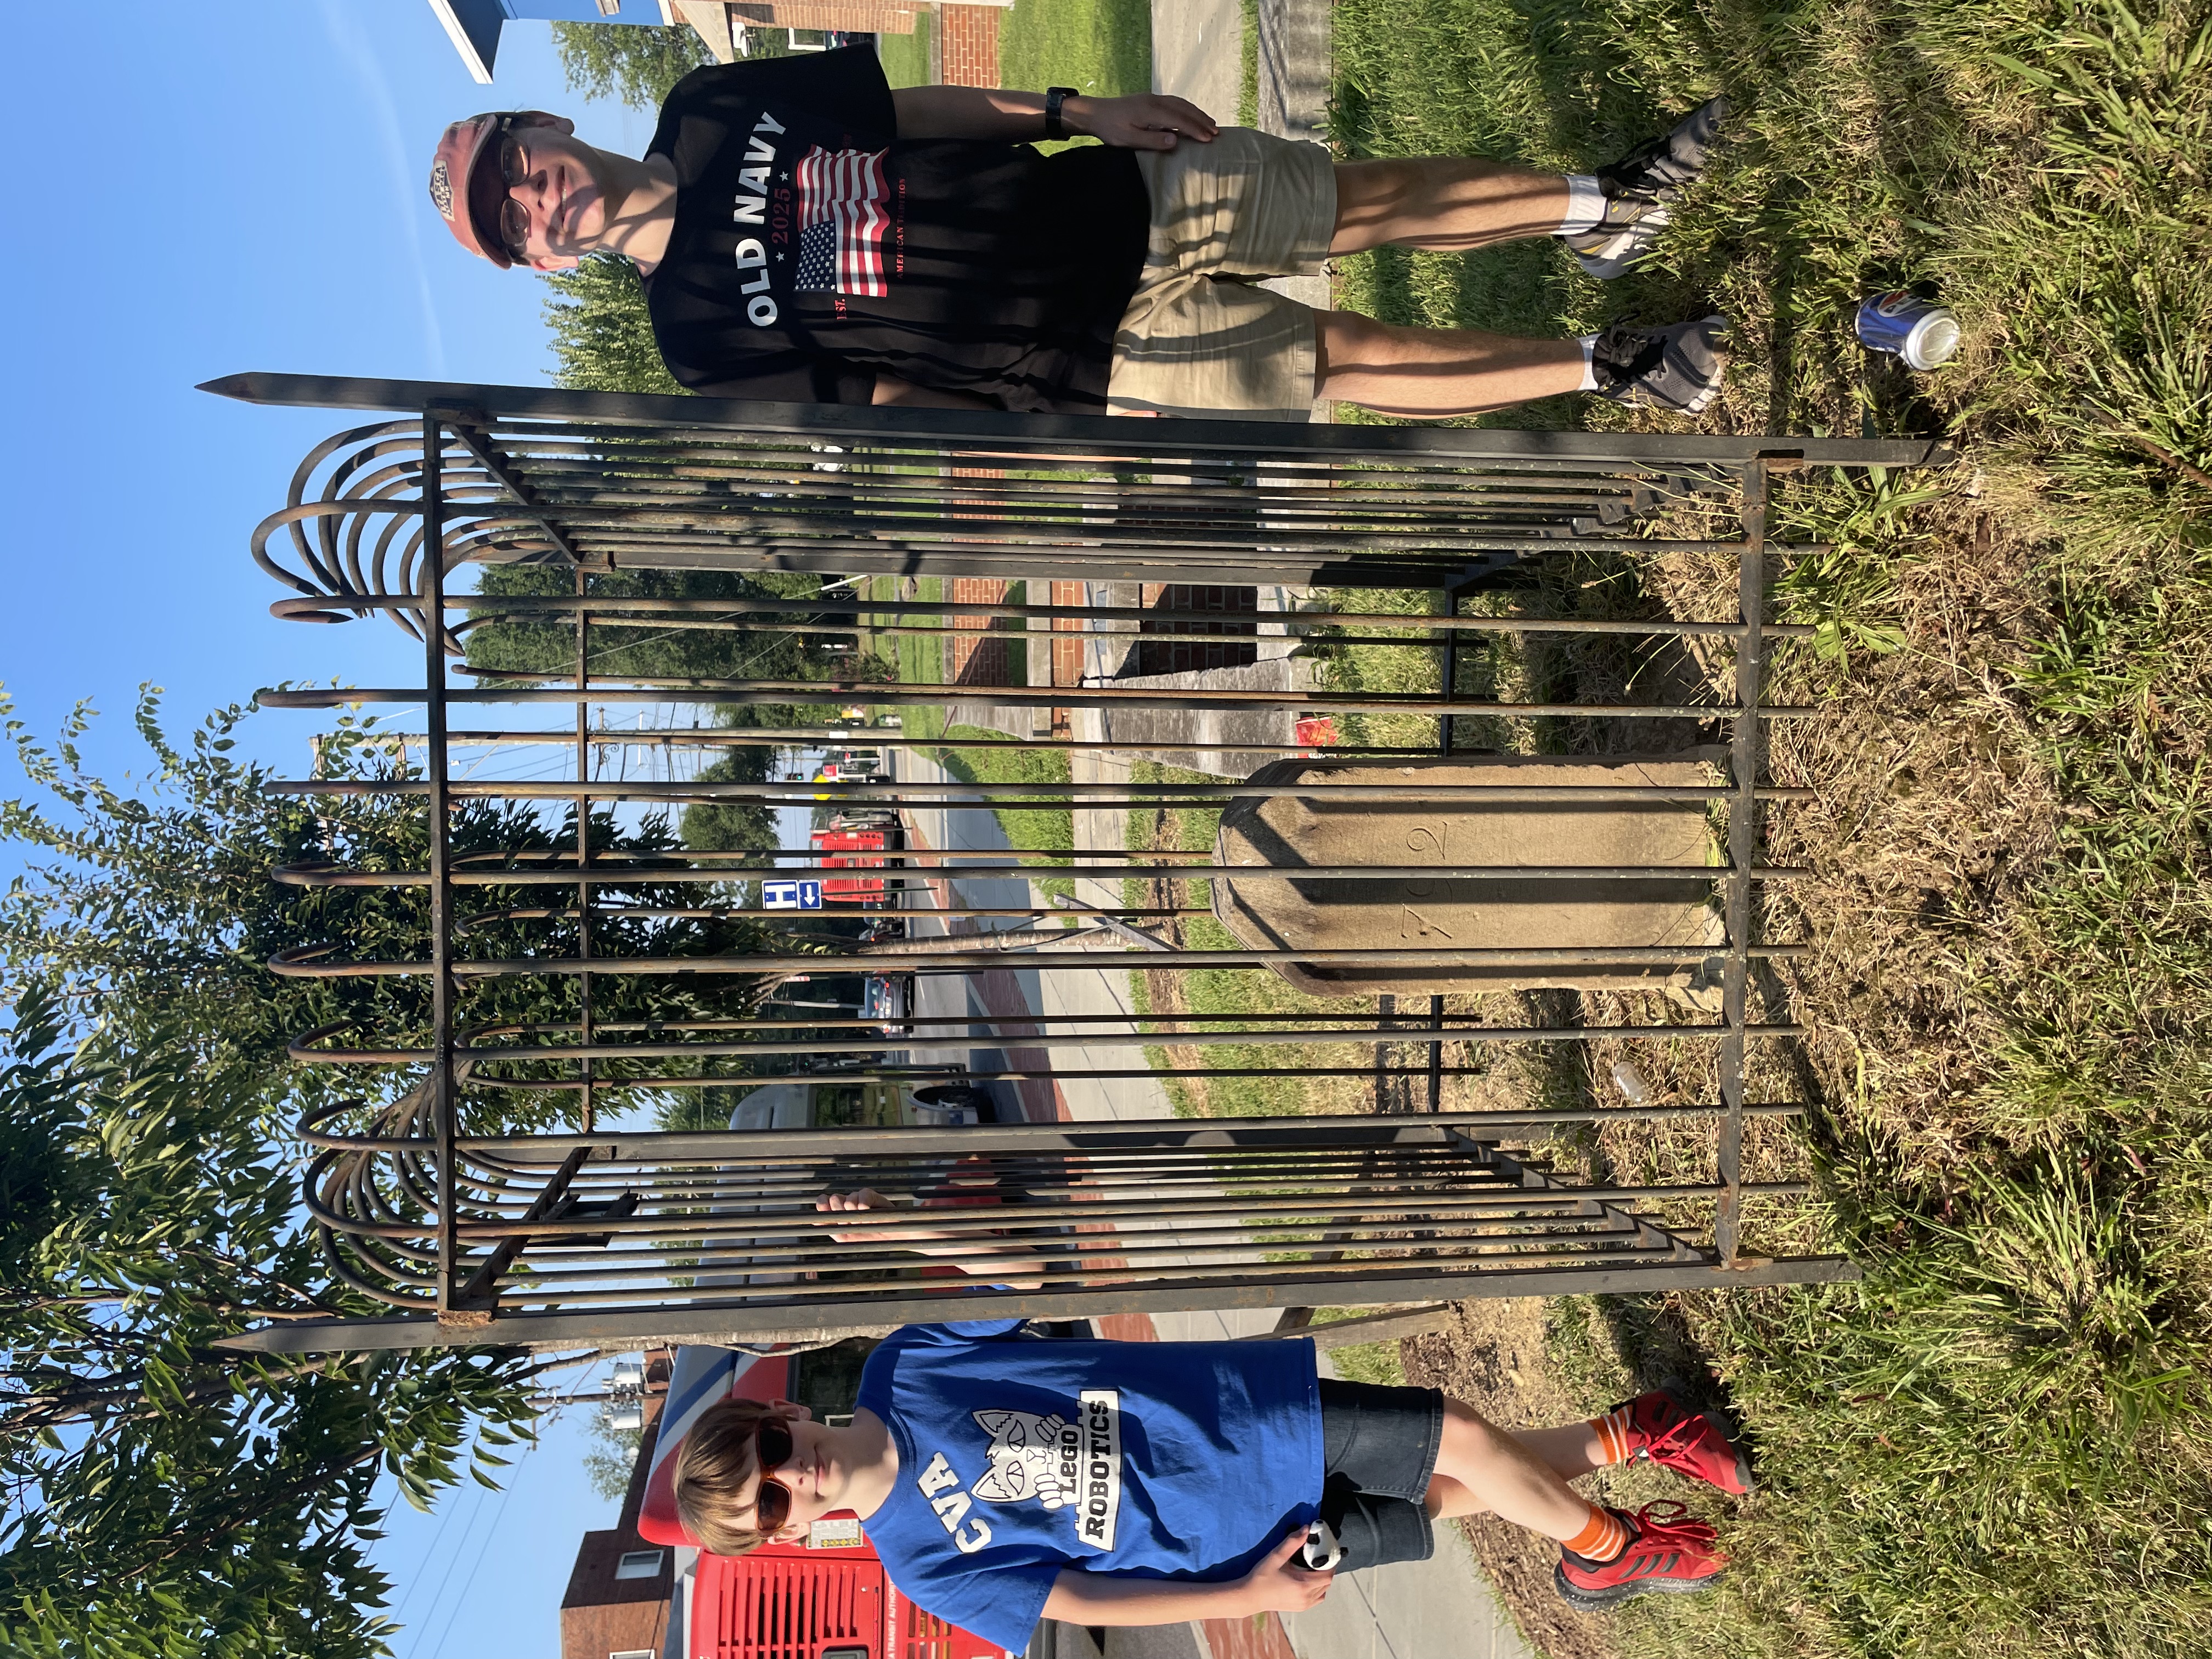
On our way back to the hotel that first day, I asked our Uber driver to stop at this monument, which was set in place in 1789. It marks the border between the District and Maryland. Emmett is standing in DC, and Joey is standing in Maryland. Not pictured is our very patient Uber driver, who received a nice tip.
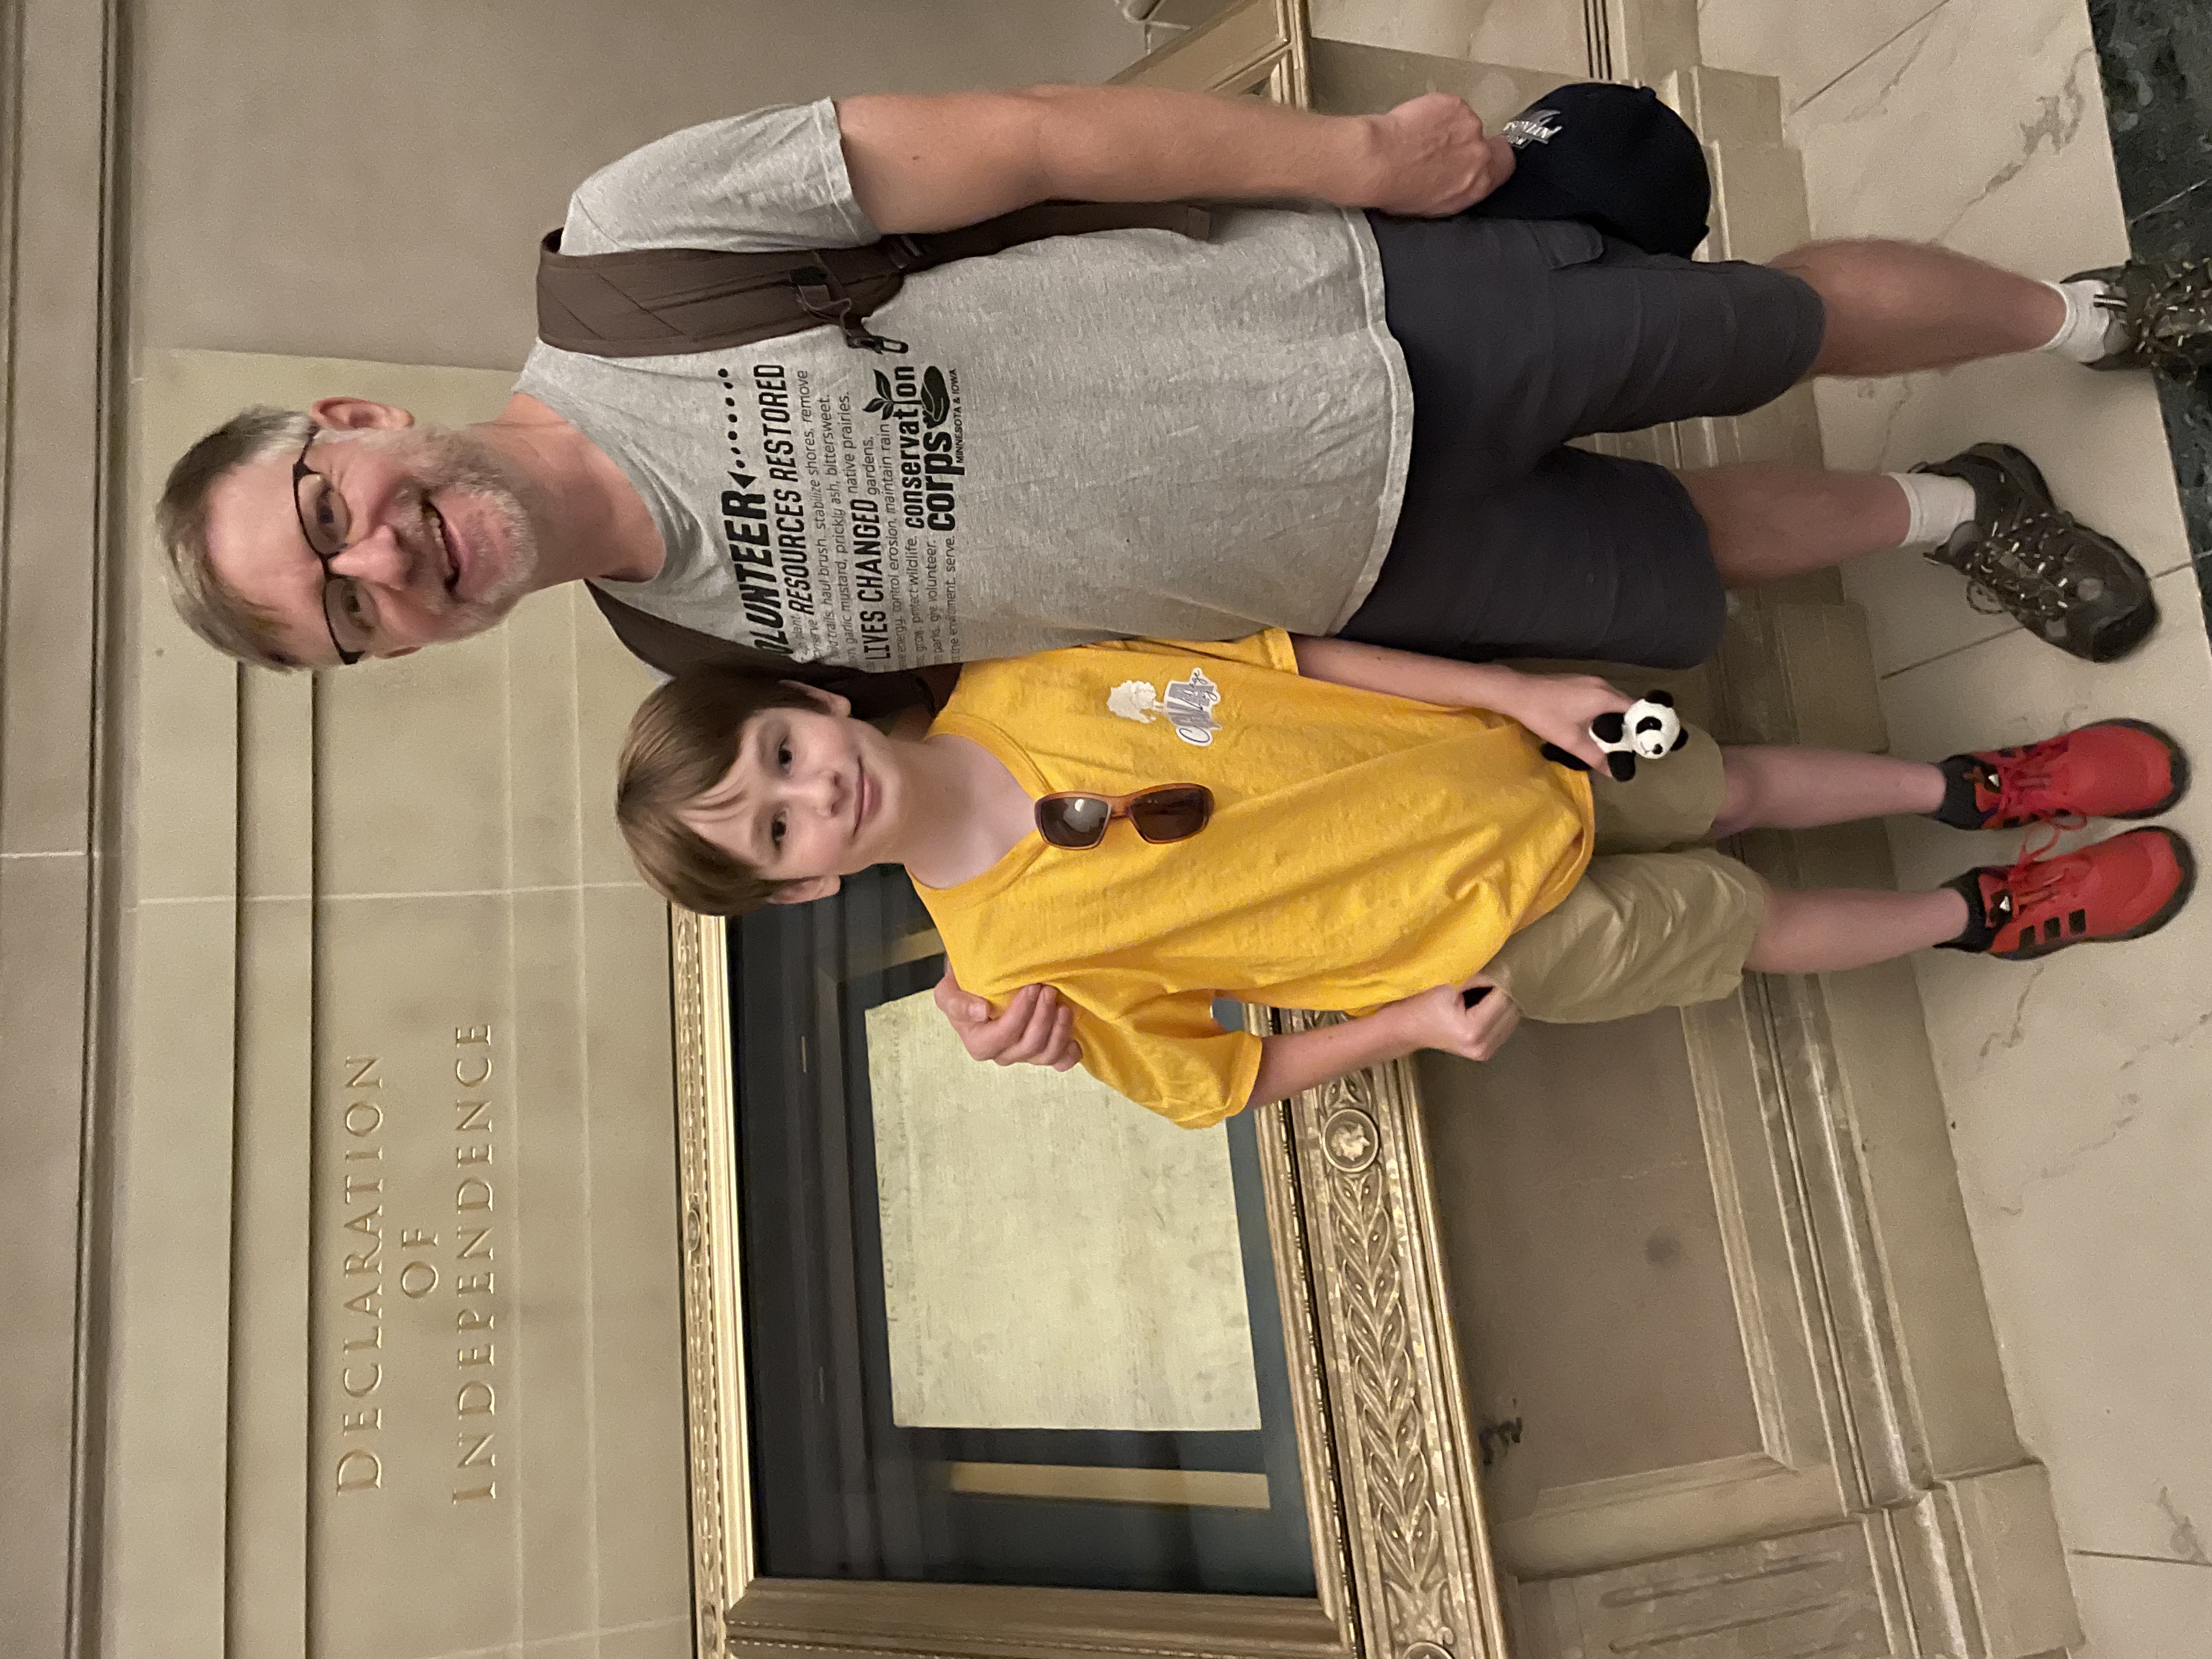
We began our second full day in the DC area by visiting the National Archives. Here are Emmett and me standing in front of the Declaration of Independence. Very cool to say we’ve seen it, but…it’s not much to look at. As you can imagine, it is very faded now that over 249 years have passed since Jefferson set quill to parchment. See it before it’s gone, folks!
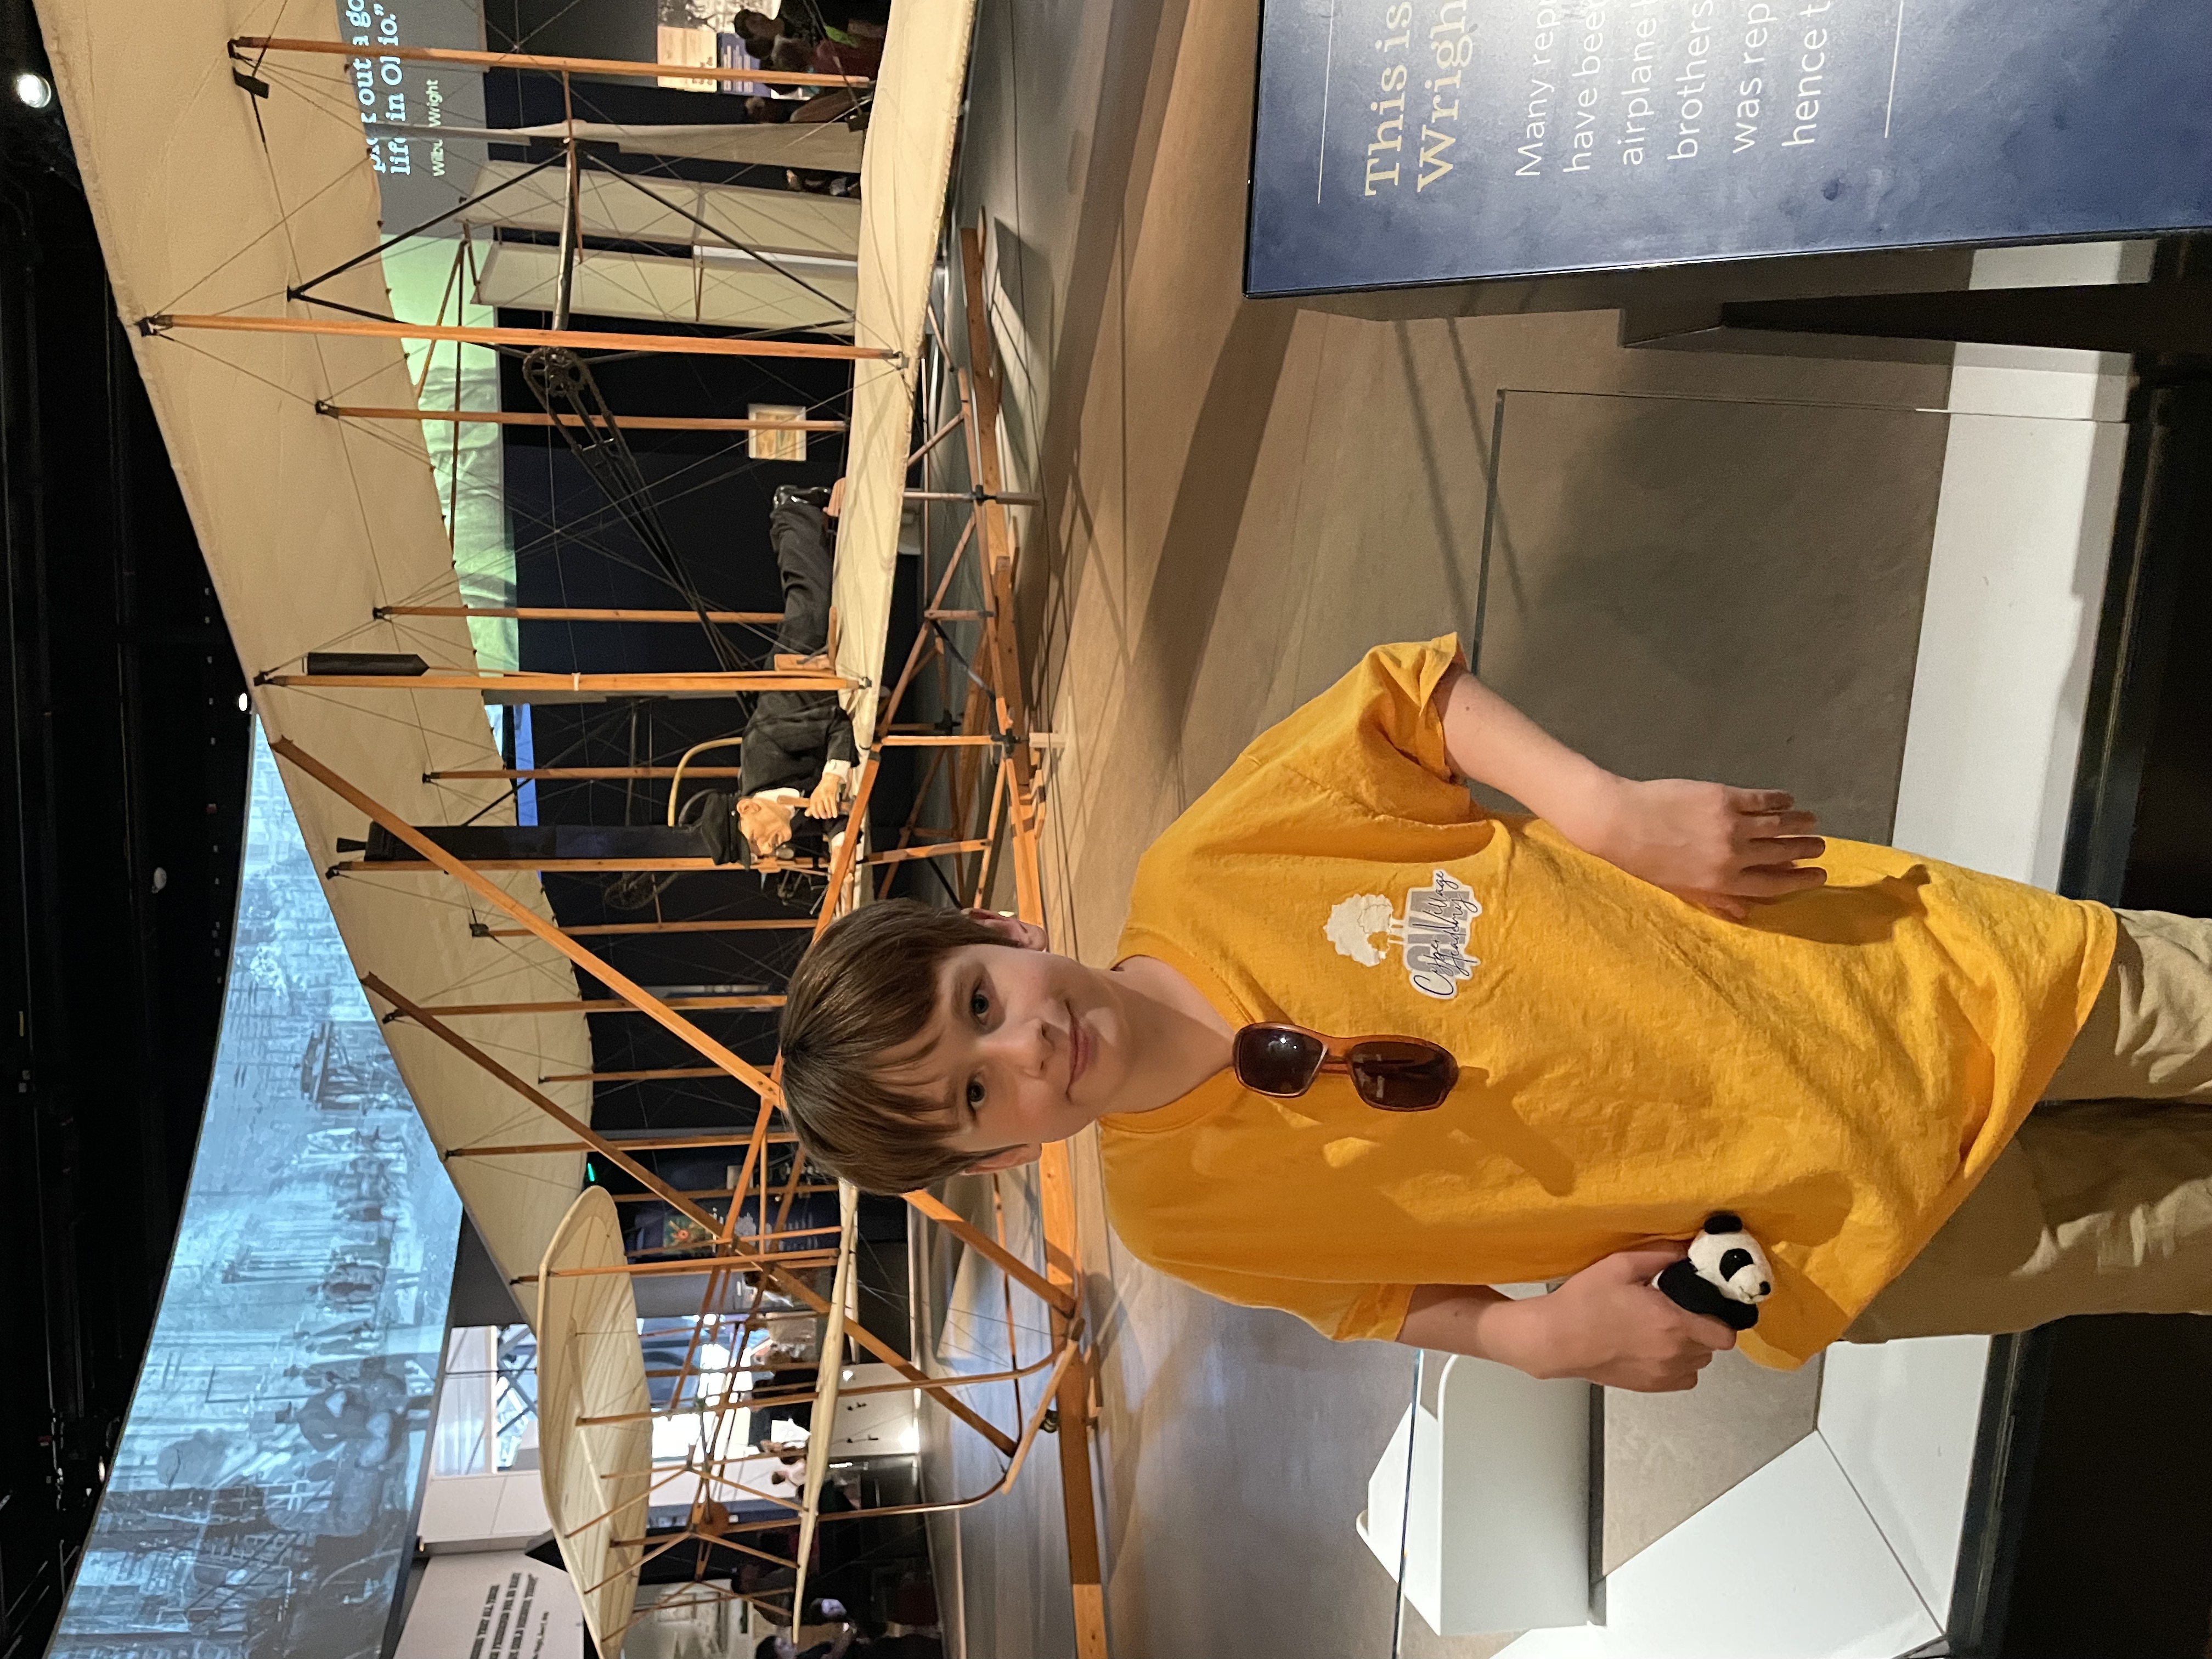
After leaving the National Archives, we visited the Smithsonian Air and Space Museum. This was my first time at this museum, and I am hereby declaring it Noteworthy Event #4. It was so crowded, I had a tough time seeing how there was that much space, but we had a great time. Here Emmett is standing in front of the Wrights’ first workable airplane. We did not get to ride it, but it was cool to see.
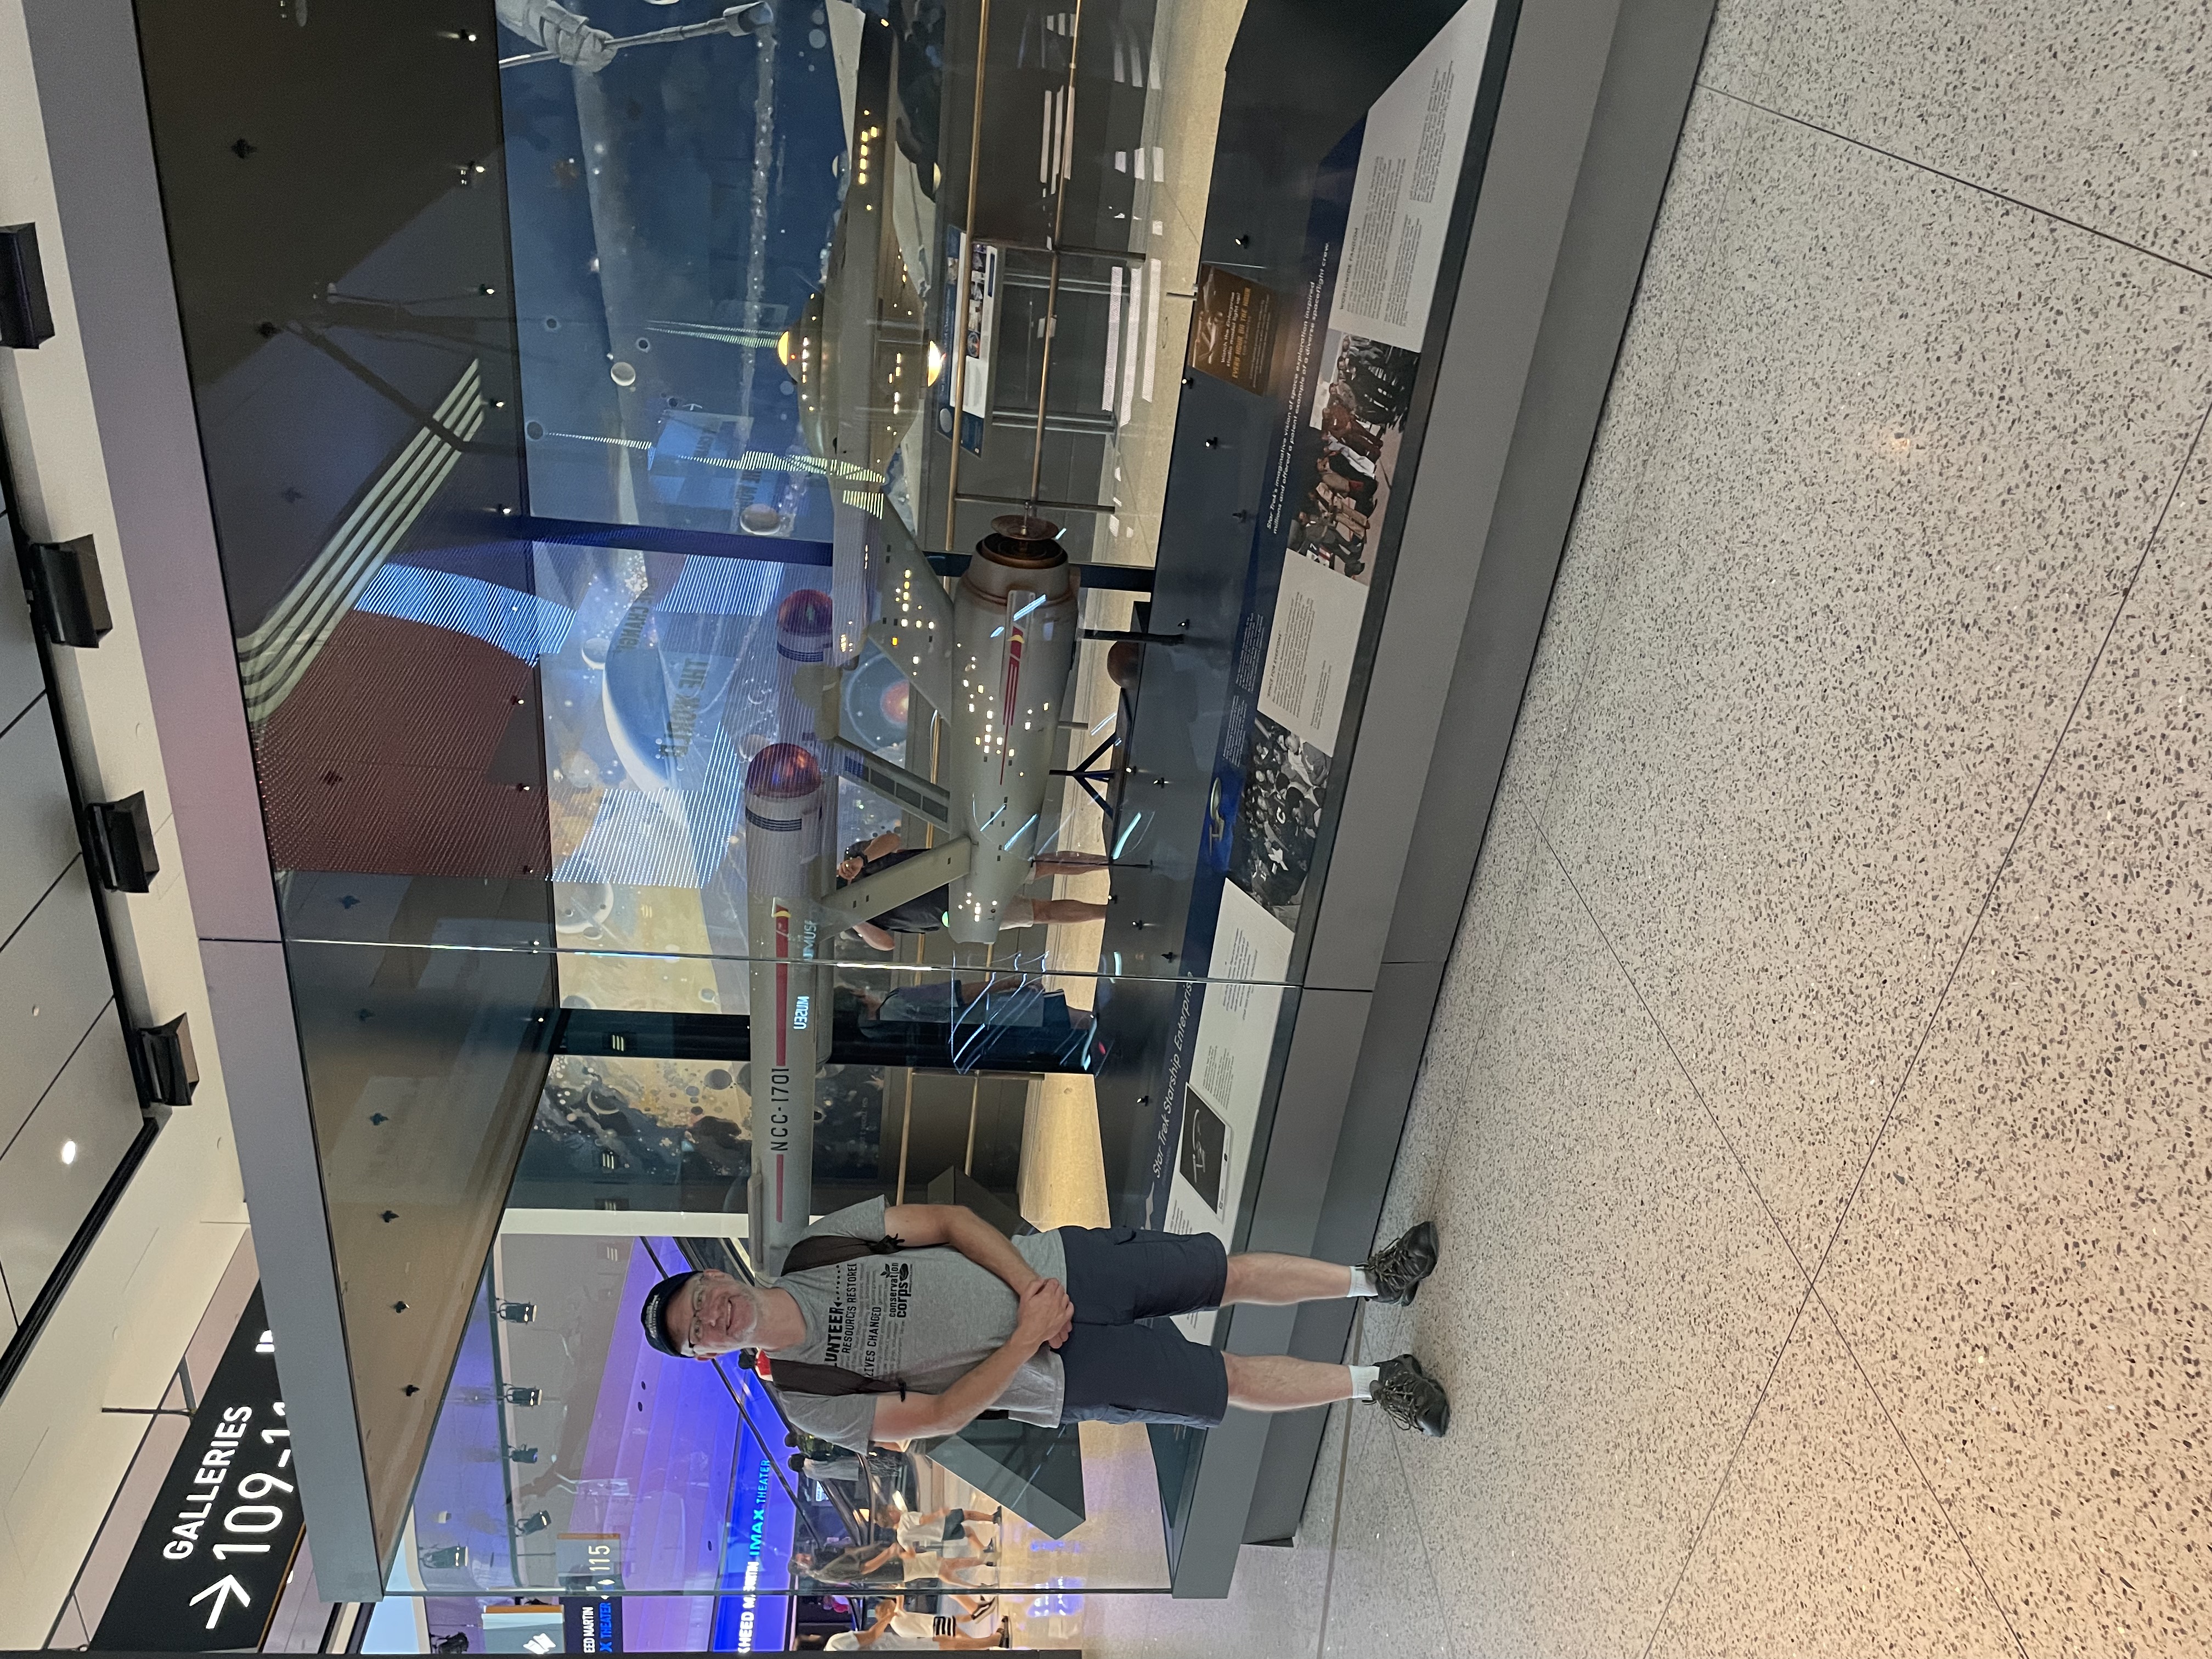
Oh my god, oh my god! It’s the actual USS Enterprise from Star Trek: The Original Series. On the hour, it lights up. Of course we stayed to see that. Makes you appreciate how small William Shatner must be.
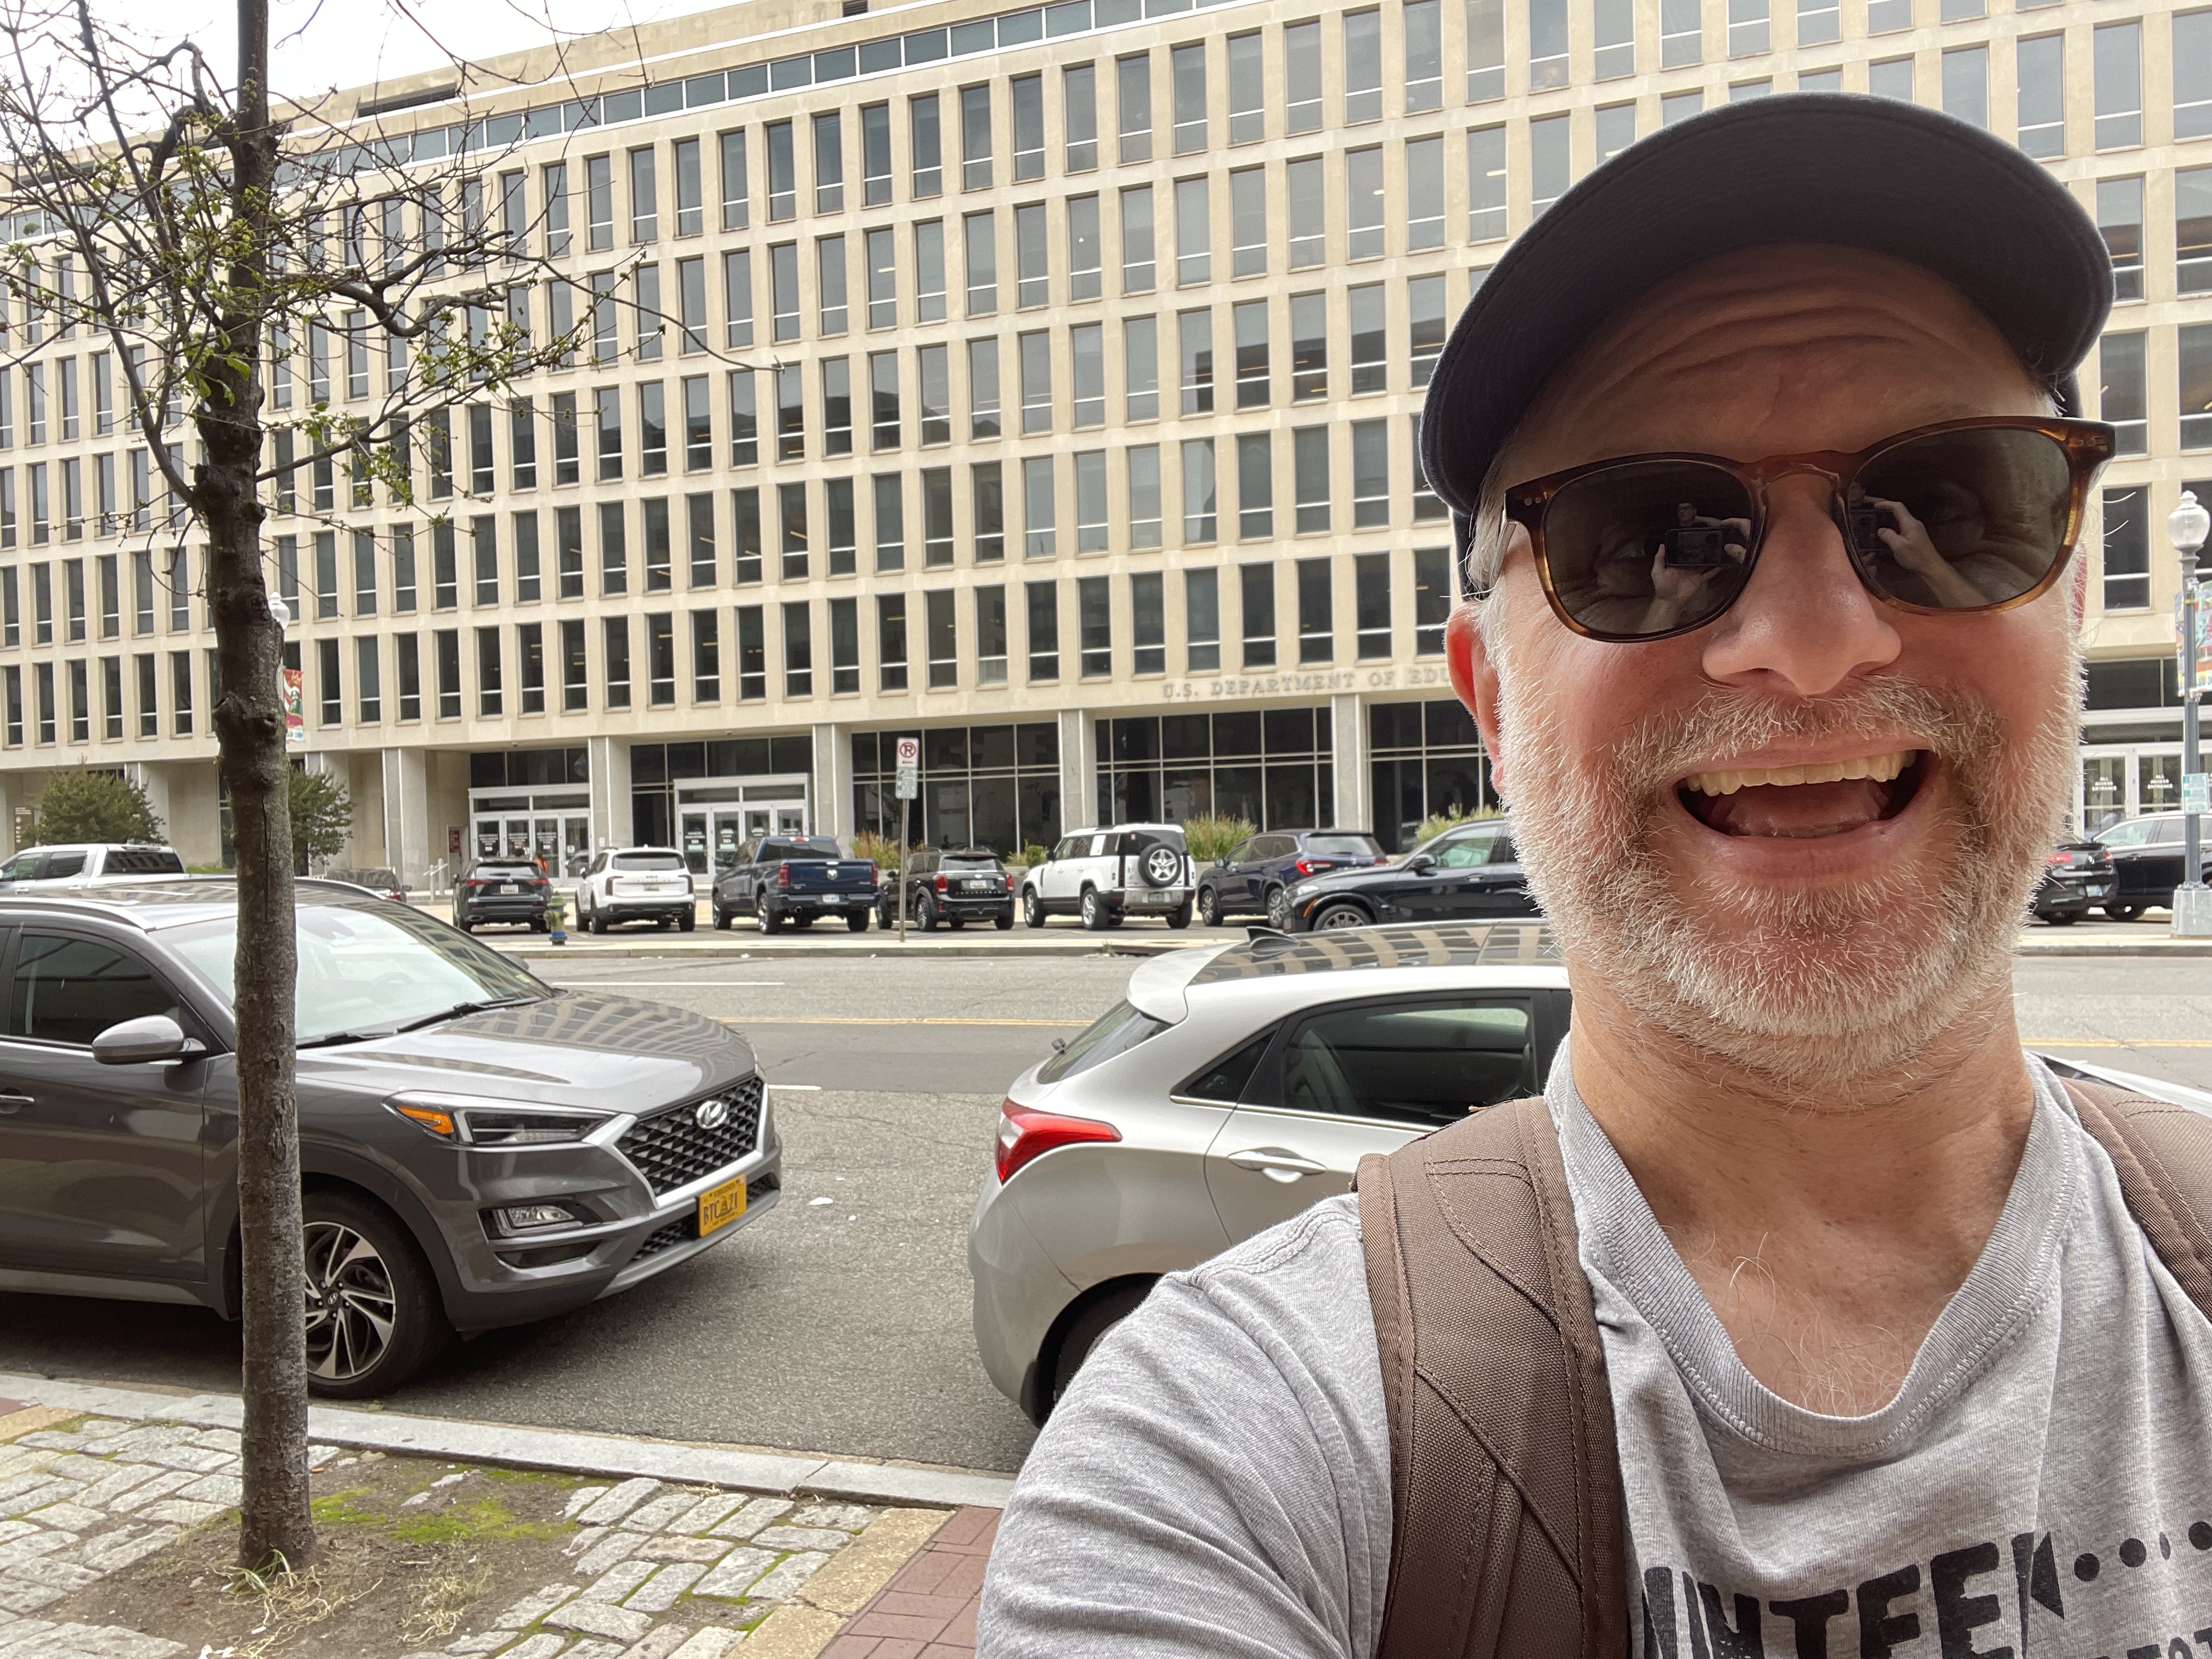
Here I am in front of an endangered species: The Department of Education. Another thing to see before it’s gone.
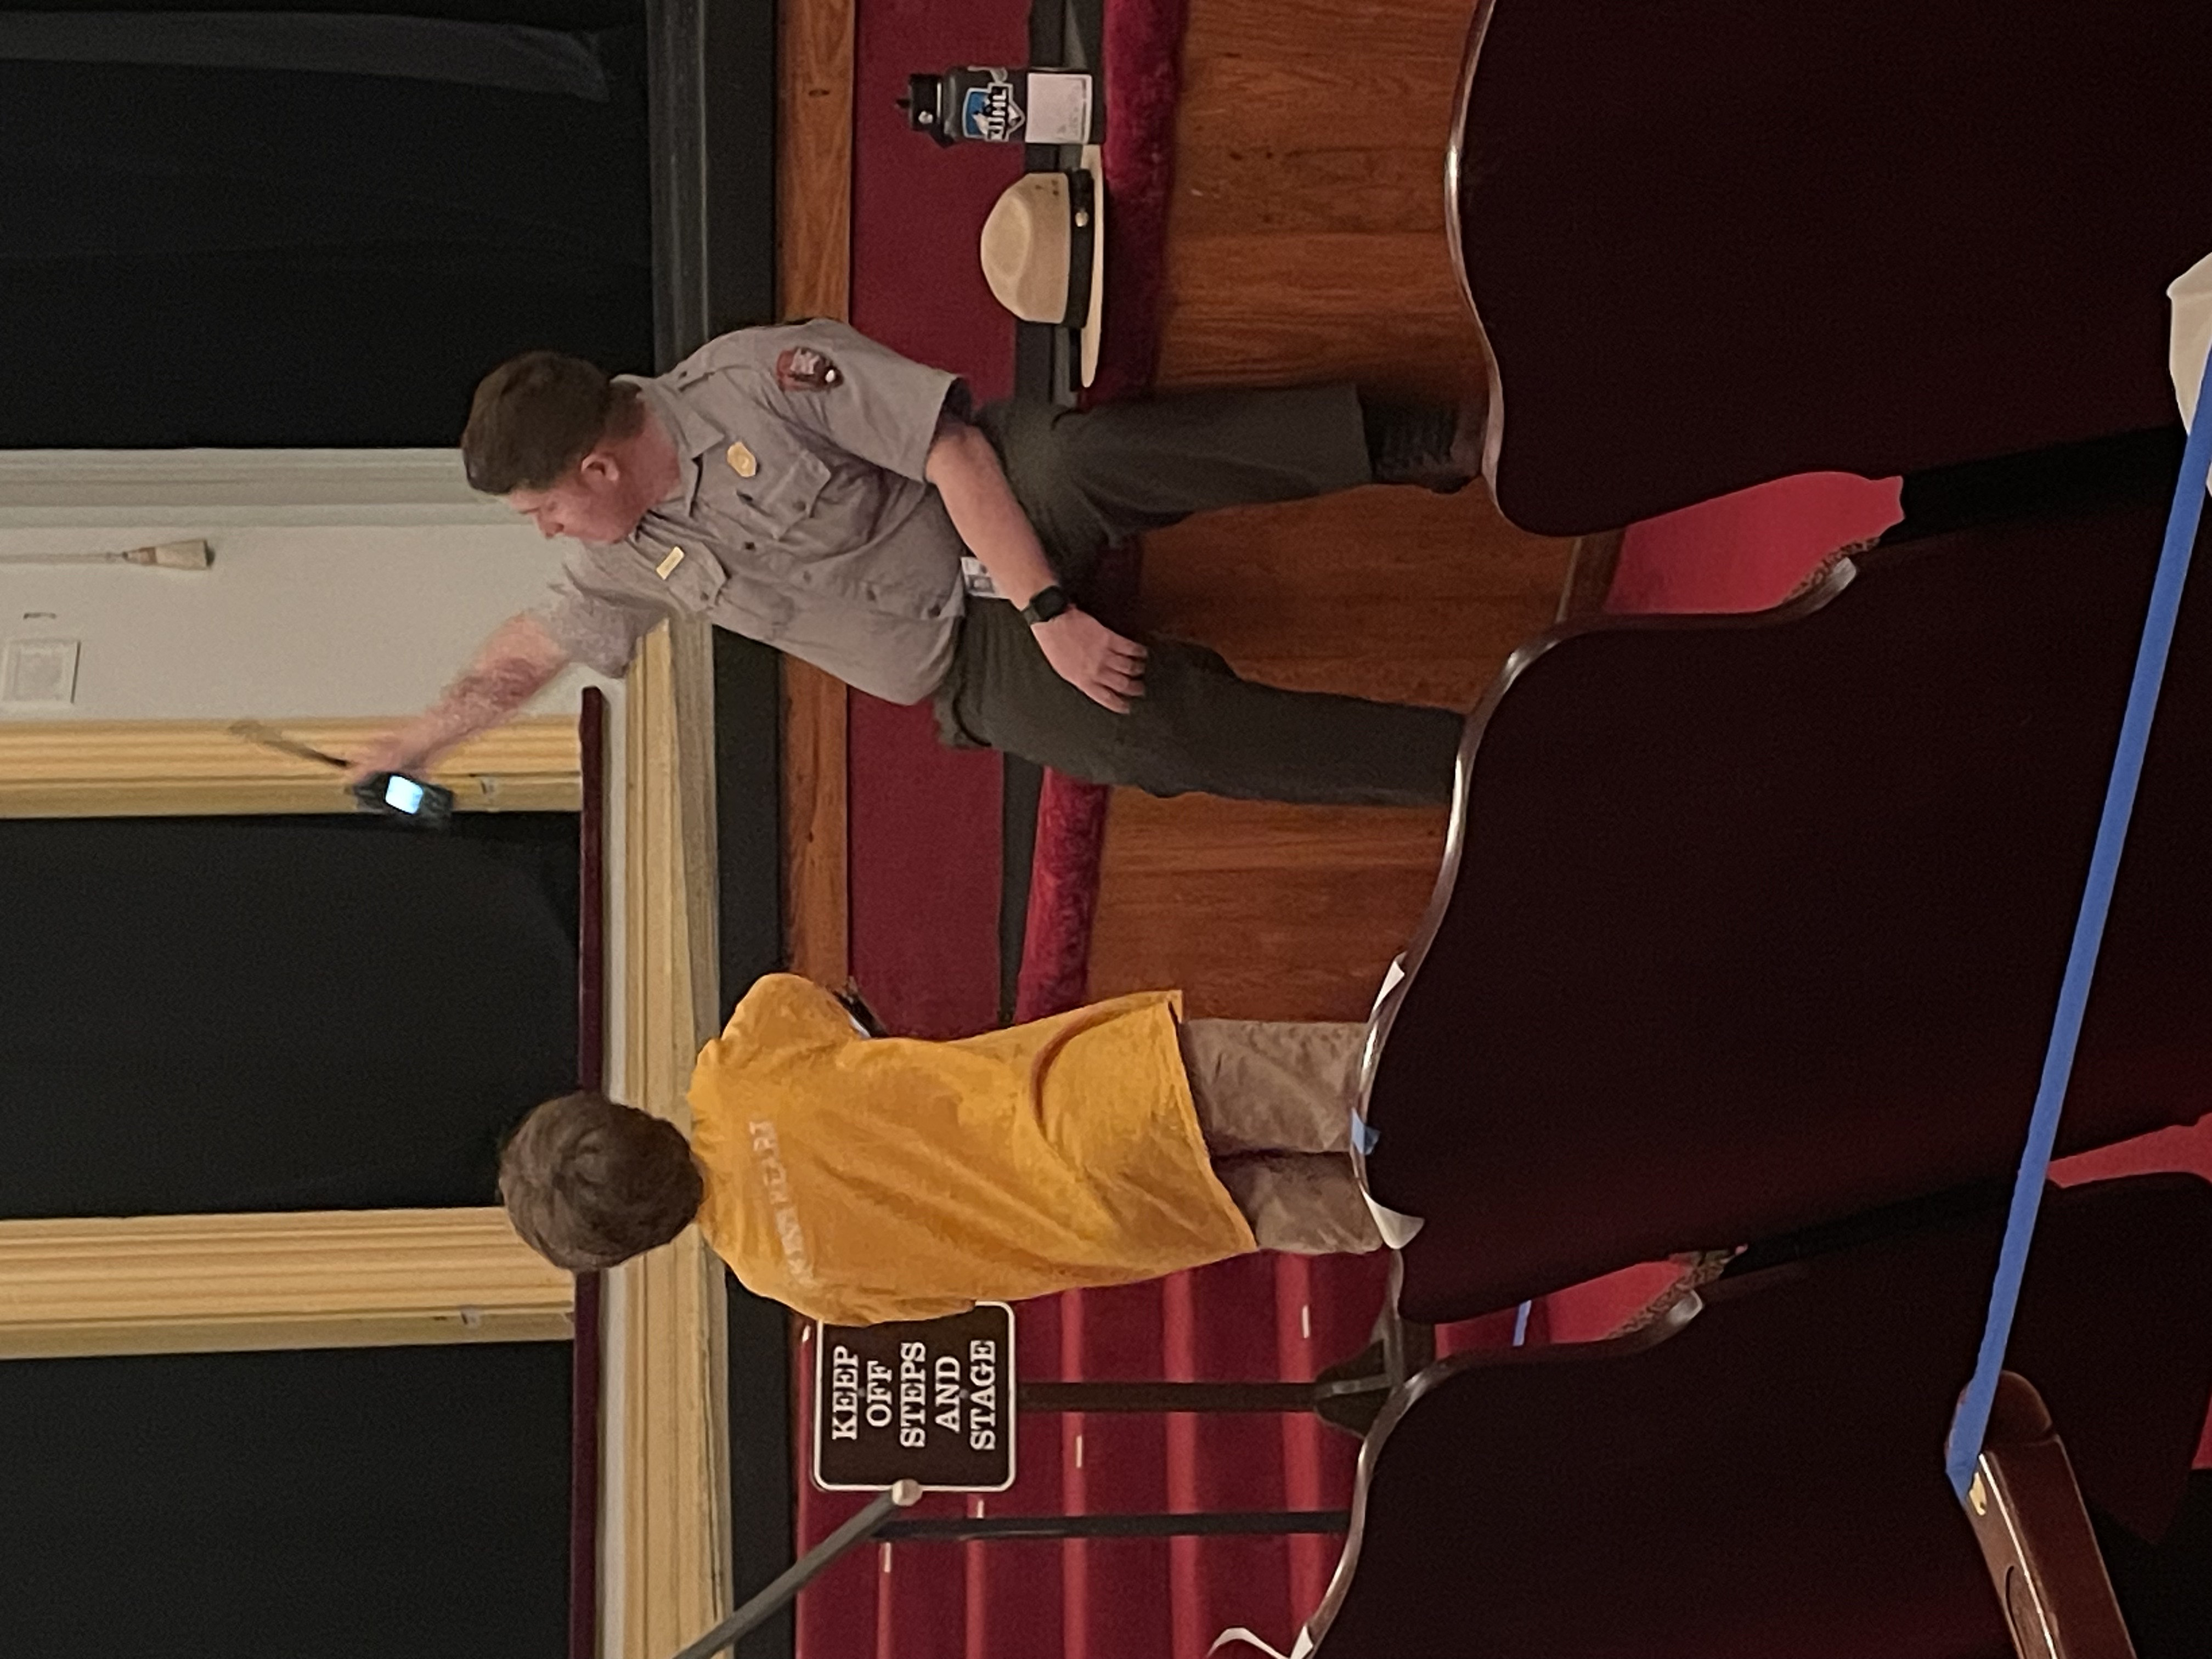
Later that day, we visited Ford’s Theater. This was my second time visiting the theater; both experiences were quite different, and both were excellent. When I visited in 2023, we sat in the theater and listened and watched as a park ranger gave an amazing presentation of the events of the night Lincoln was shot. This time, we toured the museum in the basement and then were allowed to walk around and explore the theater. The ranger asked if anyone had any questions about what we were seeing, and Emmett had, like, seven.
Here we are sitting in the theater. Many of the wooden armrests have small plaques on them indicating a famous person has sat there. Now that we’ve sat in these three chairs, they’re gonna have to add three more plaques.
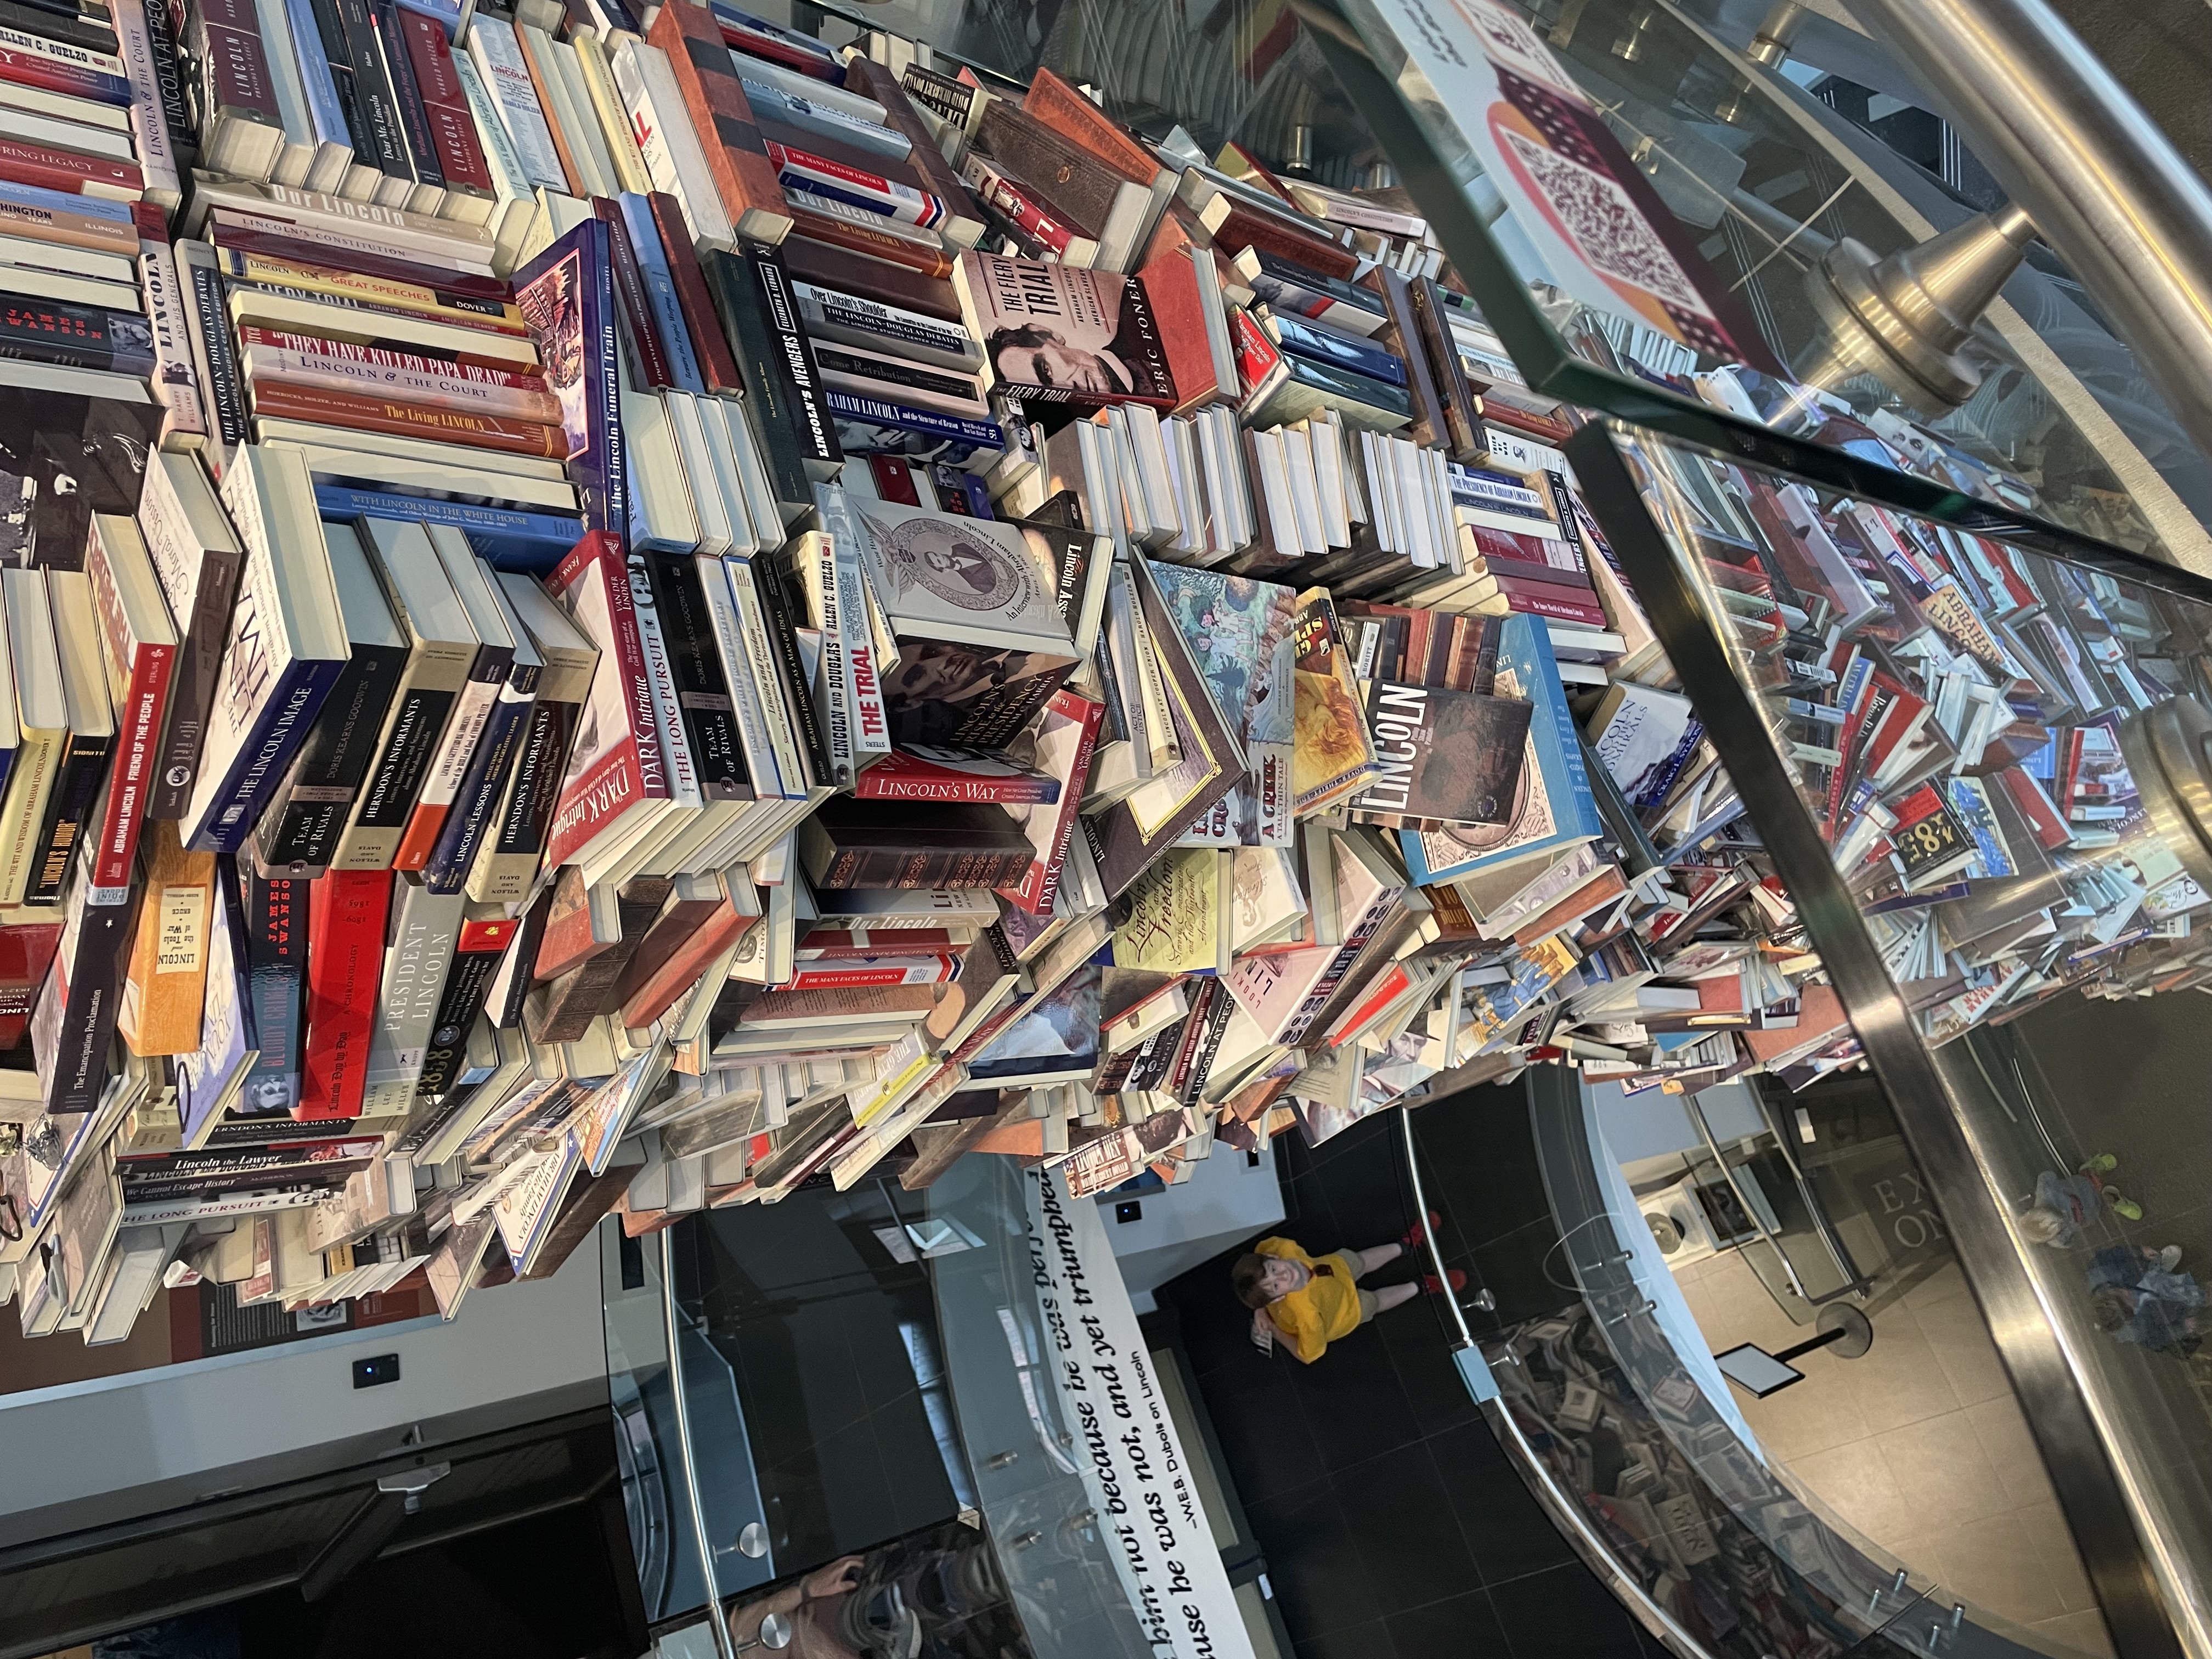
Across the street from Ford’s Theater is the Petersen House, where Lincoln was taken to following the shooting. He spent his final hours there until he passed away on April 15, 1865. Touring the house was very interesting, and there is now a museum adjacent to it. As we descended the stairs to leave the museum, I was pretty impressed with this stack of books about Lincoln (yes, there are duplicates). Look closely: Joey’s left arm is in the top left of the image – he is one floor below me. Two floors below me you can see Emmett mugging for the camera.
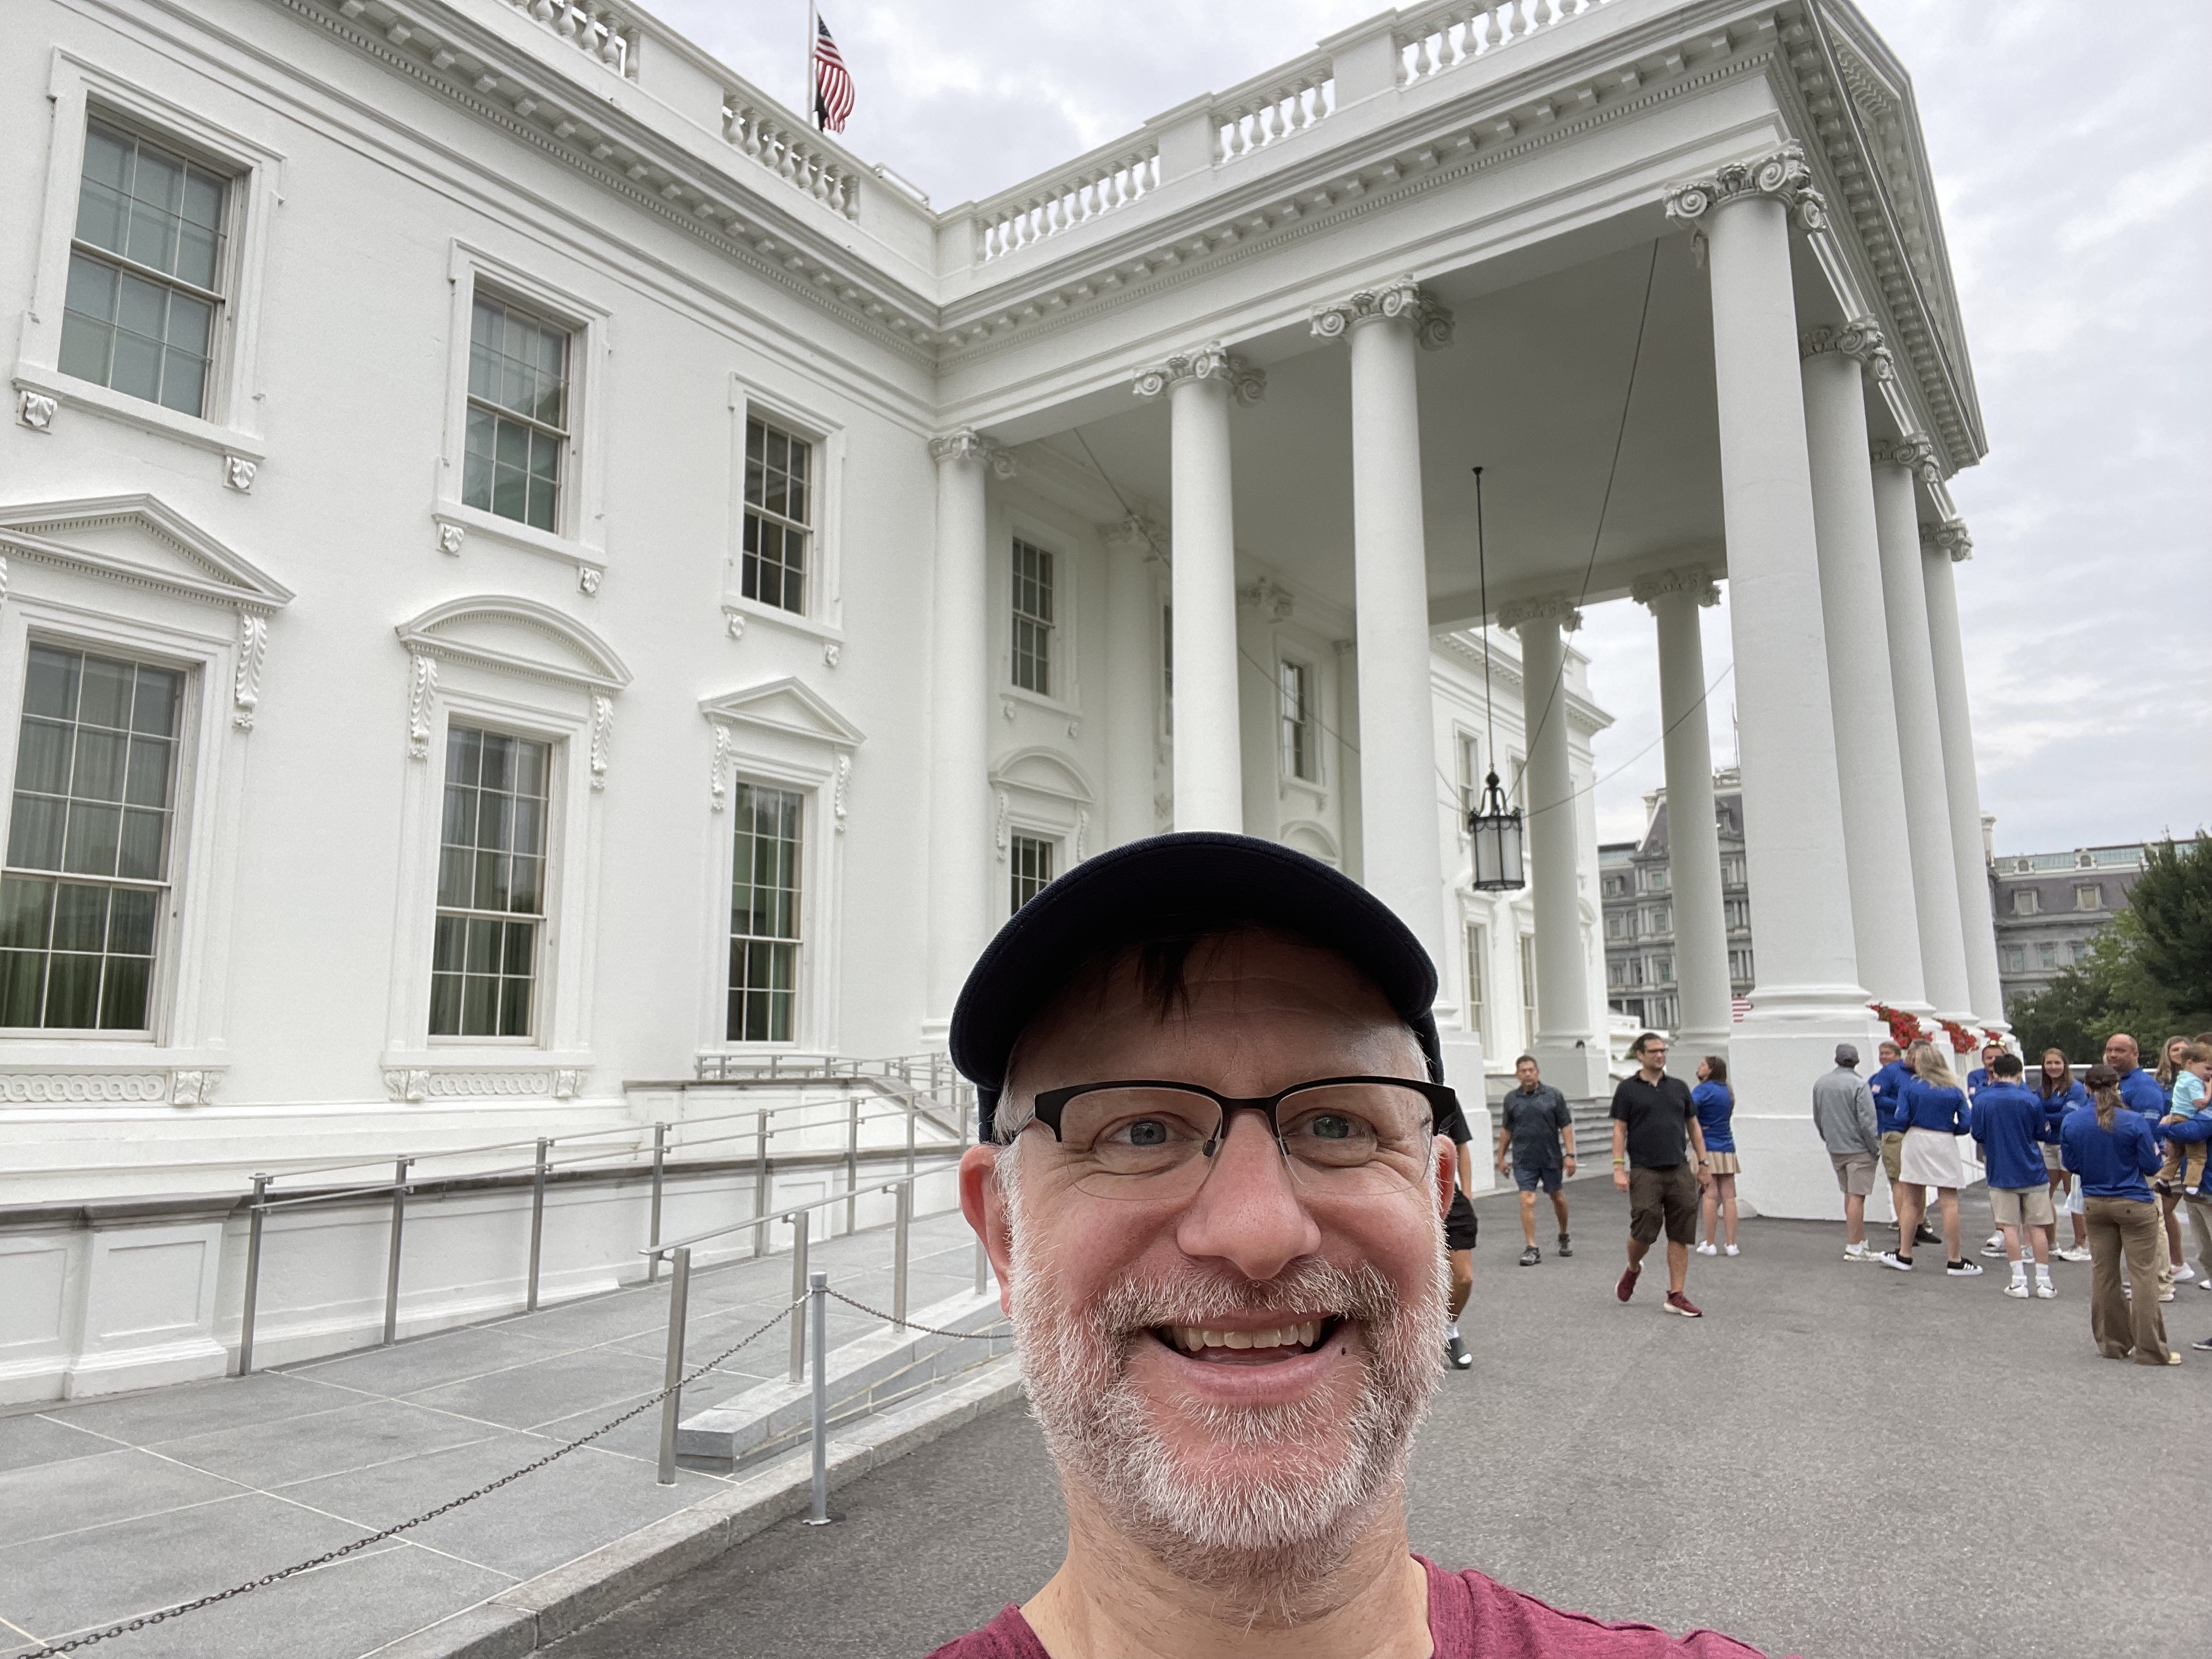
Our final full day in DC kicked off with our first-ever visit the White House, which is hereby named “Noteworthy Event #5”. I say “visit” and not “tour” because we went in one side door, walked down to about midway, and then were escorted out the back door. So…we didn’t get to see much. Also, it was a big to-do to even get inside, including contacting my representative over a month before in order to gain access. I guess what I’m saying is, if you visit DC and don’t have time to visit the White House, just skip it.
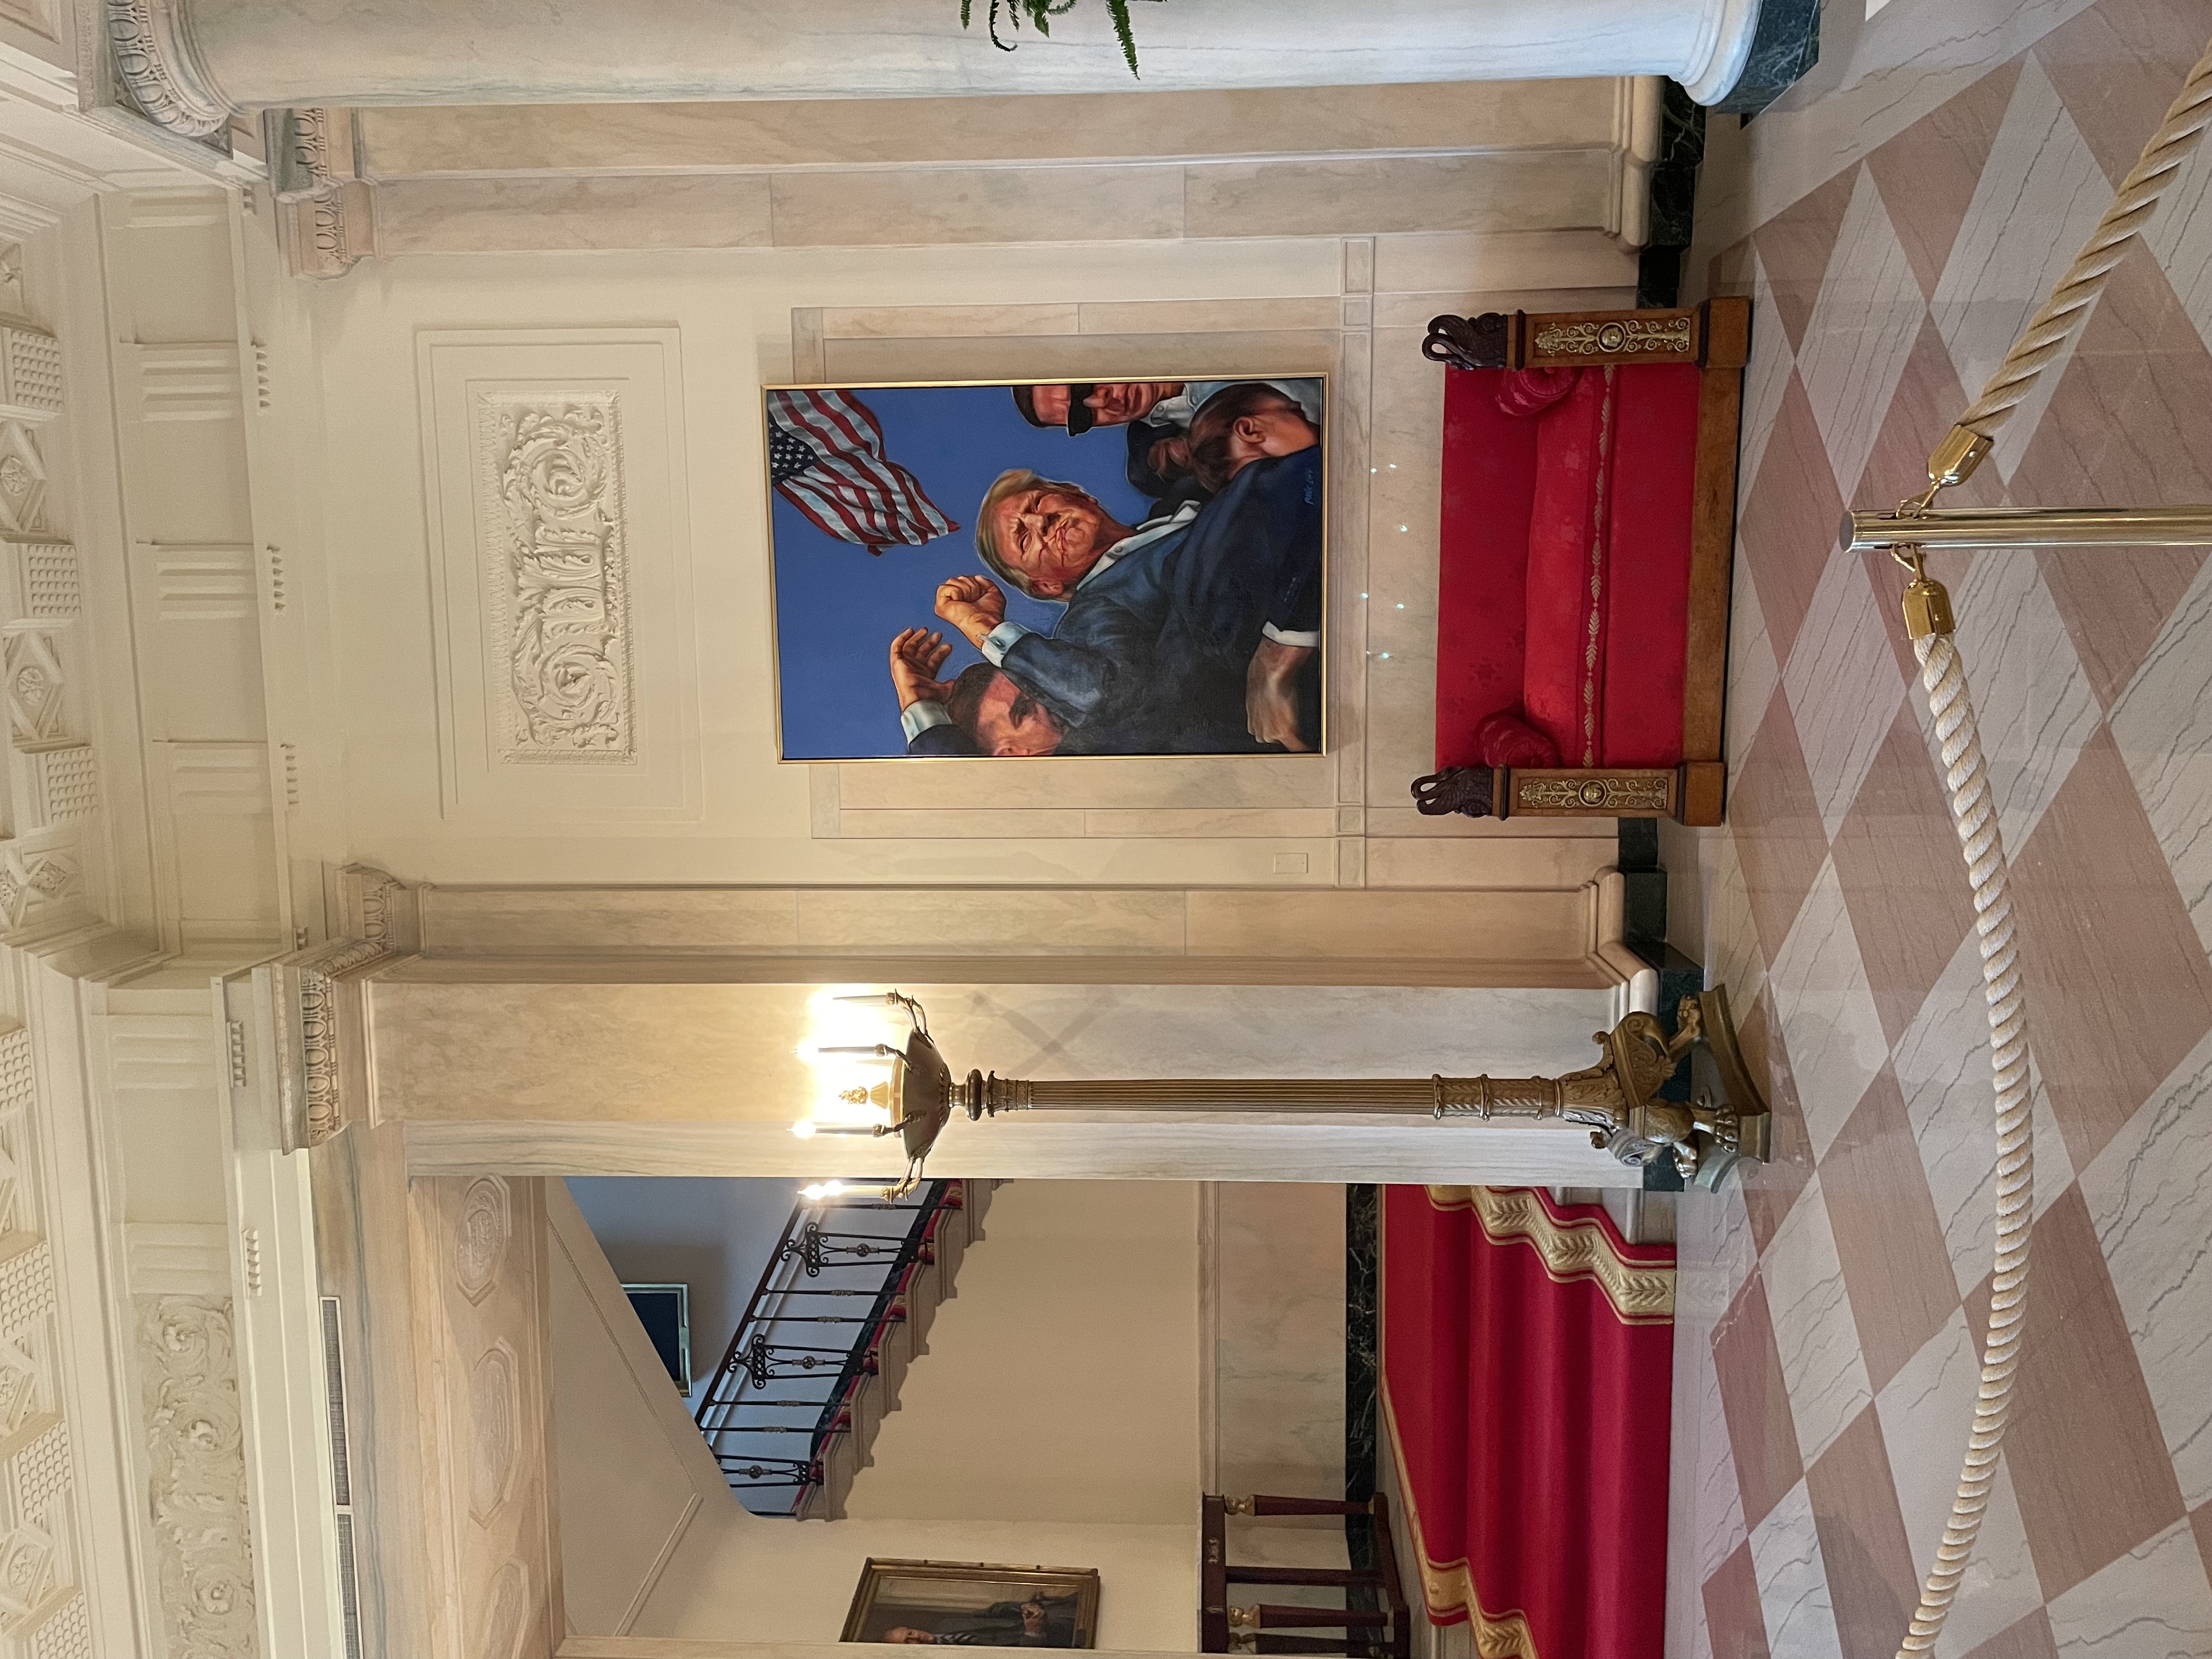
A picture I took inside the White House. Fun fact: The White House has been the residence of several eloquent, distinguished, respectable Americans. Currently it is home to Donald Trump.
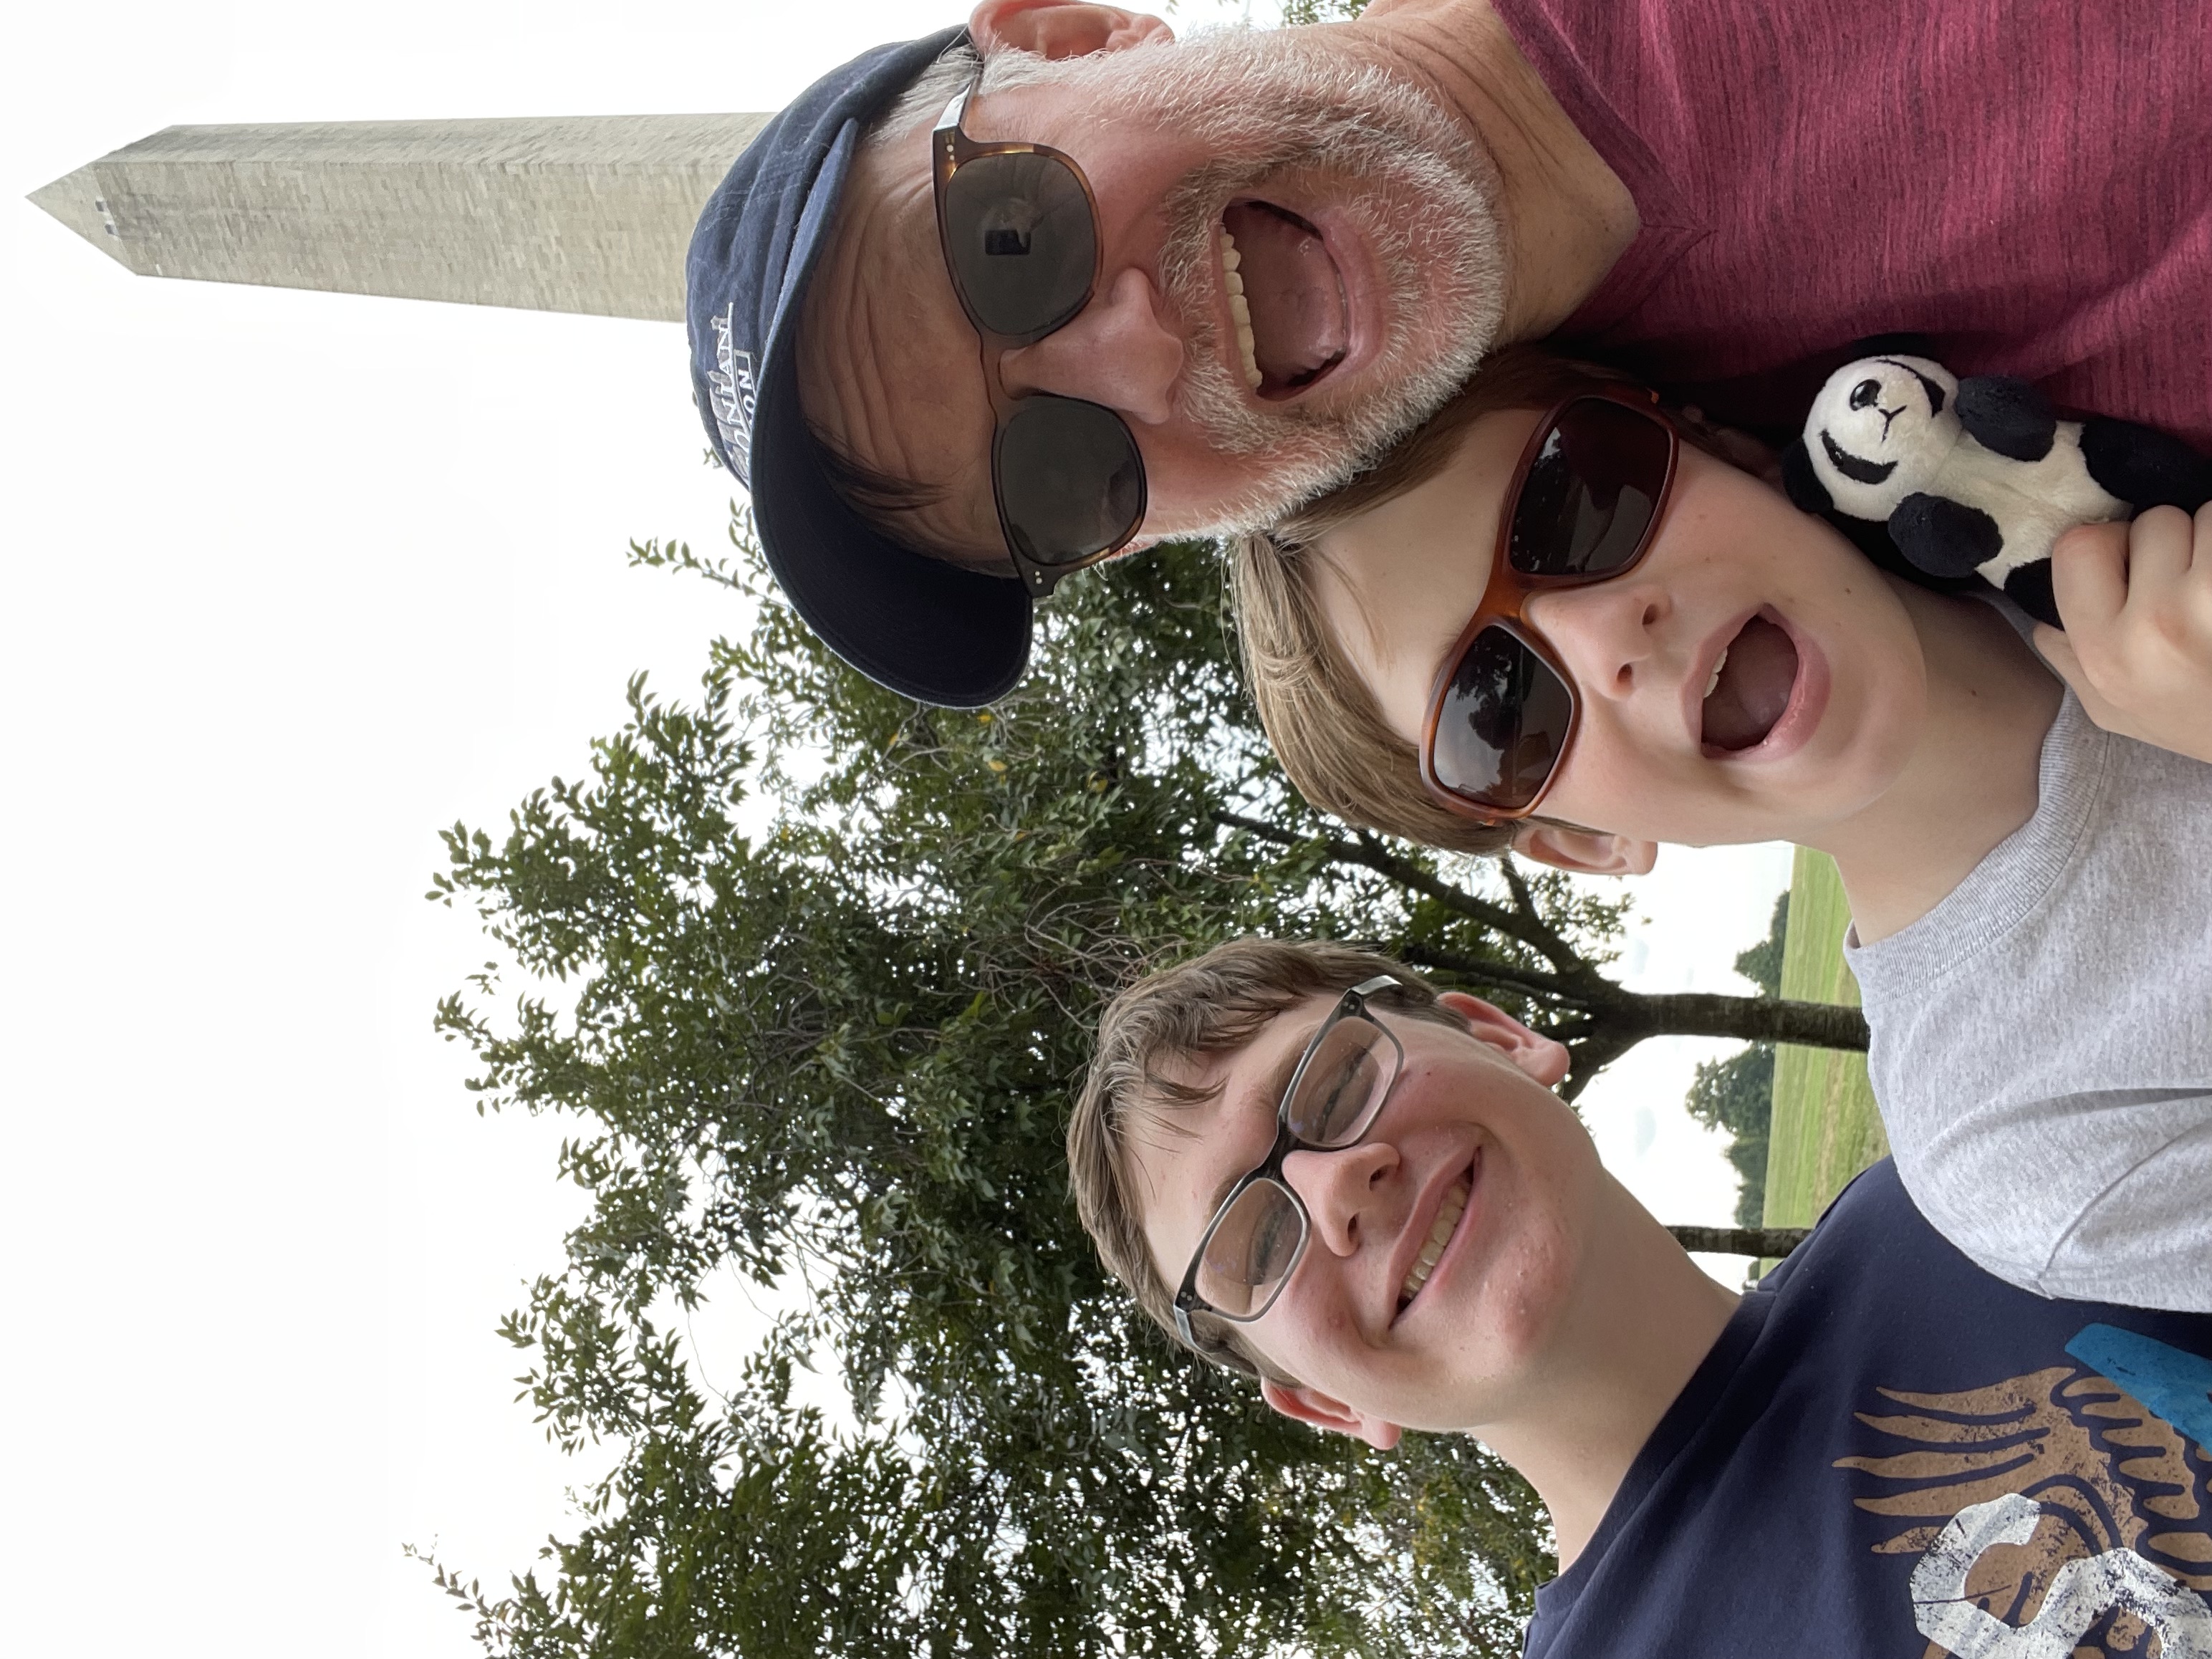
Later that day, we went to the top of the Washington Monument. This was a first for all three of us, and as you can tell by my stupid grin, it has been on my to-do list for many, many years. I’ve walked up to – and touched – the monument on prior occasions, but this was my first time inside. Noteworthy Event #6!
Here we are back a ground level. Notice that I still have that stupid grin. Somehow, I talked the kids into at least trying to match my enthusiasm.
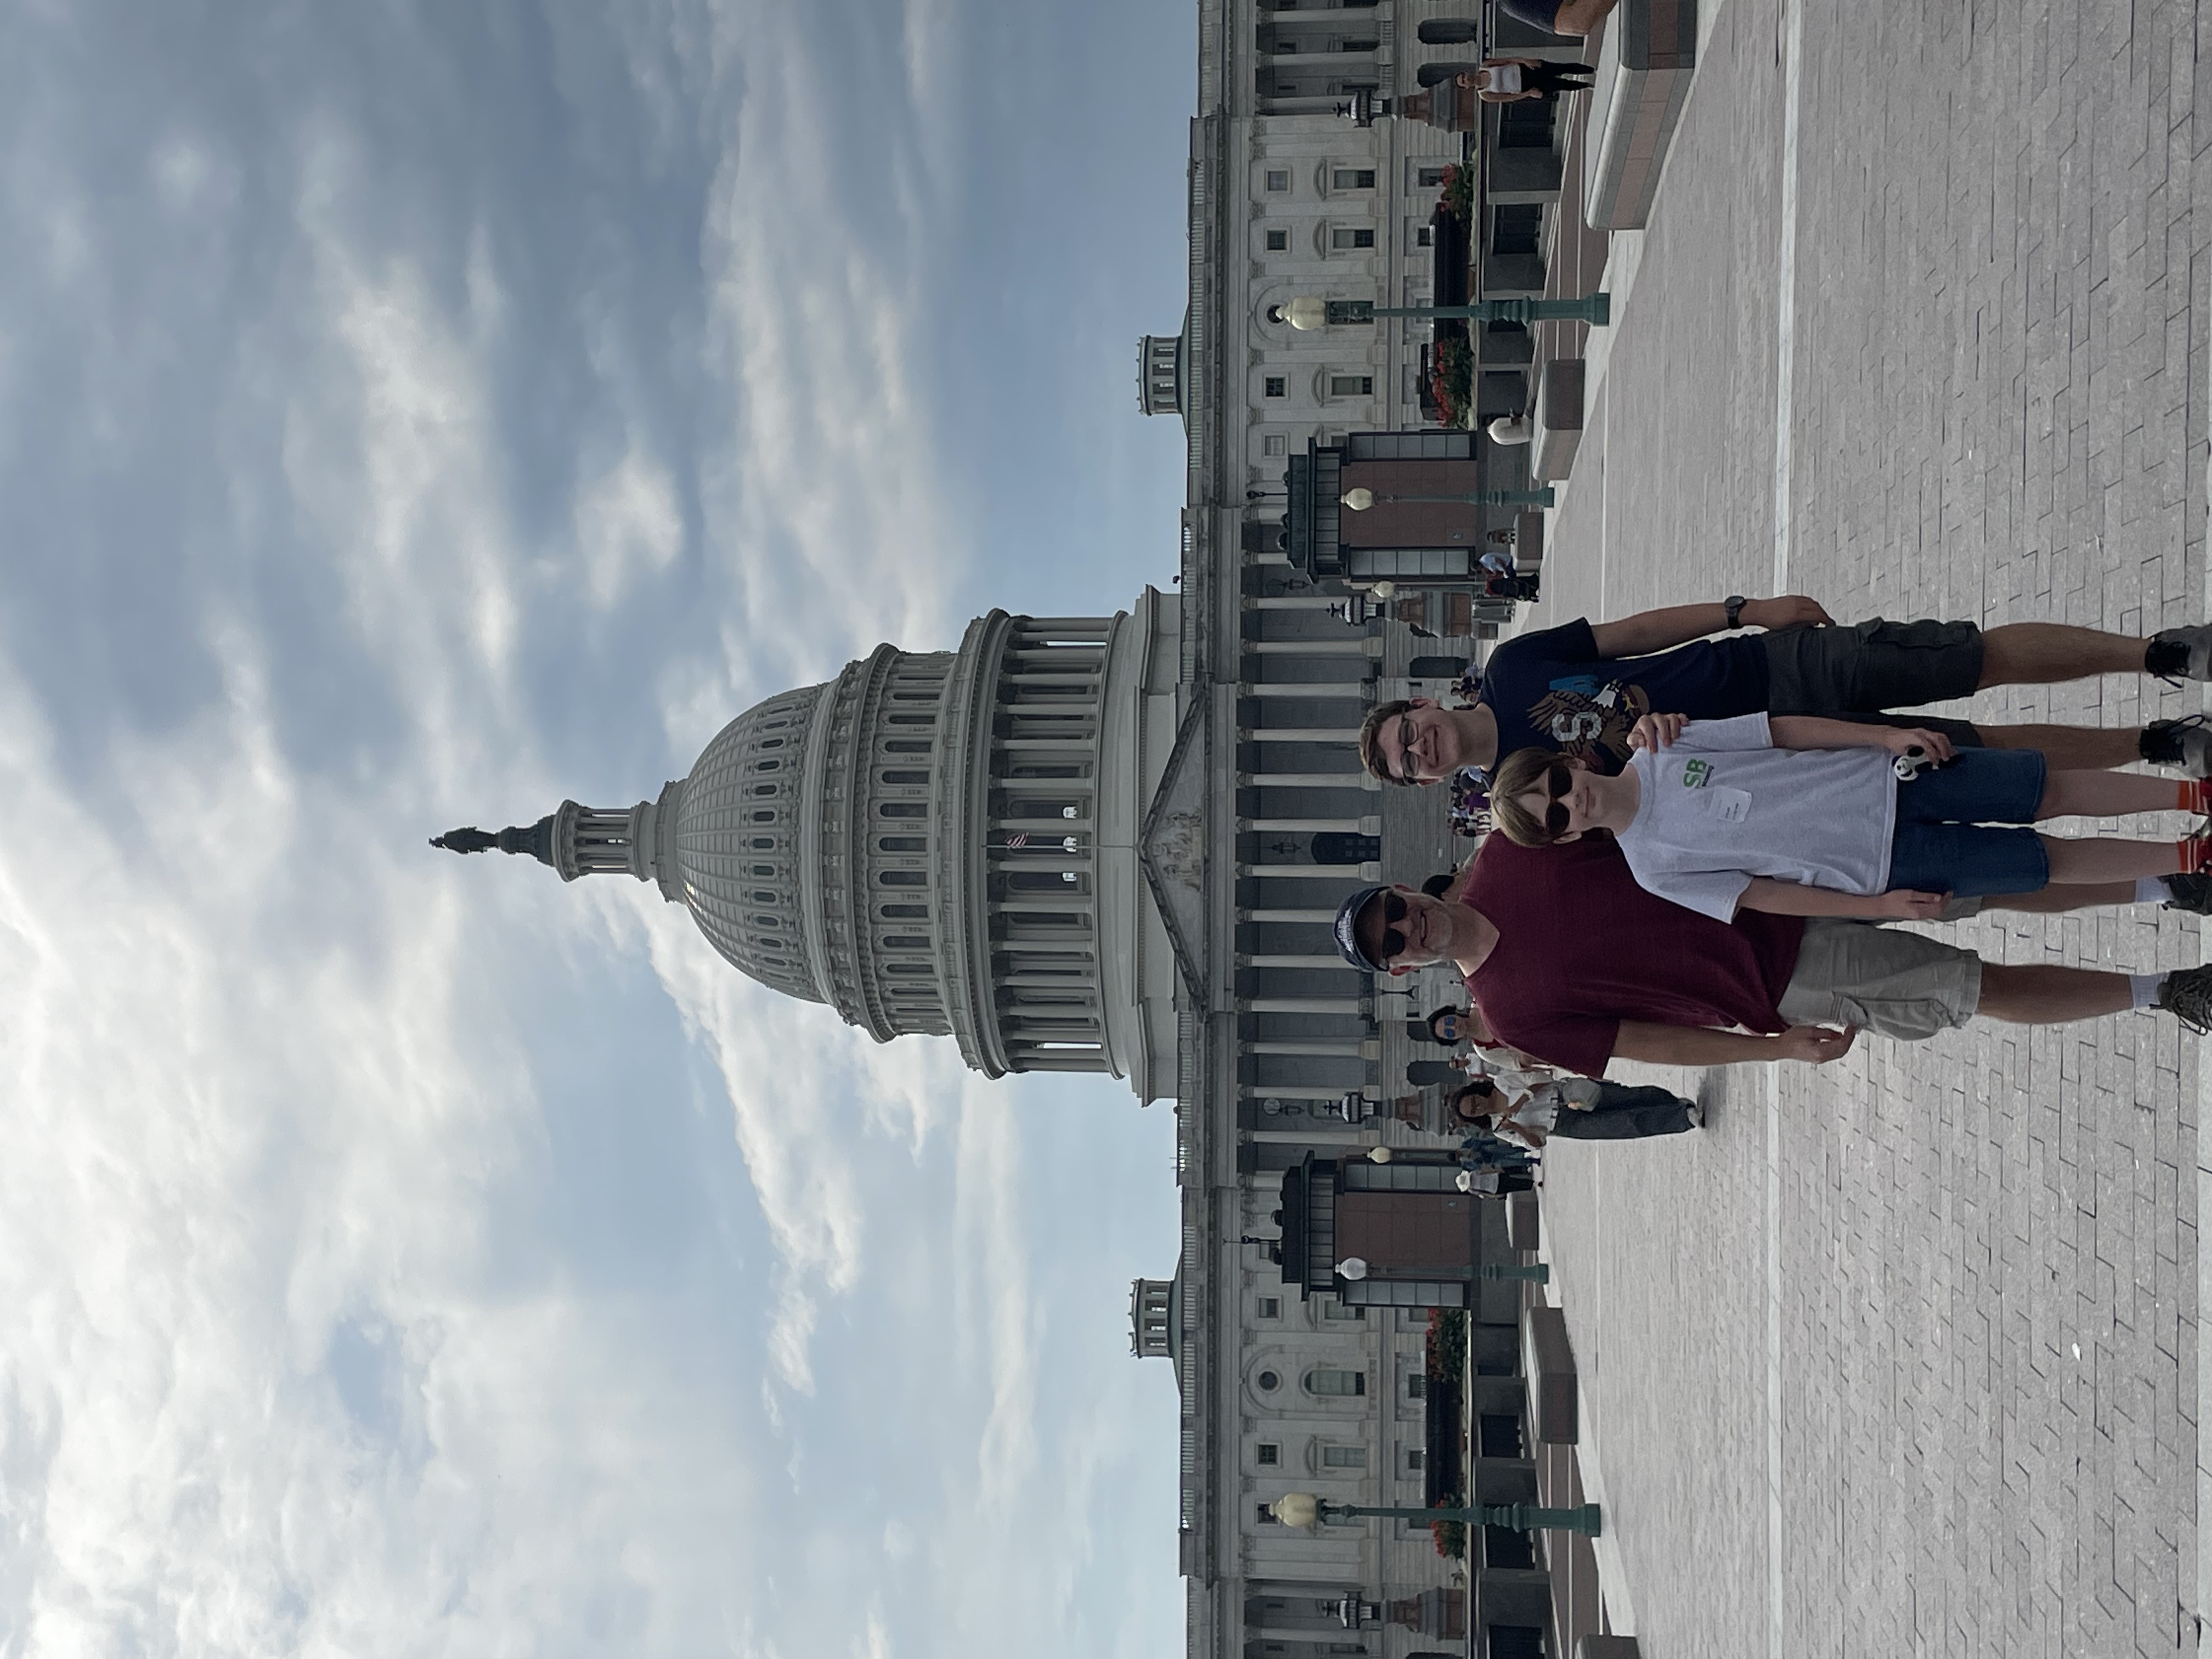
We also toured the Capitol. Pretty amazing. It was my second time visiting. I’d like to go back sometime when Congress is in session and just sit and watch the sausage being made.
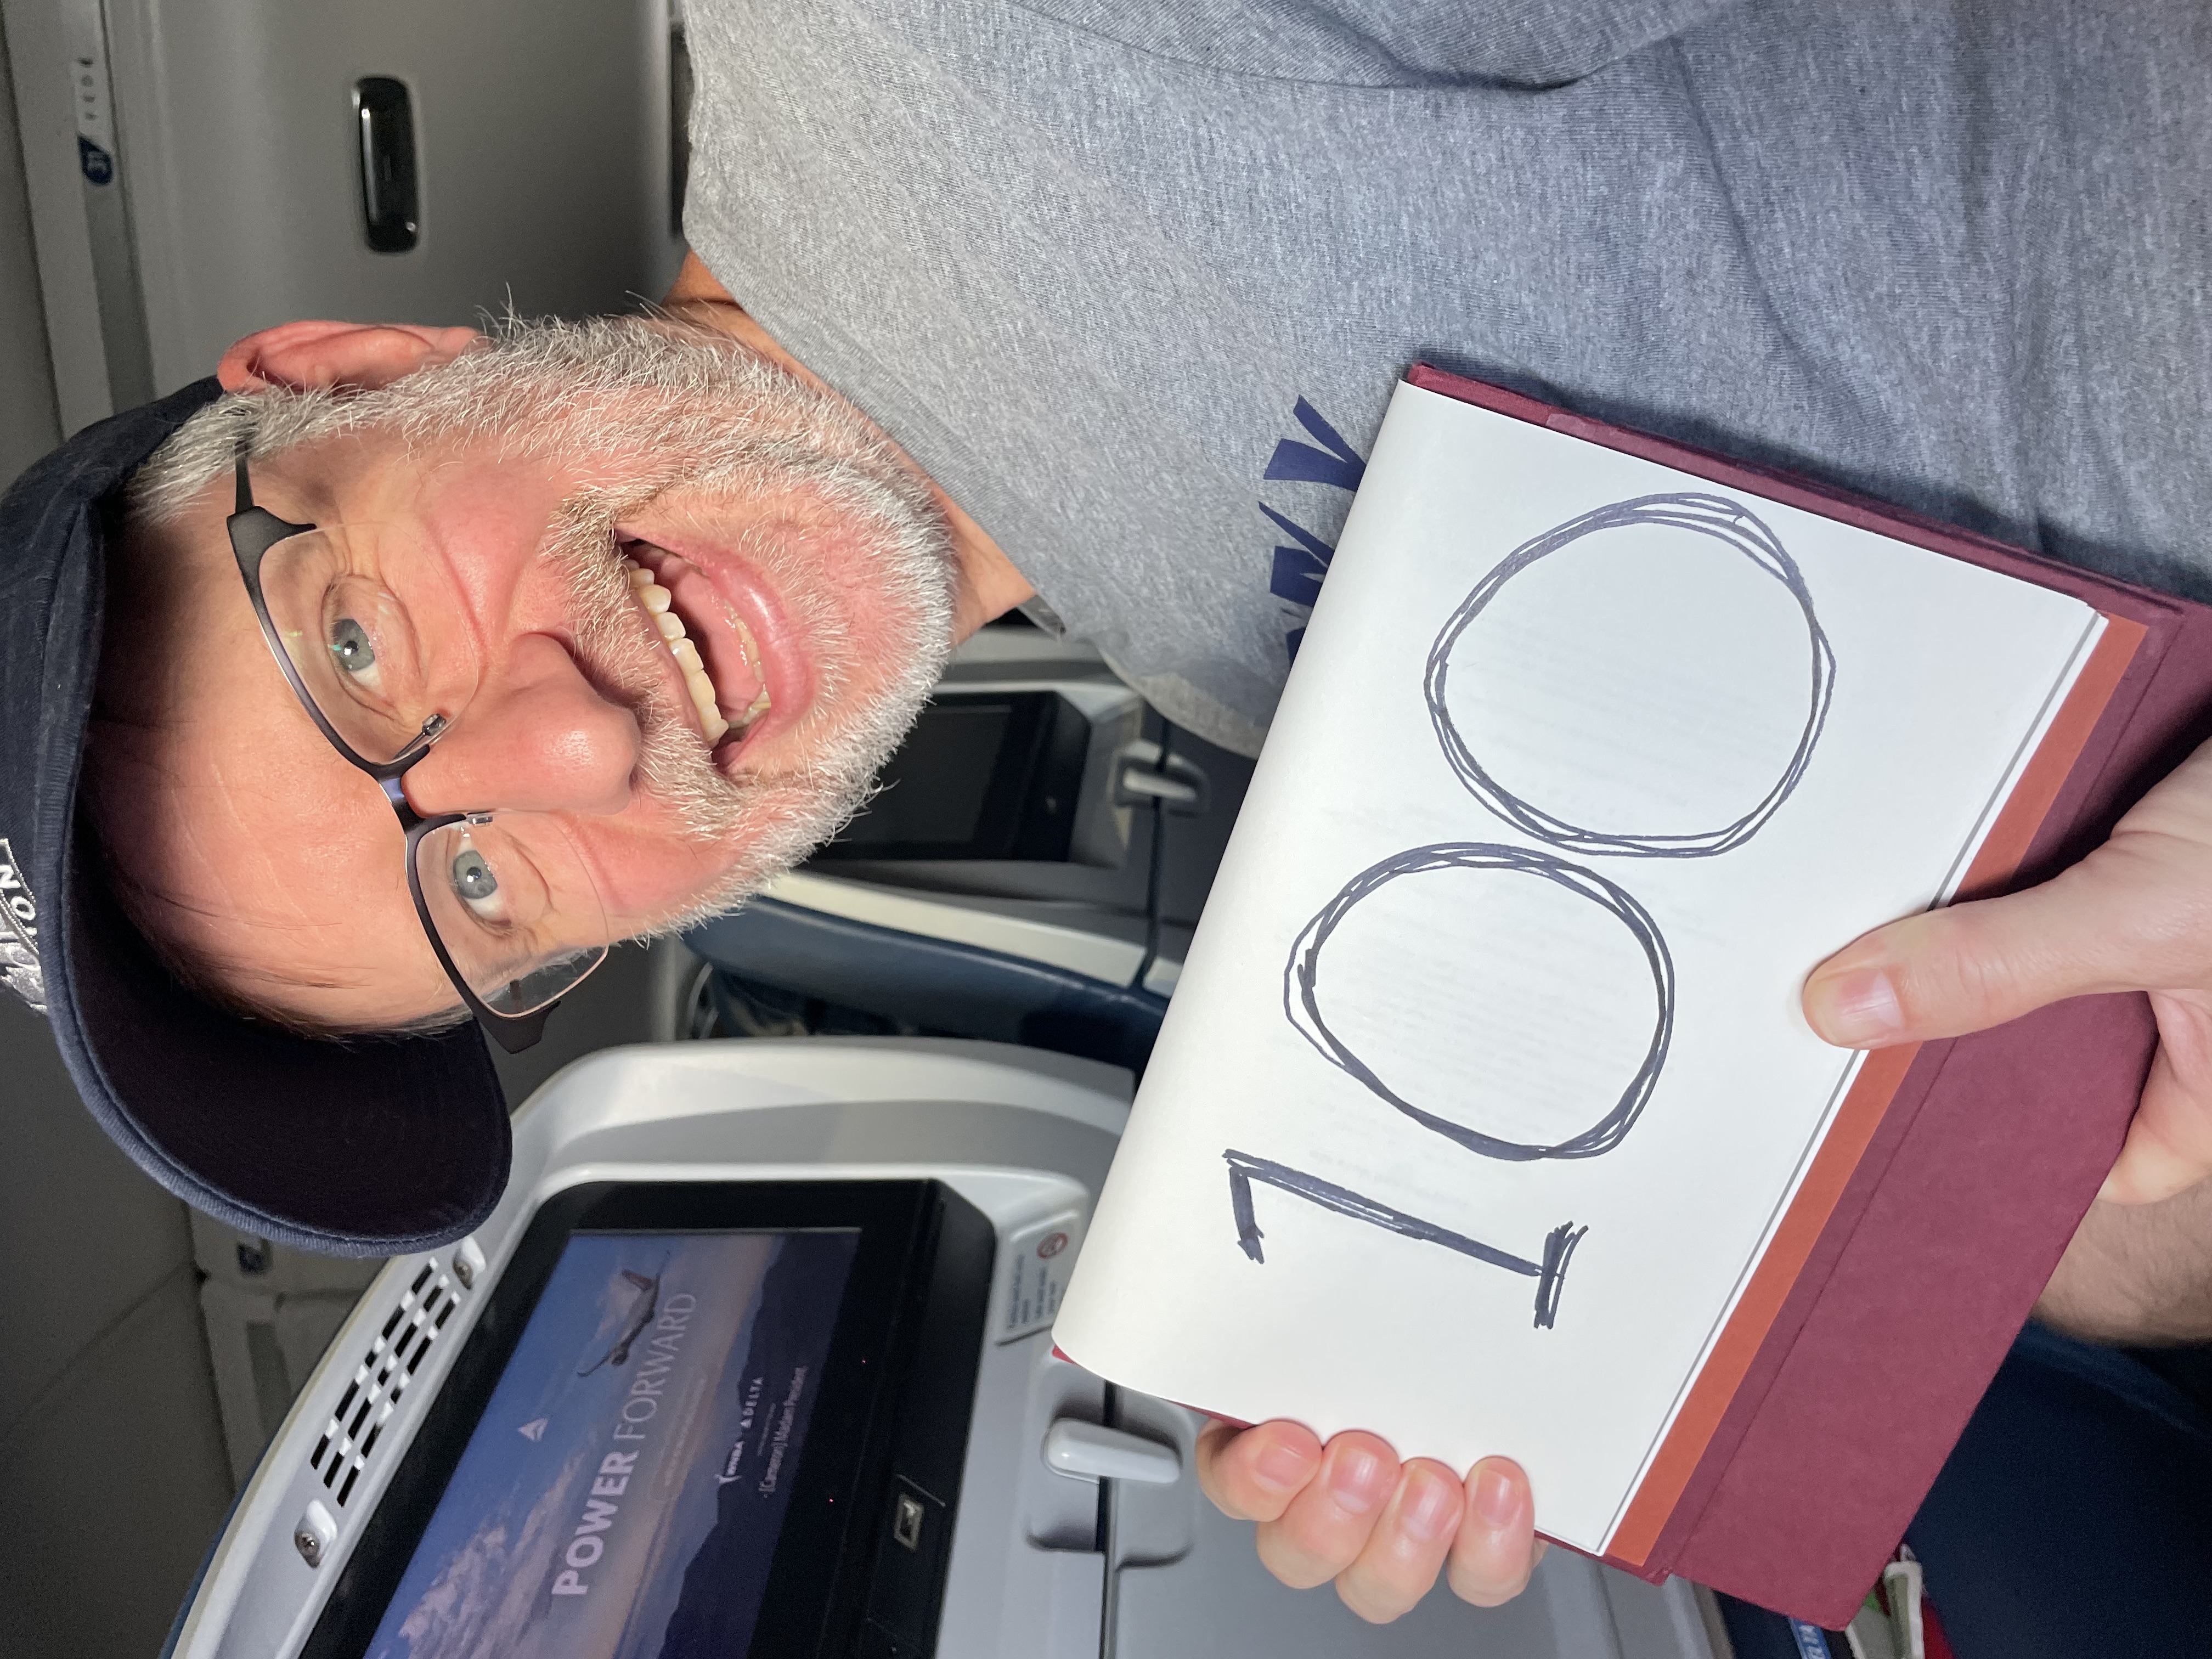
Guess what? The airplane ride back home was the 100th airplane flight of my life.
Note: Brycie “couldn’t help but notice” that she’s not in any of these photos. Sorry, but I didn’t take any of her on this trip. Like I said, she was off doing important, corporate-type things. We missed her during our daily adventures, but it was great to come back to her in the hotel each evening.
I recently read the book Suffocation, by James Wellman. Beside having a top-rate first name, the author does a good job of pointing out that we simply have too much stuff. He also gives some reasons as to why this is so. The book sort of falls off the rails in the second half, wherein the author is trying to eat his cake and have it too by explicating that its okay to be a capitalist, just not a materialist. And that being a minimalist is a bridge too far. Regardless, the reading of this book, and some accompanying issues in my life, have made me feel like it’s time to get rid of some things.
I started small. I just opened my desk drawers and emptied them out. I used to have a drawer so full of pens and pencils that it was tough to open. Now, about 80% of the writing utensils are gone. The drawer is so empty, I can see the bottom of it. I also cleared out two bins of office supplies, getting that down to one (I didn’t really need five scissors). Then I sorted through my CDs. Then I went through my nightstand drawer, and cleaned out under my bed. I next went through my closet, armoire, and dresser. I brought ten full bags of items, plus an old entertainment center, to Goodwill. I even opened up my book shelves and started culling. I gave away two books, put about a dozen in my Little Free Library, and brought two bags filled with books and CDs to Half Price Books (thanks for the $15, cheap asses). I went through all the cabinets and drawers in the kitchen.
I even got my kids in on it. I made Owen clean up his area in the basement. I brought Emmett out to the garage and asked him about all sorts of toys he no longer plays with. We set nine items out on the curb for people to take. Both Isla and Emmett gave me bags full of trash and recycling from their rooms. Sometimes I found items I’d forgotten I had and I made a conscious decision to use them. Why are there six containers of dental floss? Why do I have a dozen matchbooks? Why do I even own any straws? These things aren’t garbage, but now I’m making a deliberate choice to use them.Lately, anytime I enter a room, open a drawer, or step into the garage, I say to myself, “I need to find something here to get rid of before I leave this room.” Of course, sometimes I just add “forget that, I’ve got other stuff to do,” but it usually works!
Of course, getting rid of things is really only half the equation; it’s also important to not bring new things into the house. To that end, as of August first, I will begin keeping a list of things I purchased or acquired. This excludes food, toiletries, gasoline, and non-tangible items (such as a streaming service). So, in a few months, I’ll report back on what I have purchased. My hope is that I am more thoughtful about what I buy – keeping it to a minimum, or, at least, less than what it used to be. I also will endeavor to only buy things that are replacing other things. If I buy a pillow, fine, but I gotta get rid of my existing pillow. Same thing with clothes, dishes, books, and other items. We’ll see how it goes.
On Sunday, 29 June, I attended the Twin Cities Pride Parade. This was my second time attending, and my first time in over a decade. I attended in 2011, but ended up leaving early due to getting a migraine. This time was much better. I didn’t think I’d ever attend again, but the political climate calls for more support to marginalized communities, so here I am. Also, it seemed like a fun thing to do.
Here are a couple photos from the event:
The parade is very long! We didn’t even stay for the whole thing and, unfortunately, we didn’t get a chance to explore the festival. My plan is to go again next year, but show up at the tail end of the parade and then visit the festival.
I decided that I’m going to post 366 noteworthy events over the next decade of my life. Since this decade will last 3,652 days, I feel that 366 is an appropriate amount as it comes out to about one event every ten days. Notice that it doesn’t have to be an achievement, accomplishment, or anything big. Nor does it have to be a first time or even a happy or positive event. Just something…of note.
Here’s the first one, then:
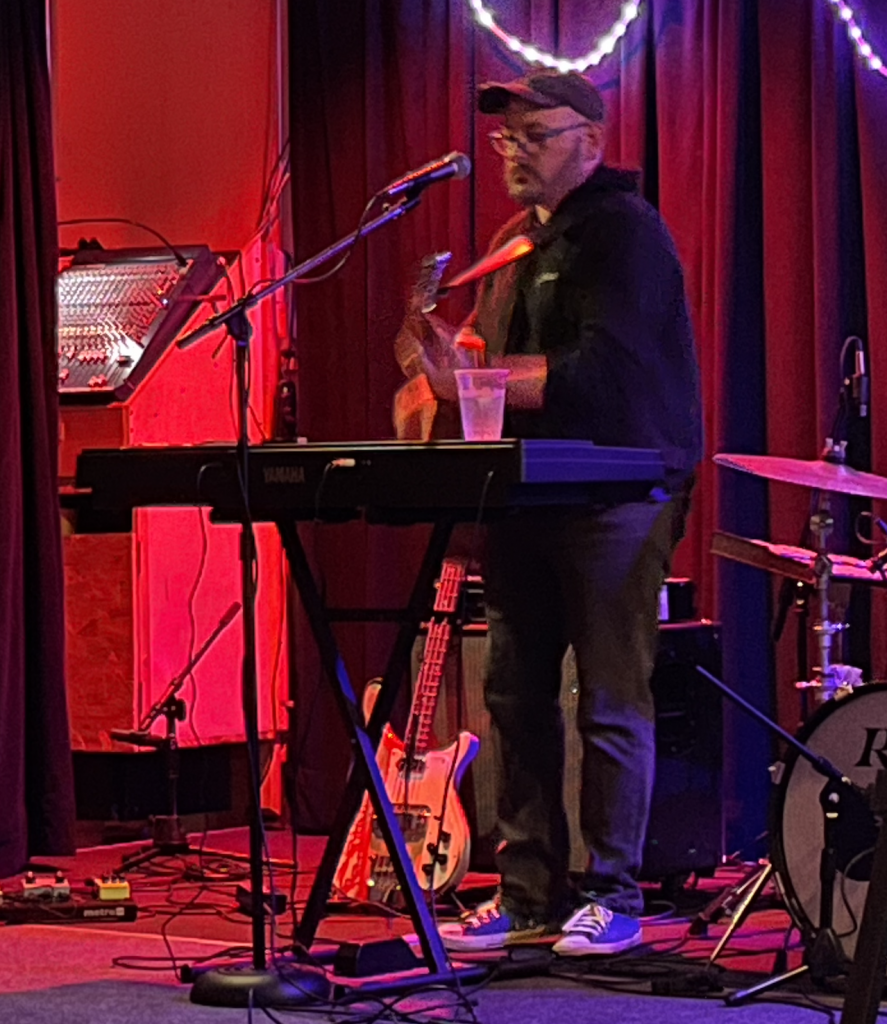
On Friday, June 13th, I ventured to Eagles 34 in Minneapolis to see my friend Ryan play a solo set.
Despite the listing, above, Ryan played second. His set consisted of about 10 songs, including one he wrote with his brother Rhett when they were teenagers, a cover a Brian Wilson song (Brian just passed away a few days earlier), and a couple of songs that he wrote recently.
adgasdgargerg
When I was a teenager, so many of my close friends were in bands, and I saw them perform often. Probably a month didn’t go by when this friend or the other were playing some gig somewhere. And when that wasn’t happening, I was at their homes while they were practicing music, or writing music, or recording music. In retrospect I just assumed that’s how it was and that’s how it would alway be.
But, of course, that’s not typical. Eventually, things changed. Friends grew up and grew busy with other endeavors. Some moved away. Others passed away. Inevitably, there were fewer and fewer occasions to see my friends play music.
So I was very happy to learn of this last-minute performance. I knew most of the songs Ryan played, and sang along with several of them. Also, I sat next to his wife, Esther, during the gig, and she had saltwater taffy with her, so that was a nice bonus.