
The first time I ever heard of Little Free Libraries (LFLs) was October 17, 2011. (Here’s that story.) Back on that day, I had gone from complete LFL ignorance to total LFL desire, but I had not moved onto ownership of such a library.
As of Sunday, November 29th, I have.
But let me back up a bit, and tell you how I made a Library.
The first thing is, I noticed I wasn’t getting anywhere in building a Little Free Library. The kits available for order were a bit pricey and, besides, I wanted mine to be unique. I looked for plans online, but they all fell into two categories:
1) Way too complicated for me given my expertise and tools.
2) So overly simple I didn’t even understand how the plans result in a functioning library (sort of like IKEA instructions).
But really, here was the bigger problem: I just couldn’t bring myself to make those first steps. I mean those really preliminary steps of visiting stores to check out the lumber, buying all the parts, and making the first cuts.
So, at a Toastmasters meeting early this summer, when my coworker Mike mentioned in a speech that his wife has been wanting him to build a Little Free Library, I approached him right after the meeting and suggested we join forces.
So we did. The very next week, we were lunching at Culver’s looking at some too-easy plans I’d found online.
Then we went to Menard’s to search for lumber:
 “Why are you taking a picture of me, James?”Mike asked.
“Because I want to document this process,” I said
“You really think me picking through trim is that interesting?” Mike asked.
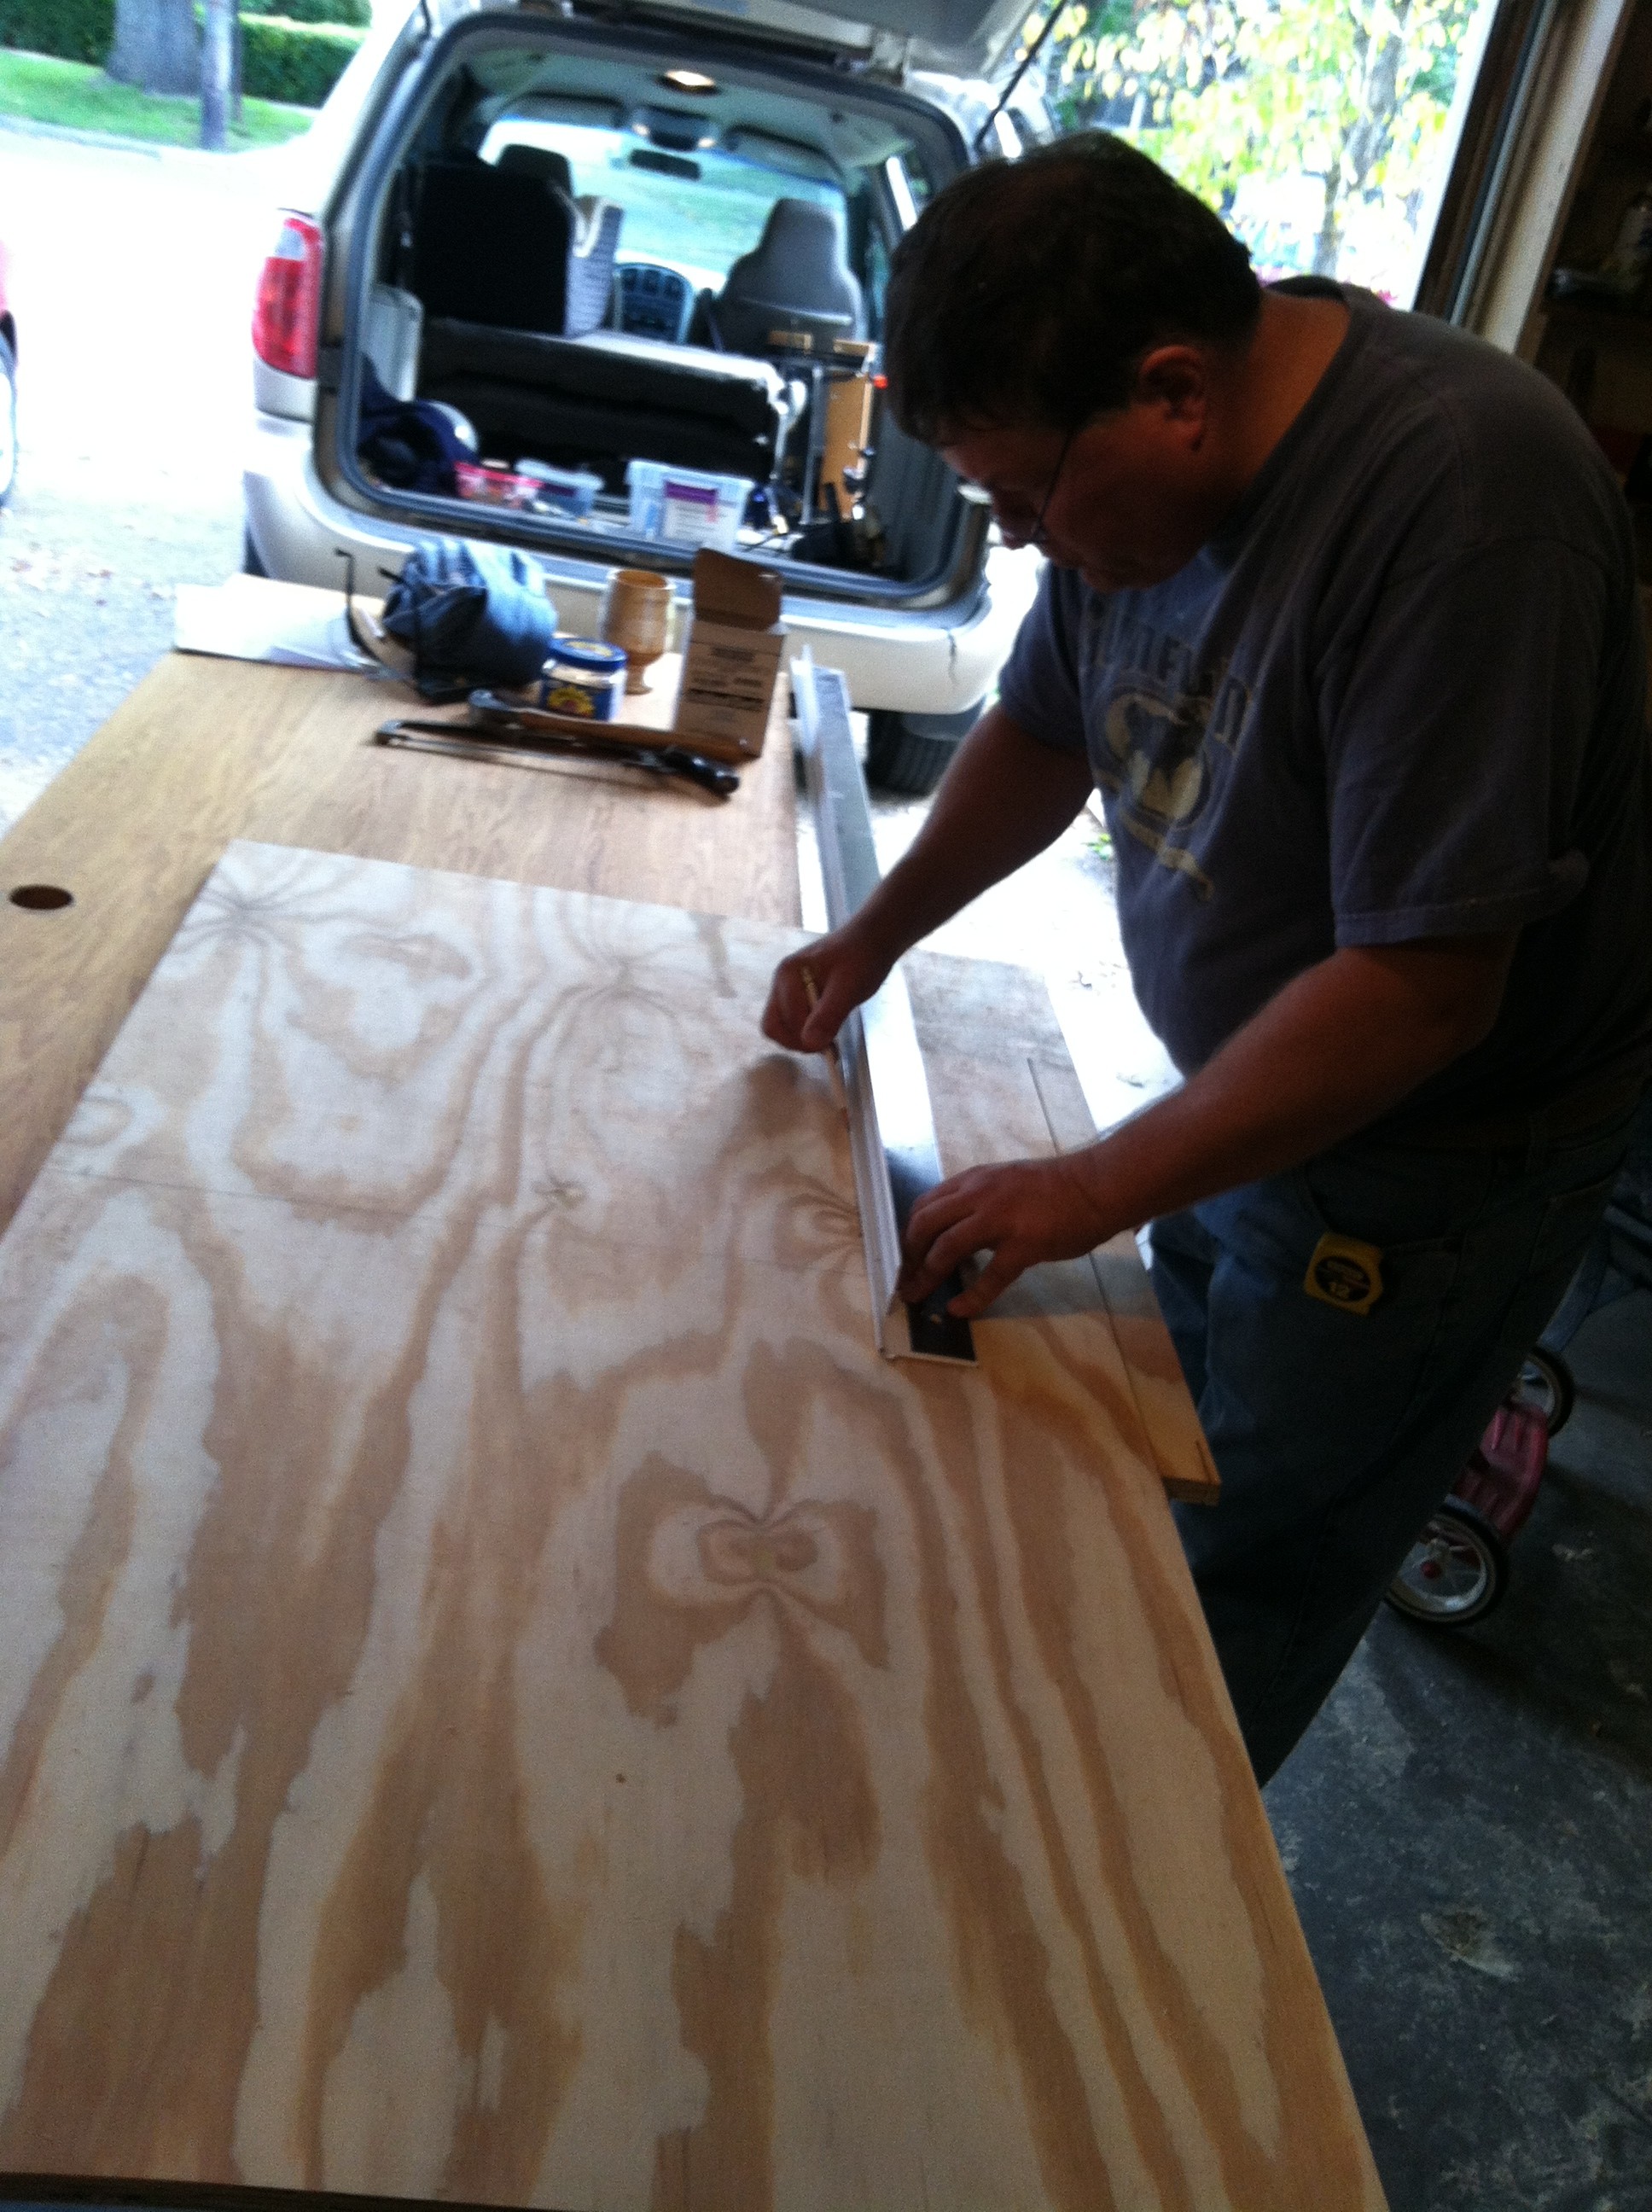 Mike and I then got serious about pooling our resources. After two more trips to Menard’s, Mike came over to my house…three times. Once in August, once in September, and once in October. He brought some tools and know-how (and beer), I opened my garage and tool box, and ordered pizza.
The work went really slowly at first. After our first day together, we had nothing to show for it but the eight pieces making up the sides, top, and bottom. Of course, we were building two libraries, but…still.
After our three days working together, here’s what we had:
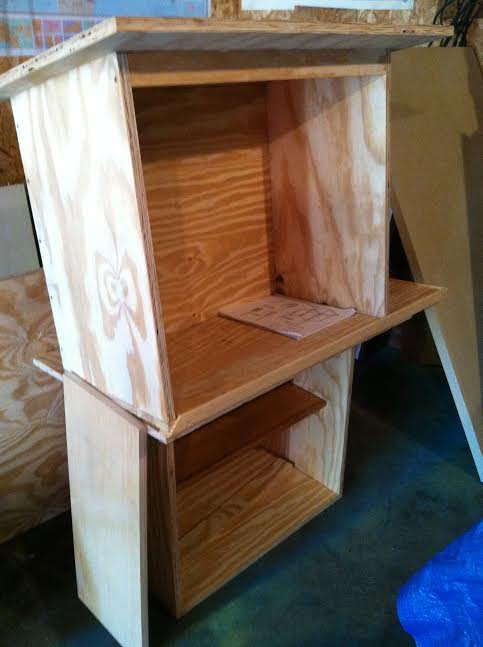 Mike’s is on the bottom, and mine is on the top. Notice that Mike’s has the center shelf and trim installed, while my library’s center shelf is leaning against the side and the trim is unfinished (in fact, I later ripped off this trim). This speaks to a key difference between our neighborhoods: Mike is from one of those fancy-schmancy suburbs, and his library will be one of the only ones in his city. To that end, Mike just wanted to make a simple library. His is box-shaped, and he had no intention of painting the inside.
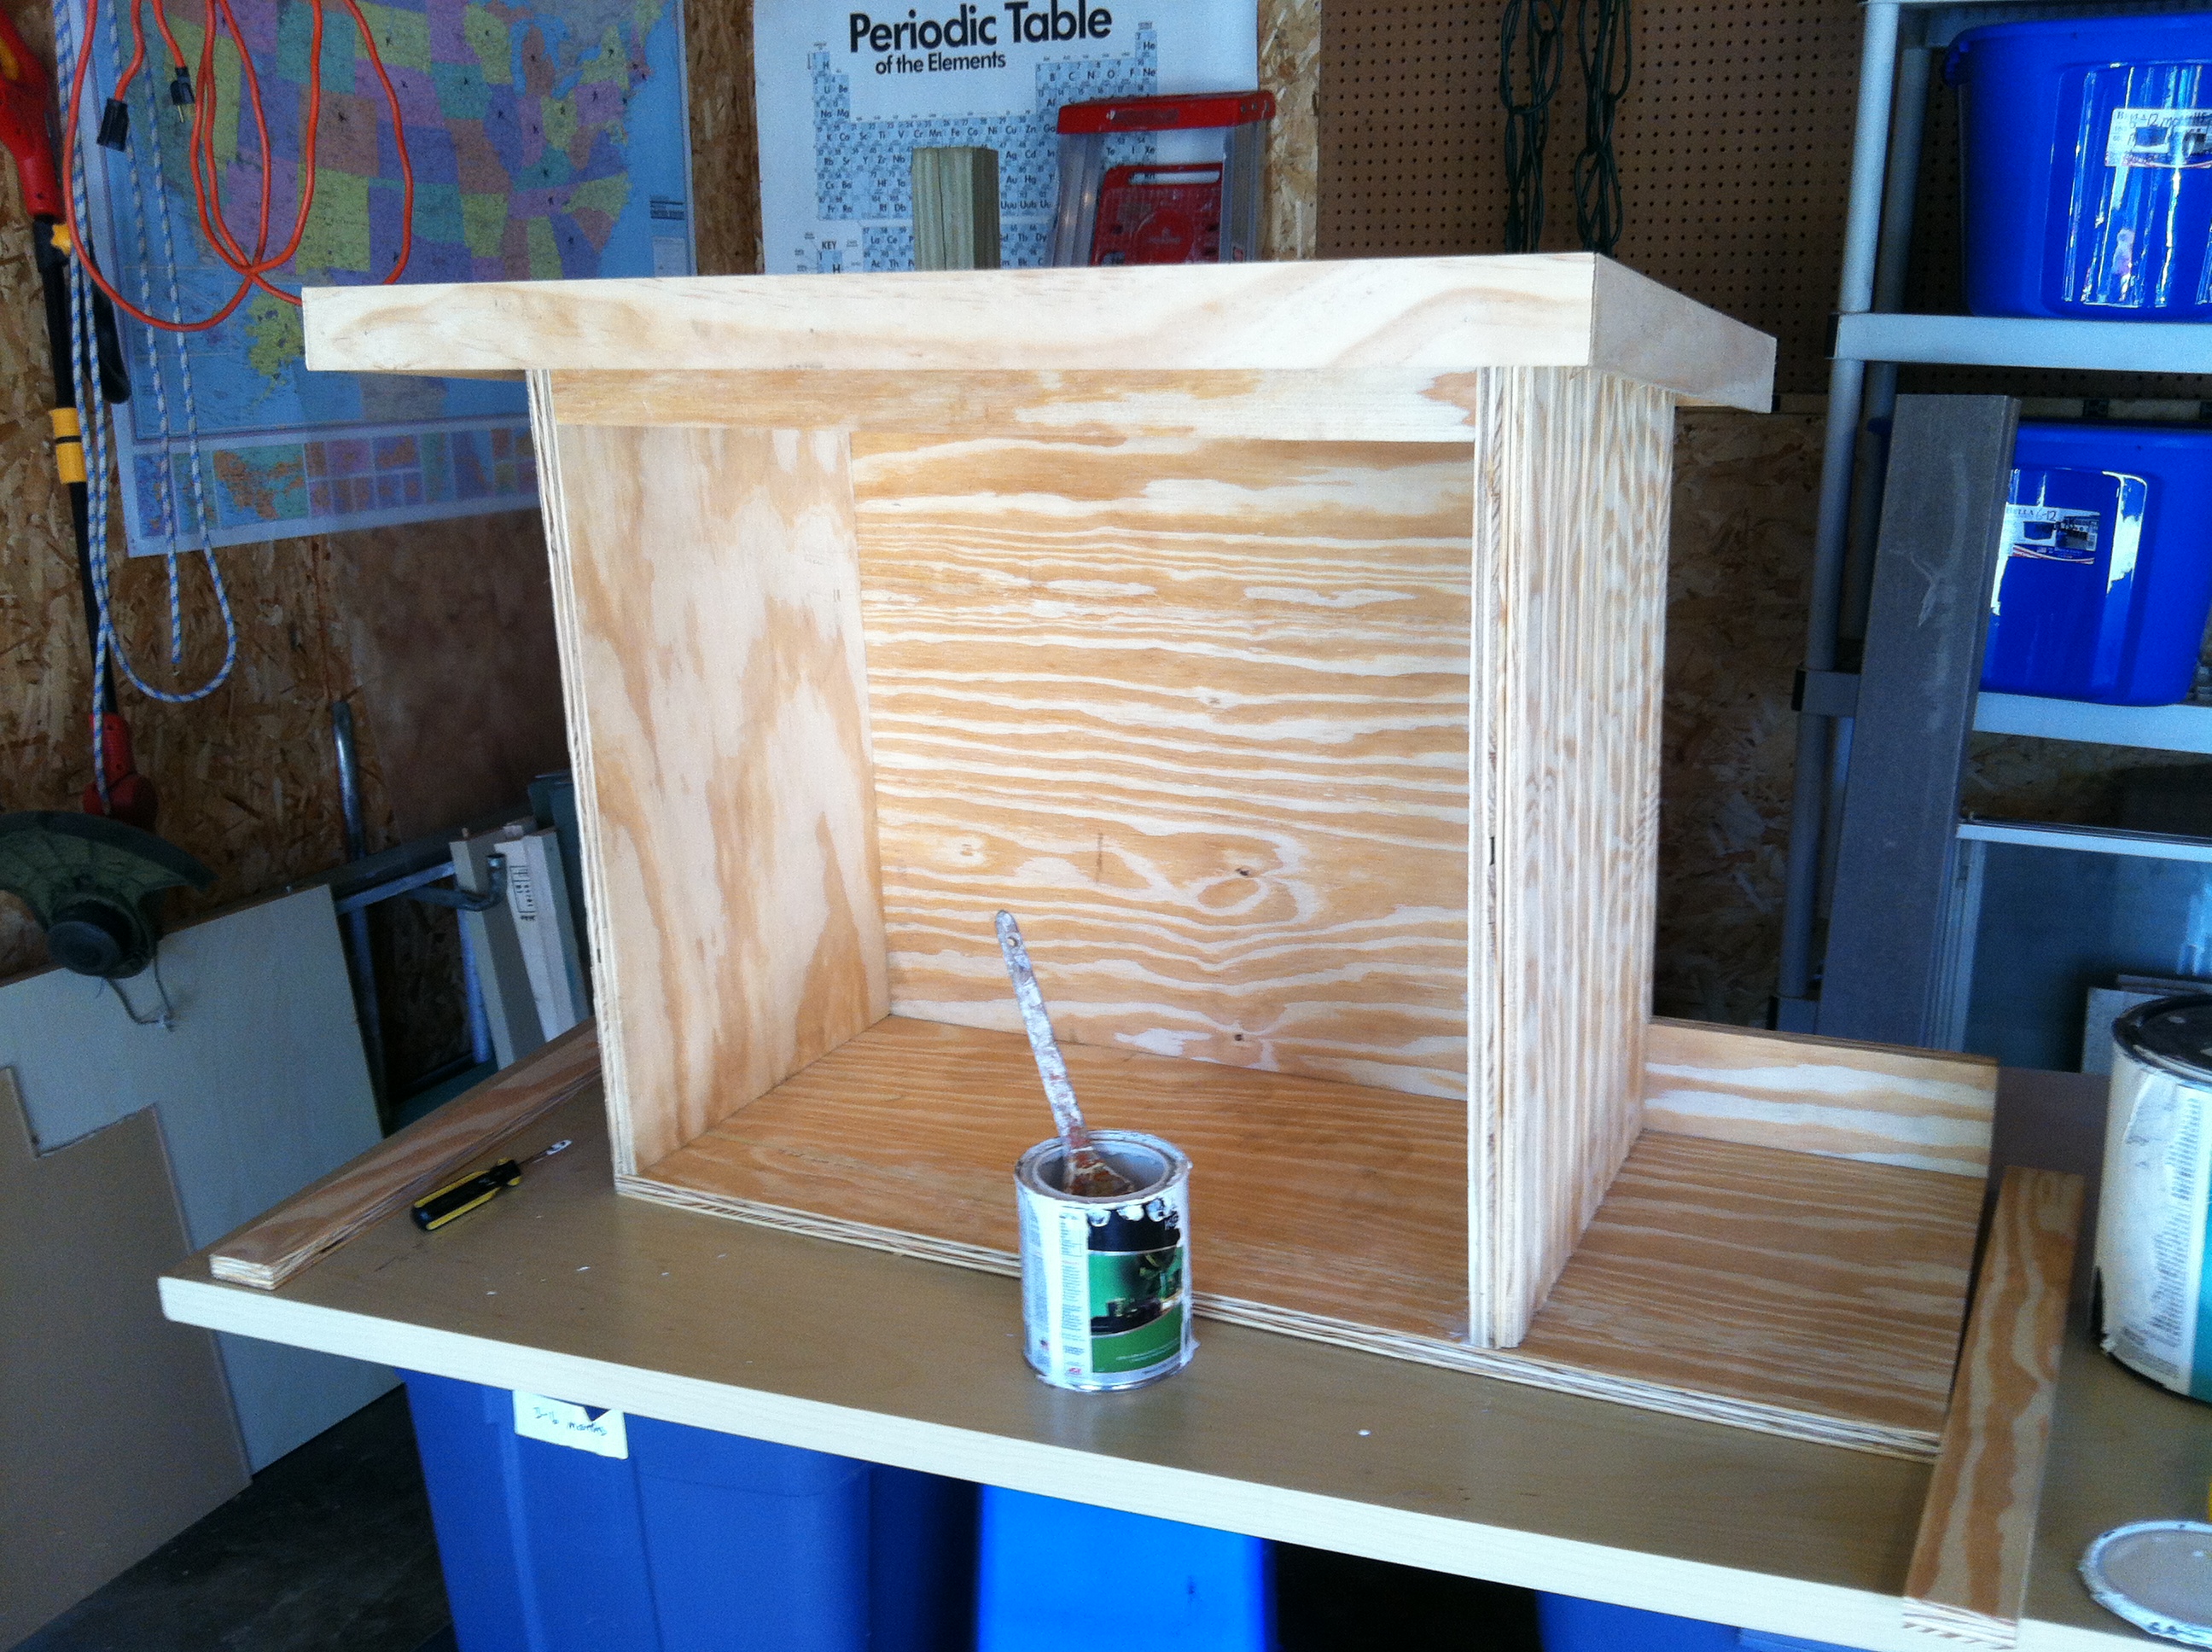
I, meanwhile, live in that bastion of hipster, nerdy, über-literate culture, and I felt I had to keep up with the Joneses. There are at least five other LFLs in my zip code. My library wasn’t even the first one on the block, so I had to go the extra mile (or, inch, I suppose). As you can see, I added a shelf to the right of my library where I intended to put a potted plant. I also didn’t want to install my center shelf yet because I had to figure out something to do to the inside. Paint it, at the very least.
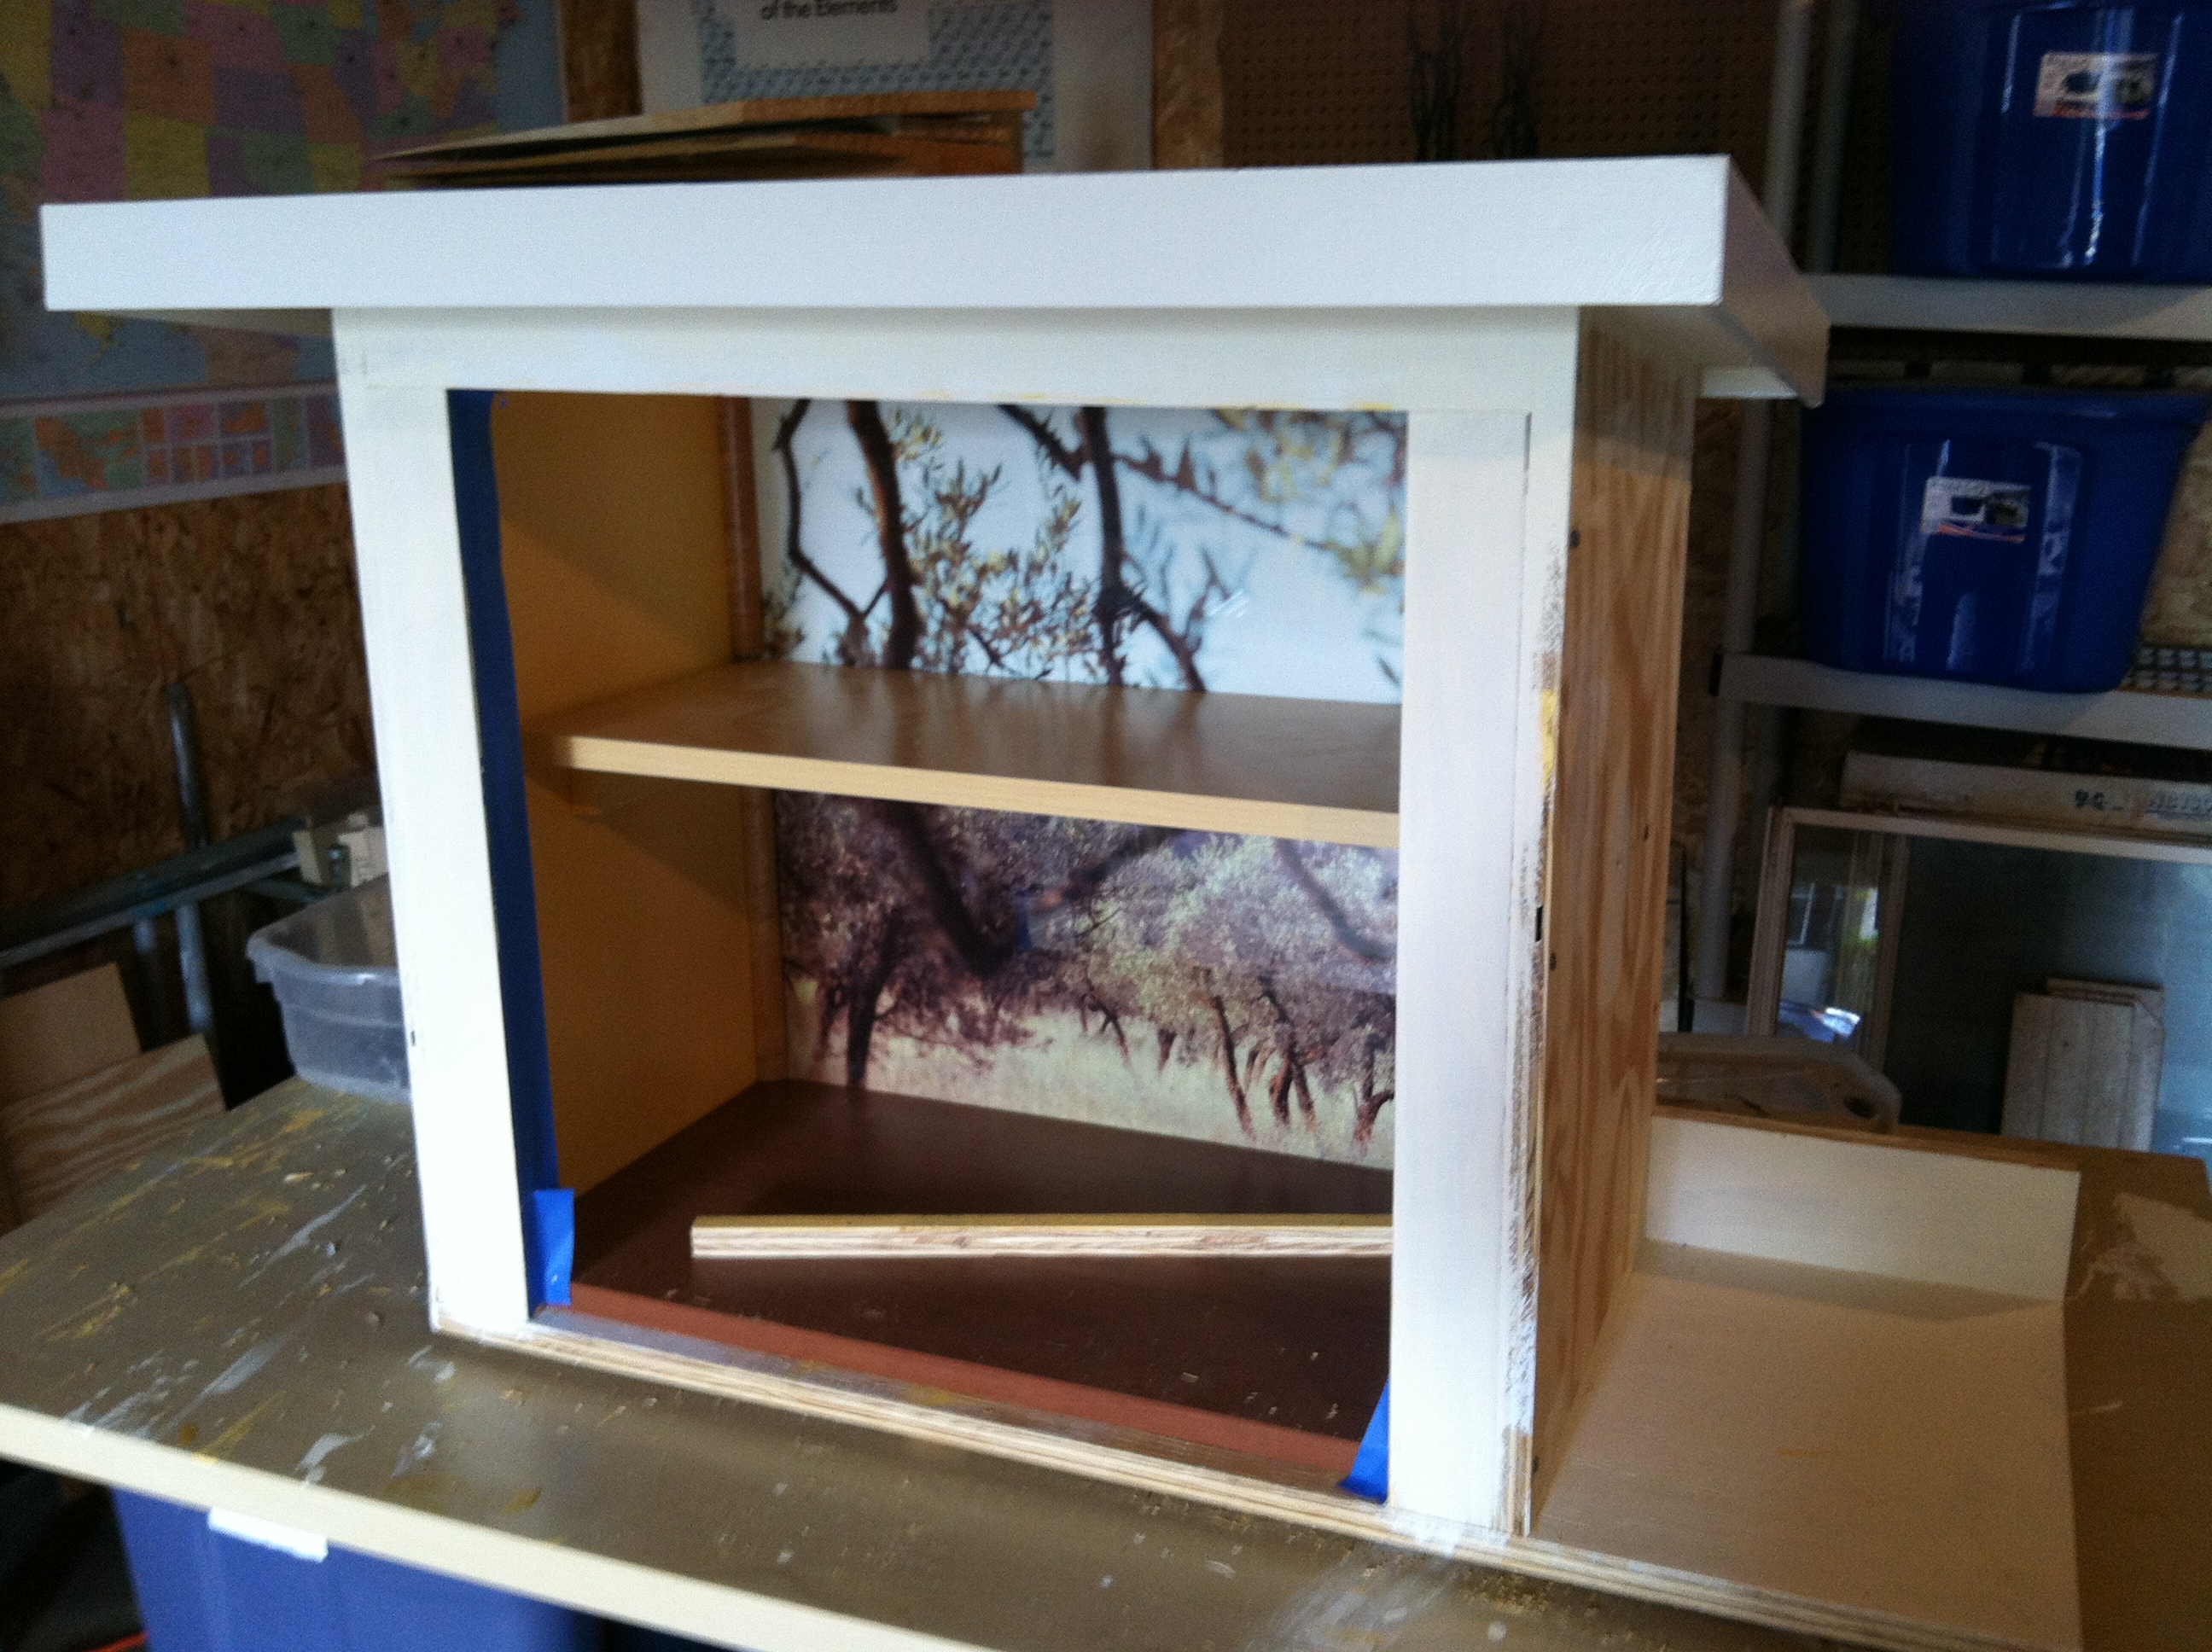
So, after Mike’s departure, here sat my LFL in mid-October on a makeshift table in my garage, just after I’d installed the roof trim, and just before I put on the primer paint…
 Here’s what it looked like after I’d painted the inside, primed the outside, installed side brackets, and laid in a bottom shelf…
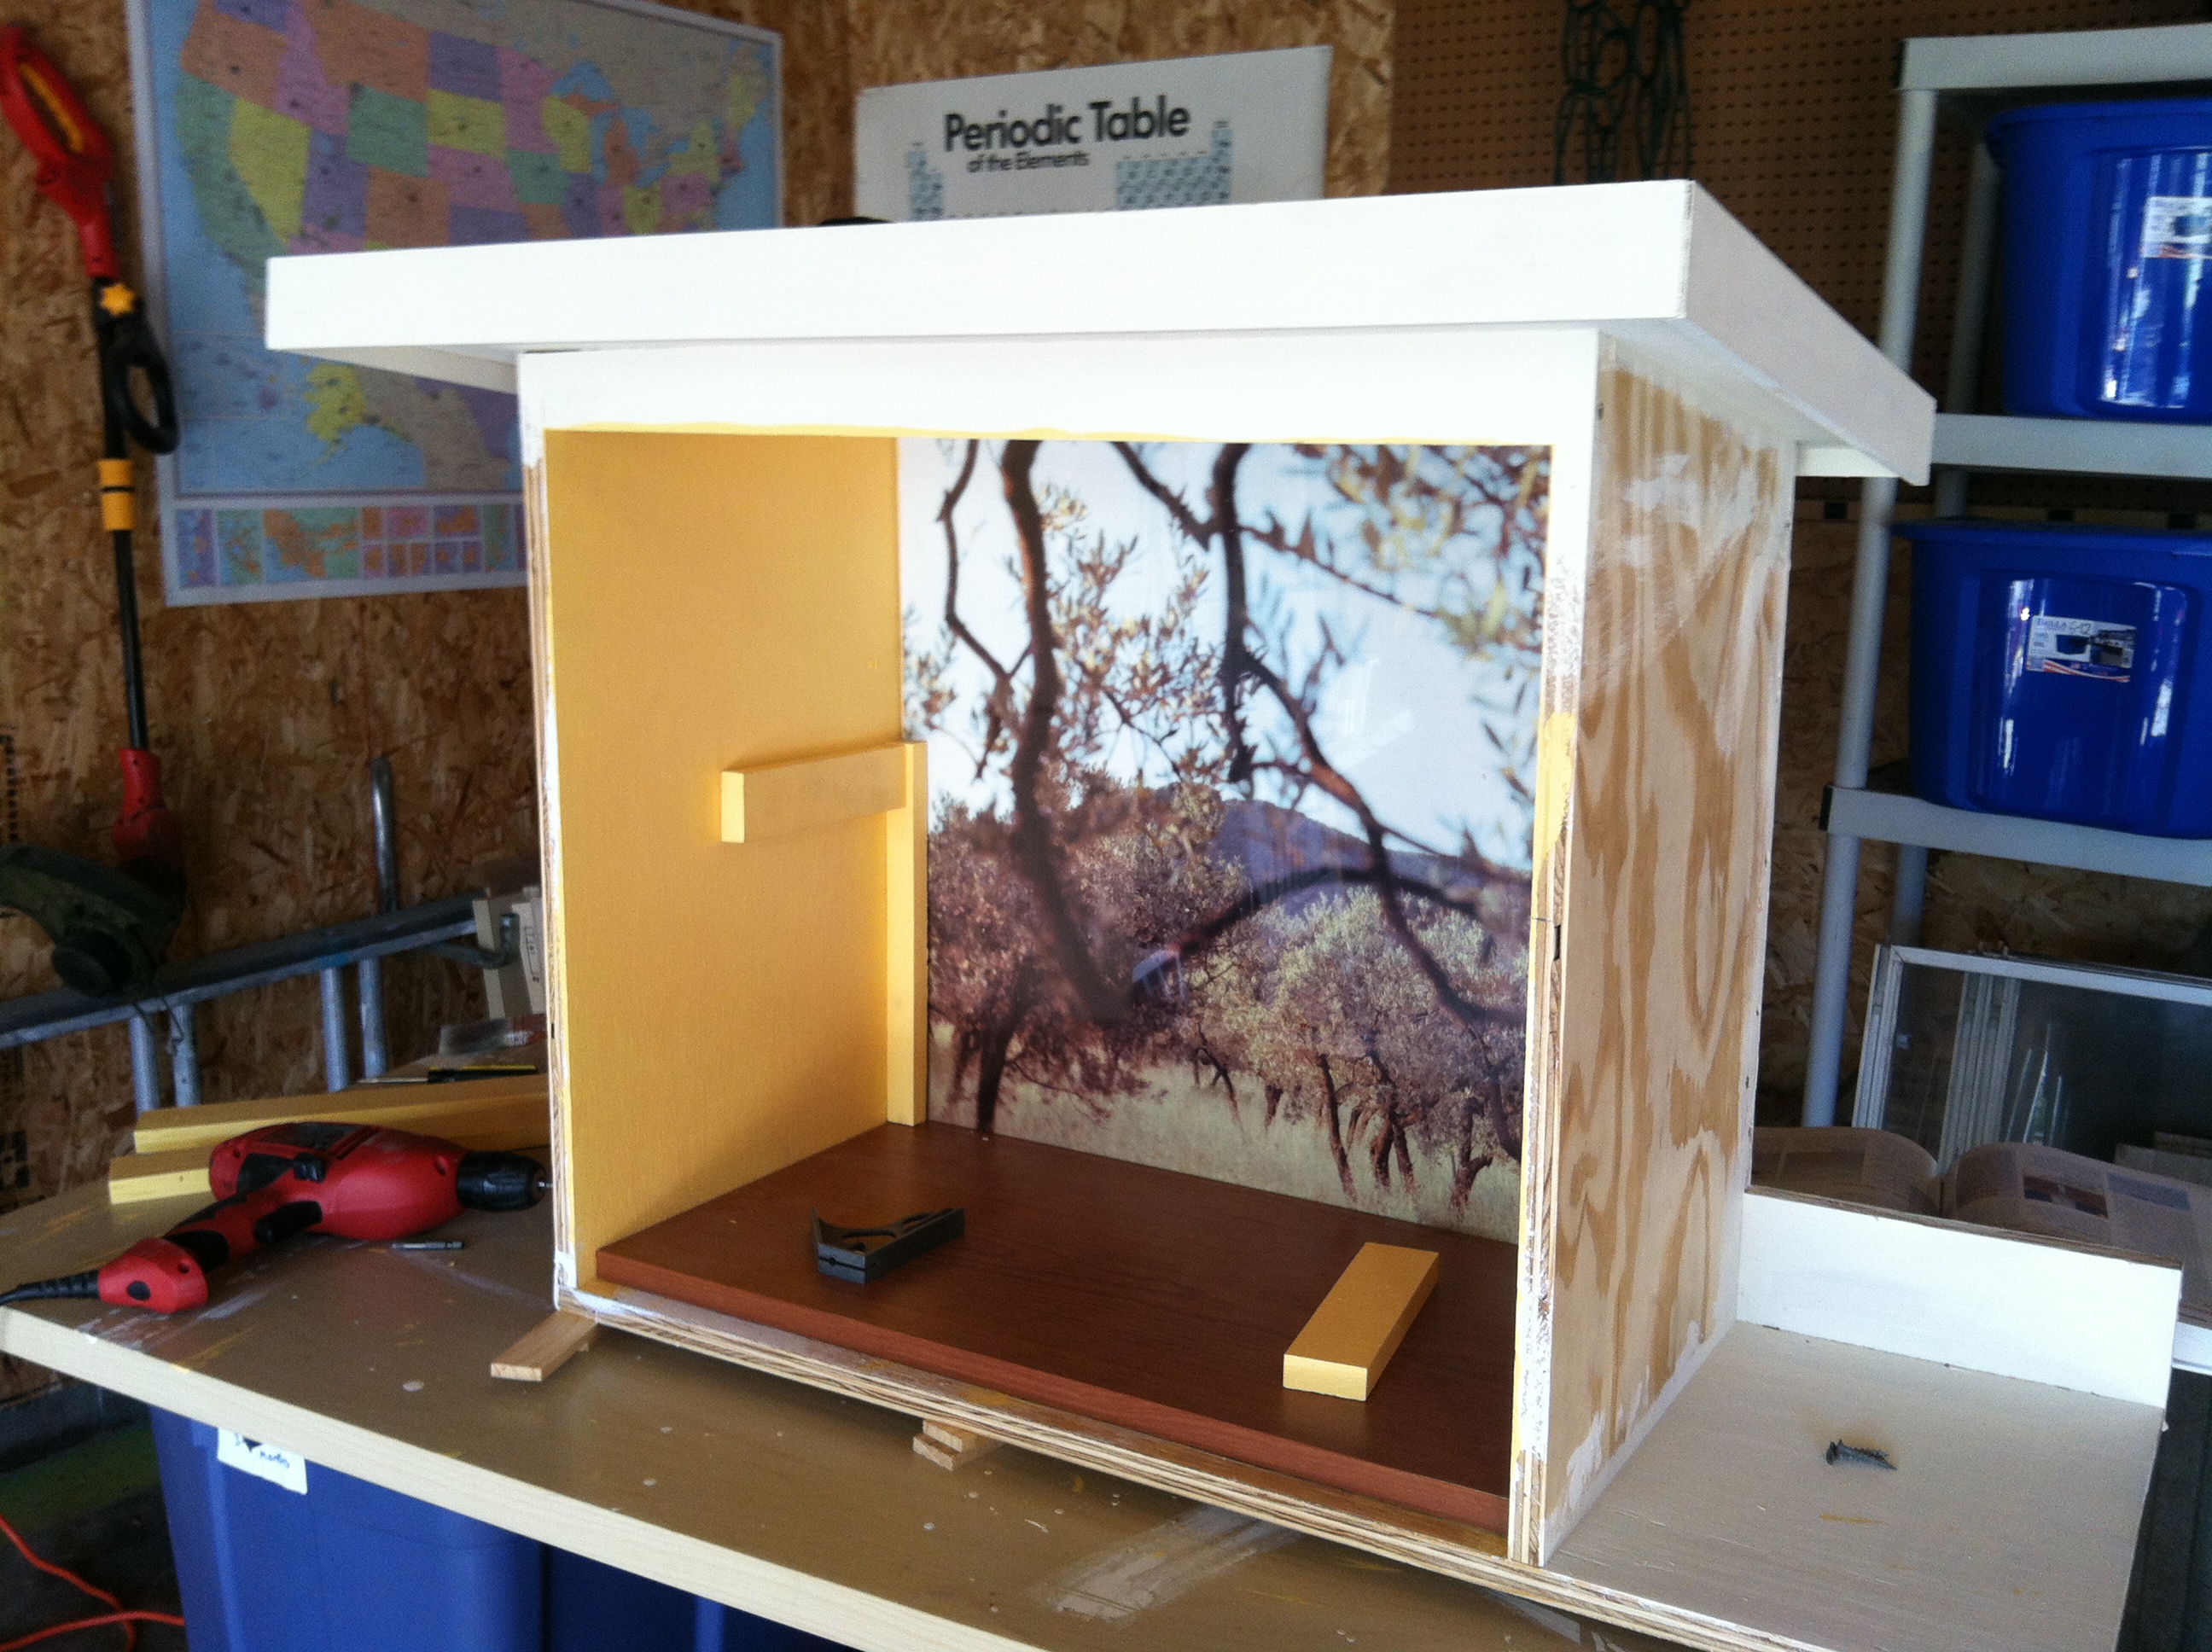 Do you notice something really awesome (I mean, besides the US map and periodic table in the background)? Look at the back! It’s a nature scene! “How did you do that, James?” you ask.
Well, I’m glad you asked. This goes back to one day in 2001 when Jennifer and I visited the Minneapolis Institute of Art with her brother Les and his fiancée. The museum was giving out free posters of tree landscapes. Why they would do that, I have no idea. It’s probably something artsy people attach some meaning to. Regardless, I took a poster, rolled it up…and then stored it away for 14 years. Until last month, when I cut it to size and stuck it behind a piece of plexiglass in the back of the library.
 This photo shows some subtle differences. First, notice that there are two thin side pieces (painted white) on the front. Also, notice that I’ve installed the center shelf. Also – and this might be hard to see – I removed the yellow painted pieces of wood that held the plexiglass in place. My wife said they weren’t very attractive. I agreed. Instead, I used some trim pieces that had been laying around in my garage (the previous owner left them behind) and nailed them in instead. The Little Free Library website suggests using “recycled and found materials” when possible. So there. I did.
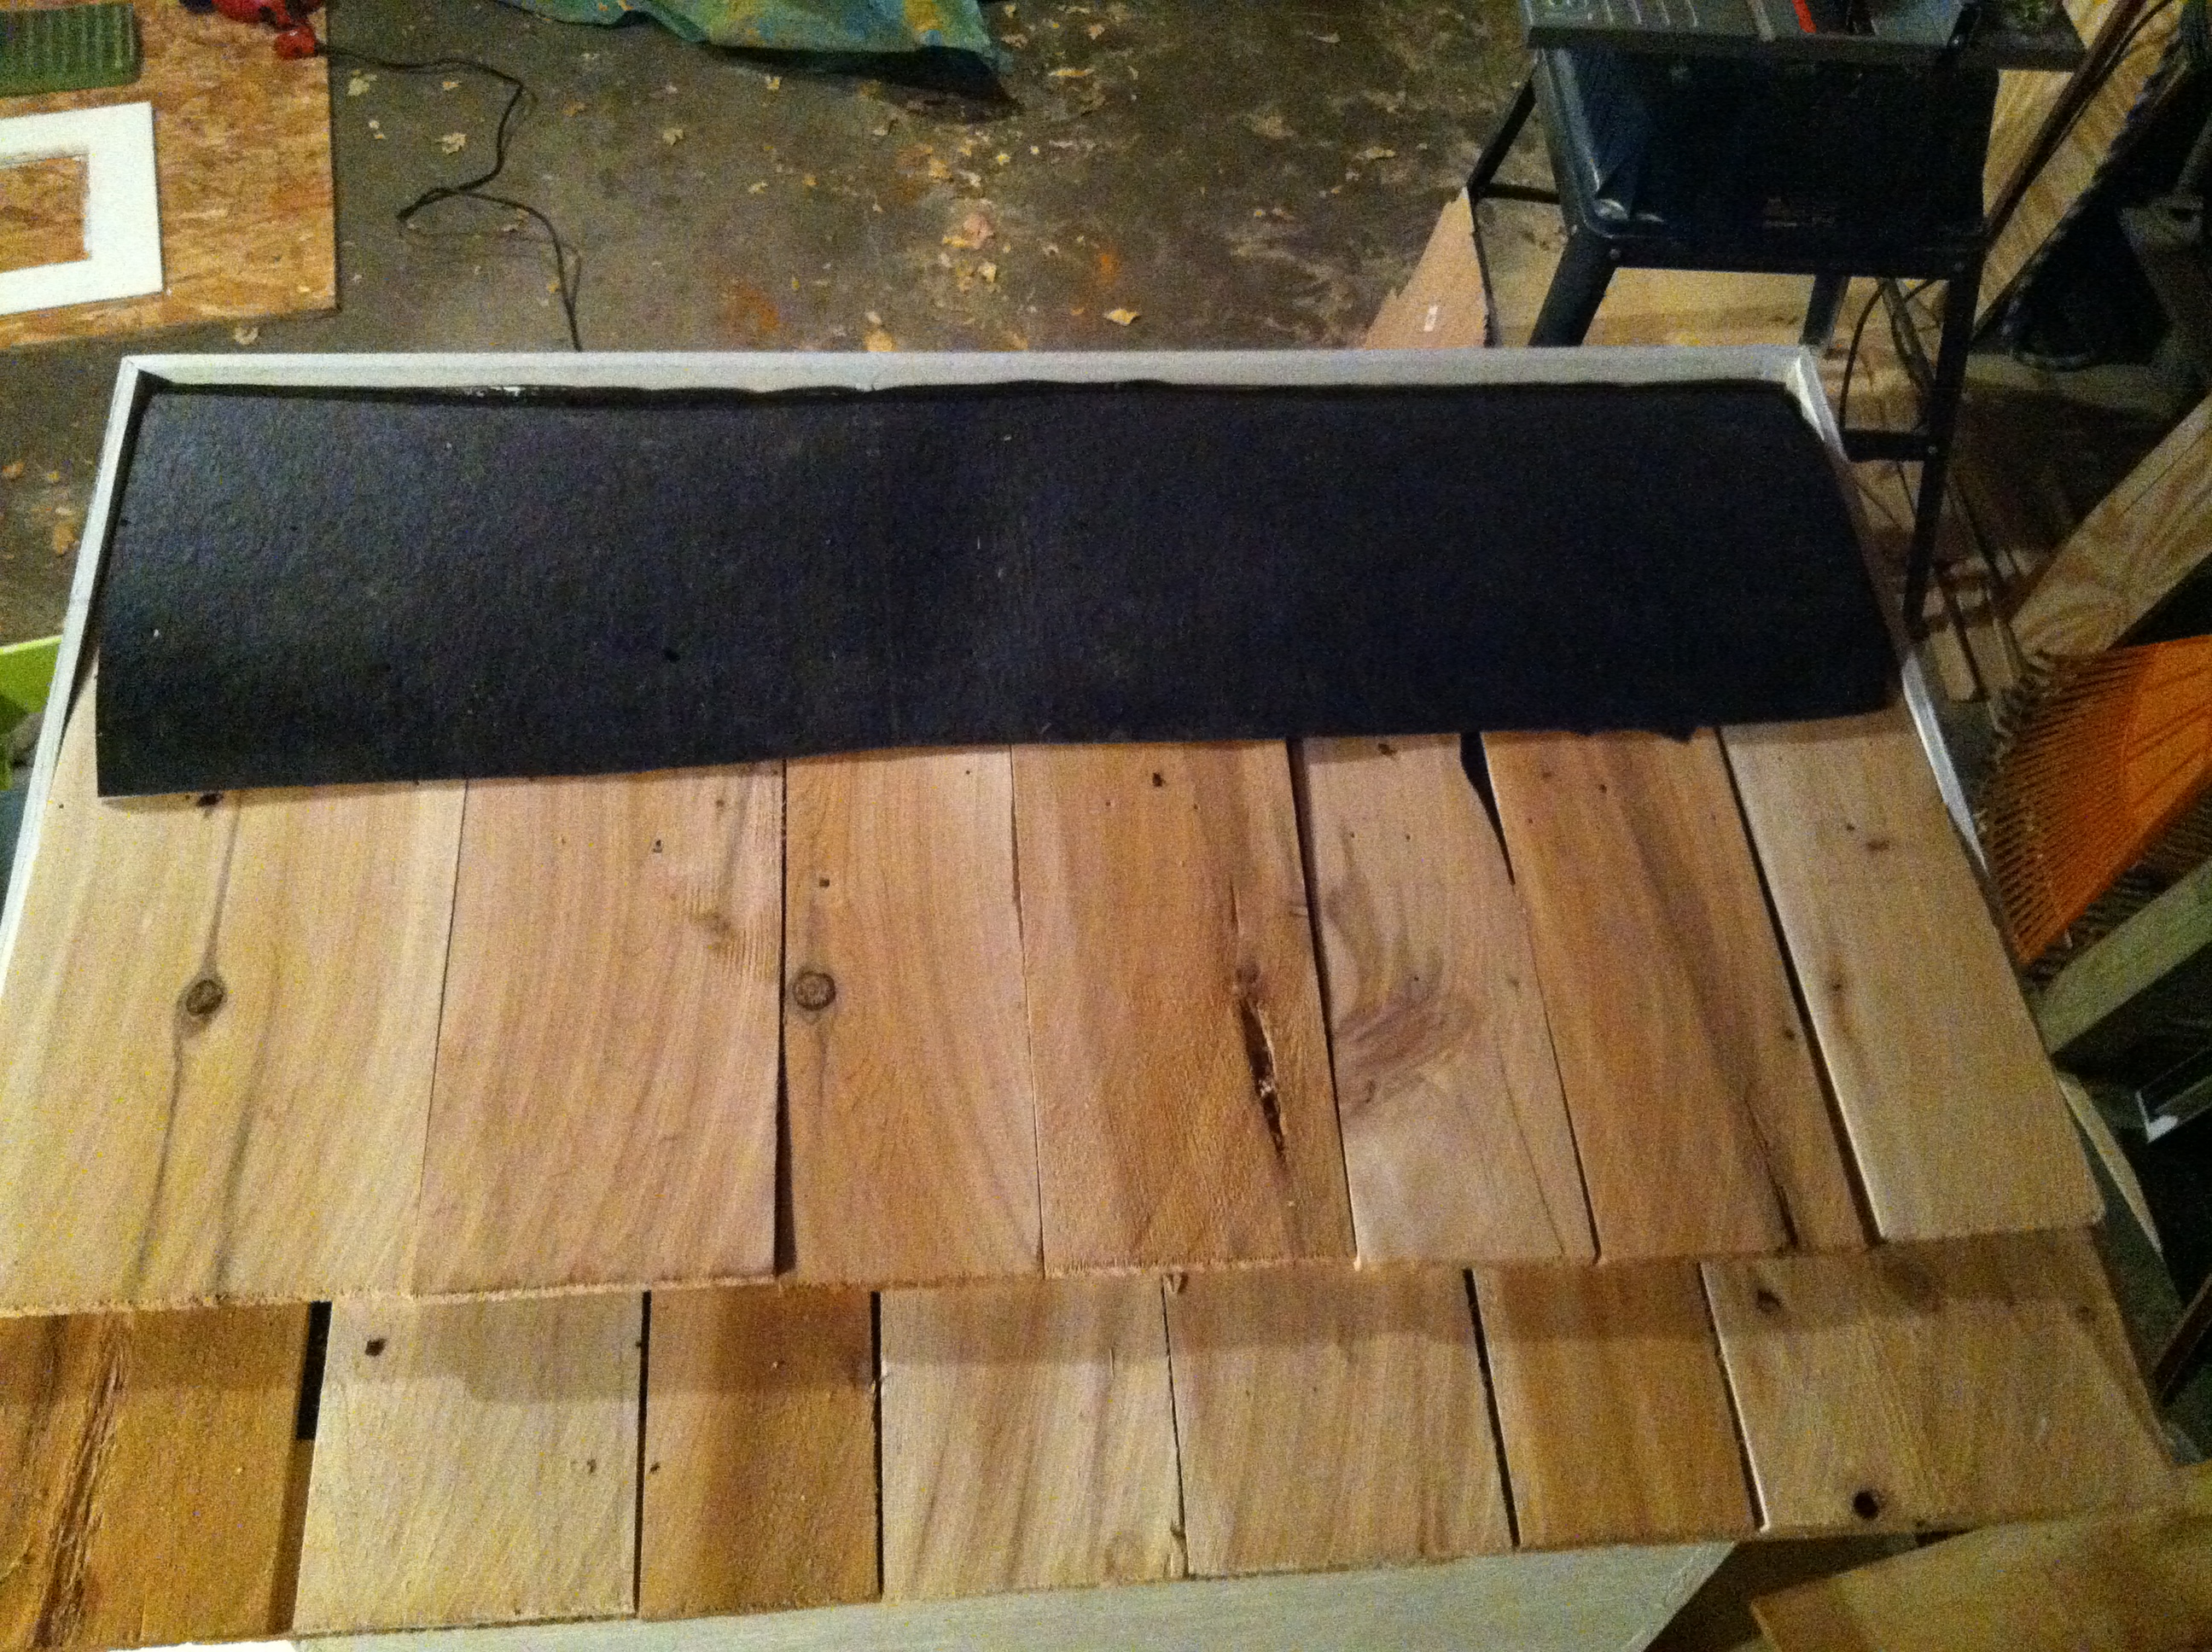 My wife also suggested shakes for the roof. Here, you can see my progress about midway through installing the shakes. The black material you see is tar paper, to keep precipitation at bay. It was only available from Menard’s in a 50 foot roll. I gave Mike the leftovers. He now has about 48 feet of tar paper at his disposal.
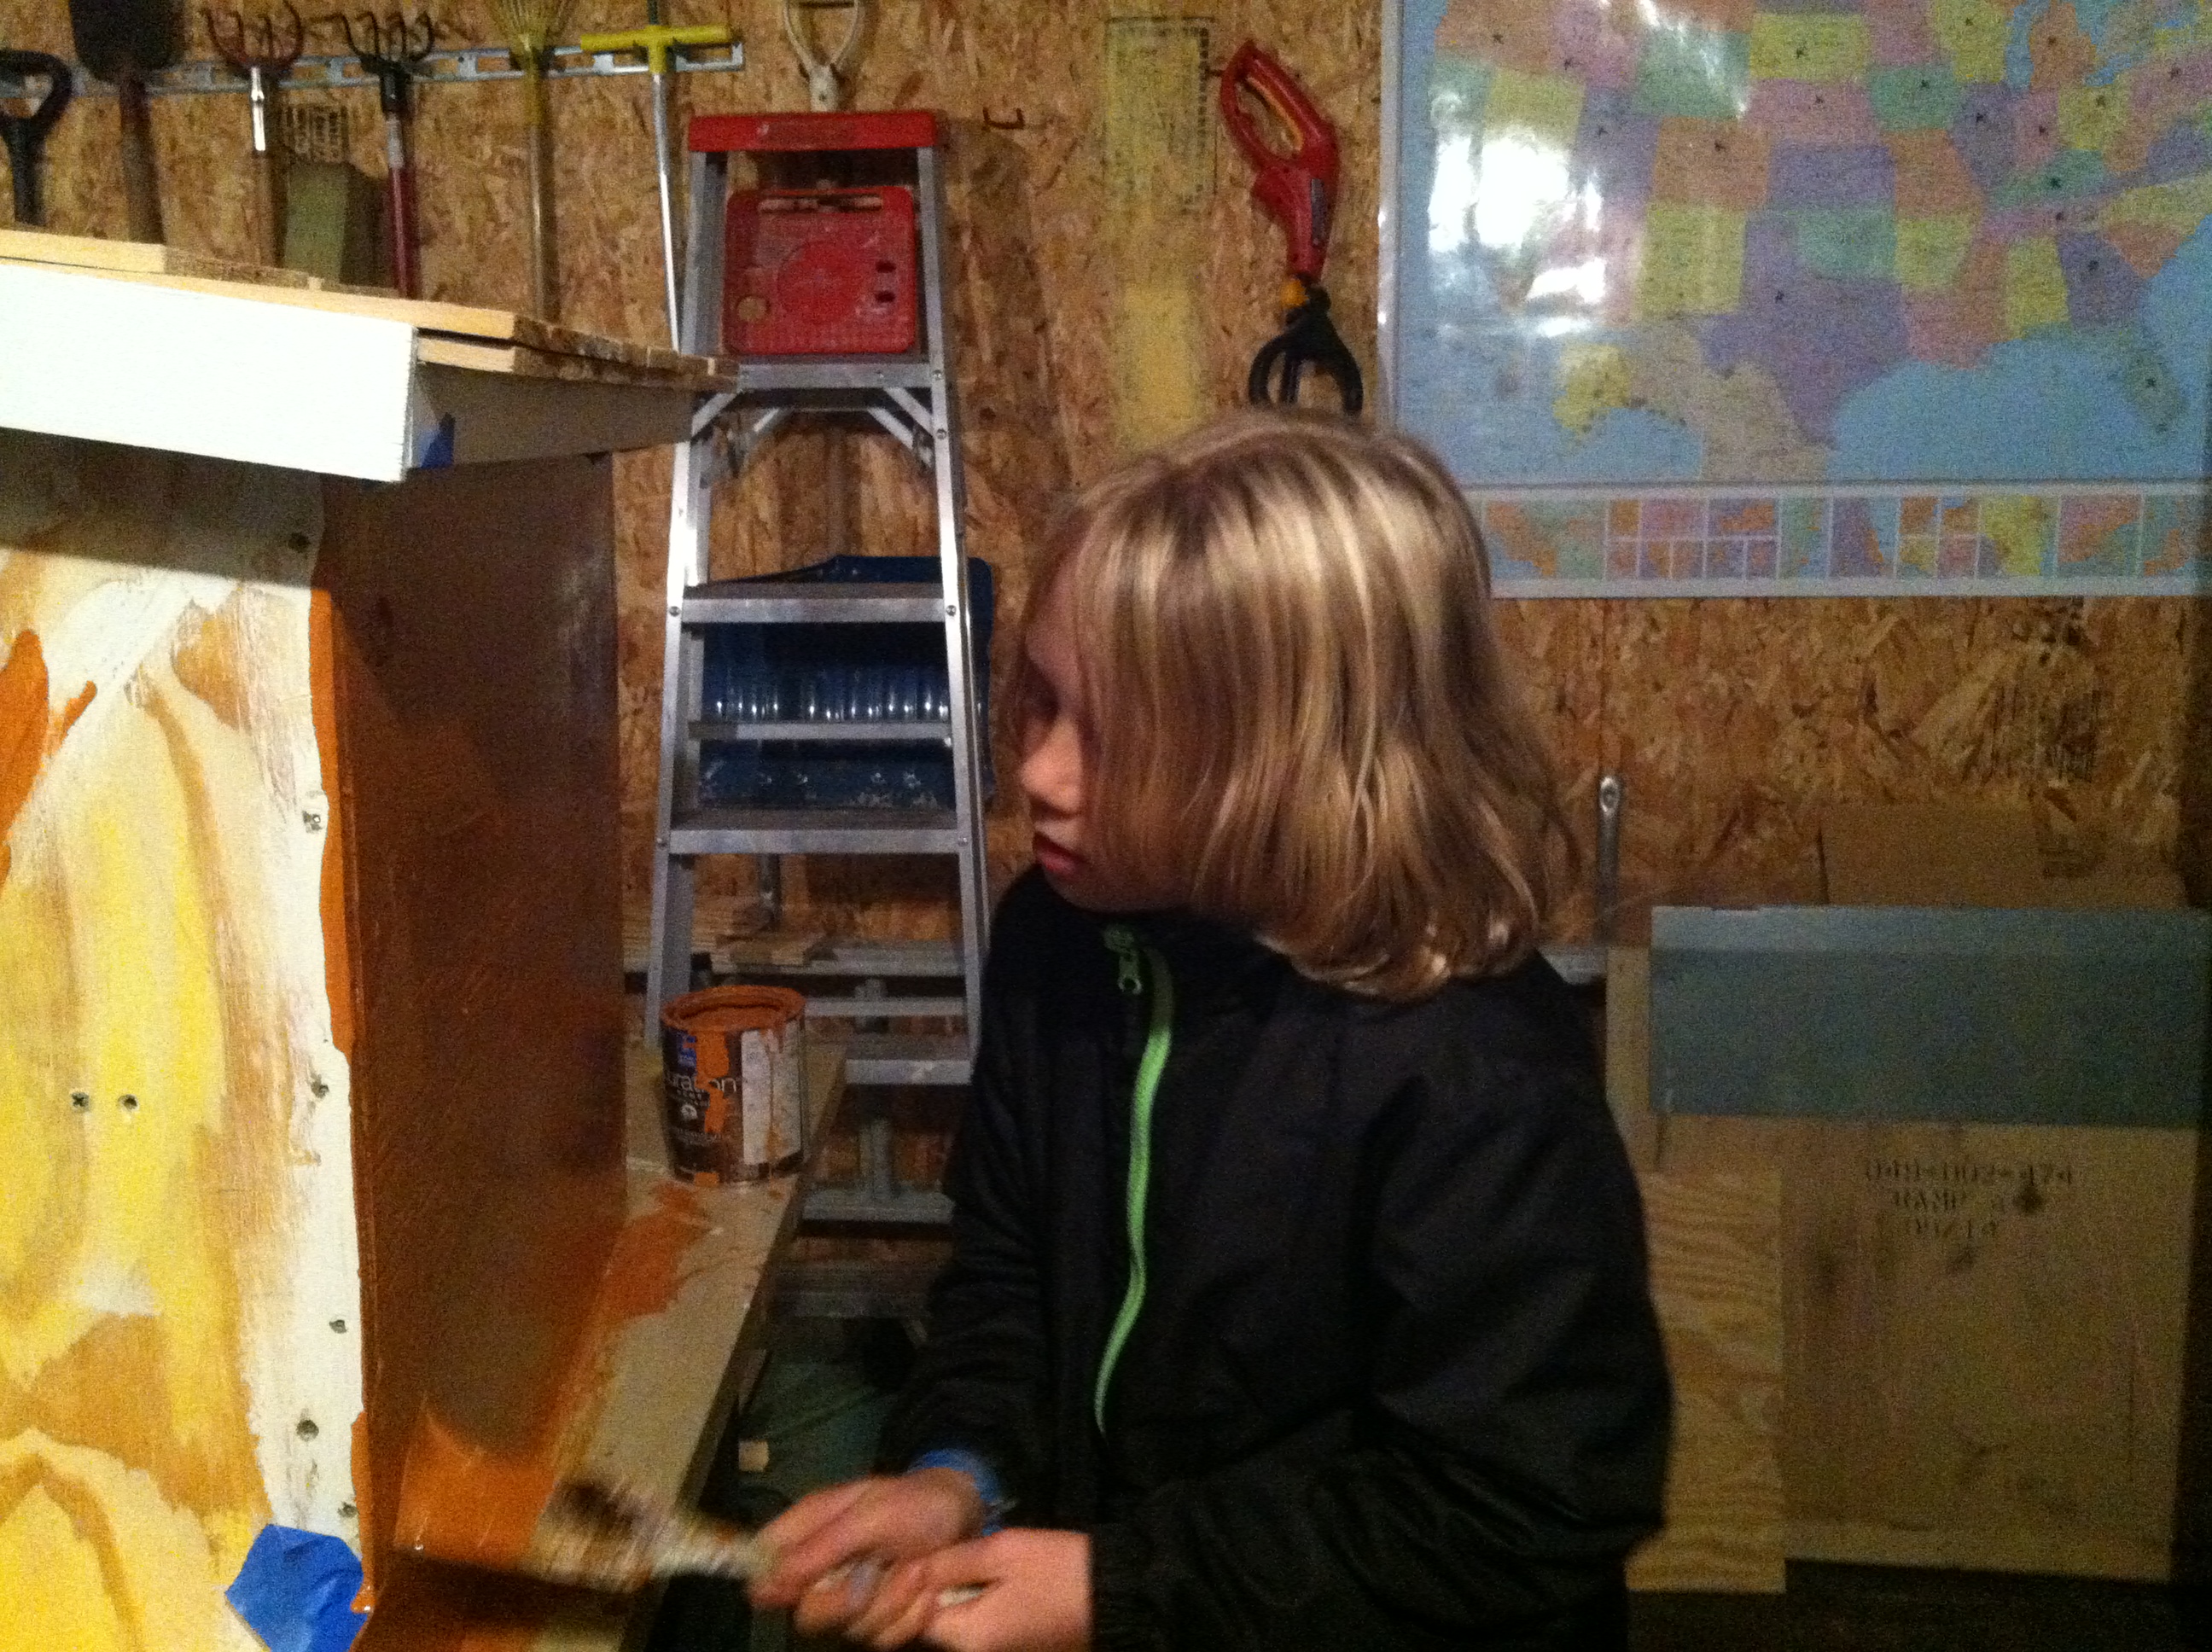
This picture shows the backside of the library being painted. I guess I just figured, “Hey, why should I paint this myself when there’s a perfectly good 10-year-old standing right here?”
His assistance with that freed me up to work on…
 The door!
I borrowed my father-in-law’s table saw to cut these four pieces. After gluing and screwing them together with L-brackets, I laid the door frame on this piece of chip board to prime it.
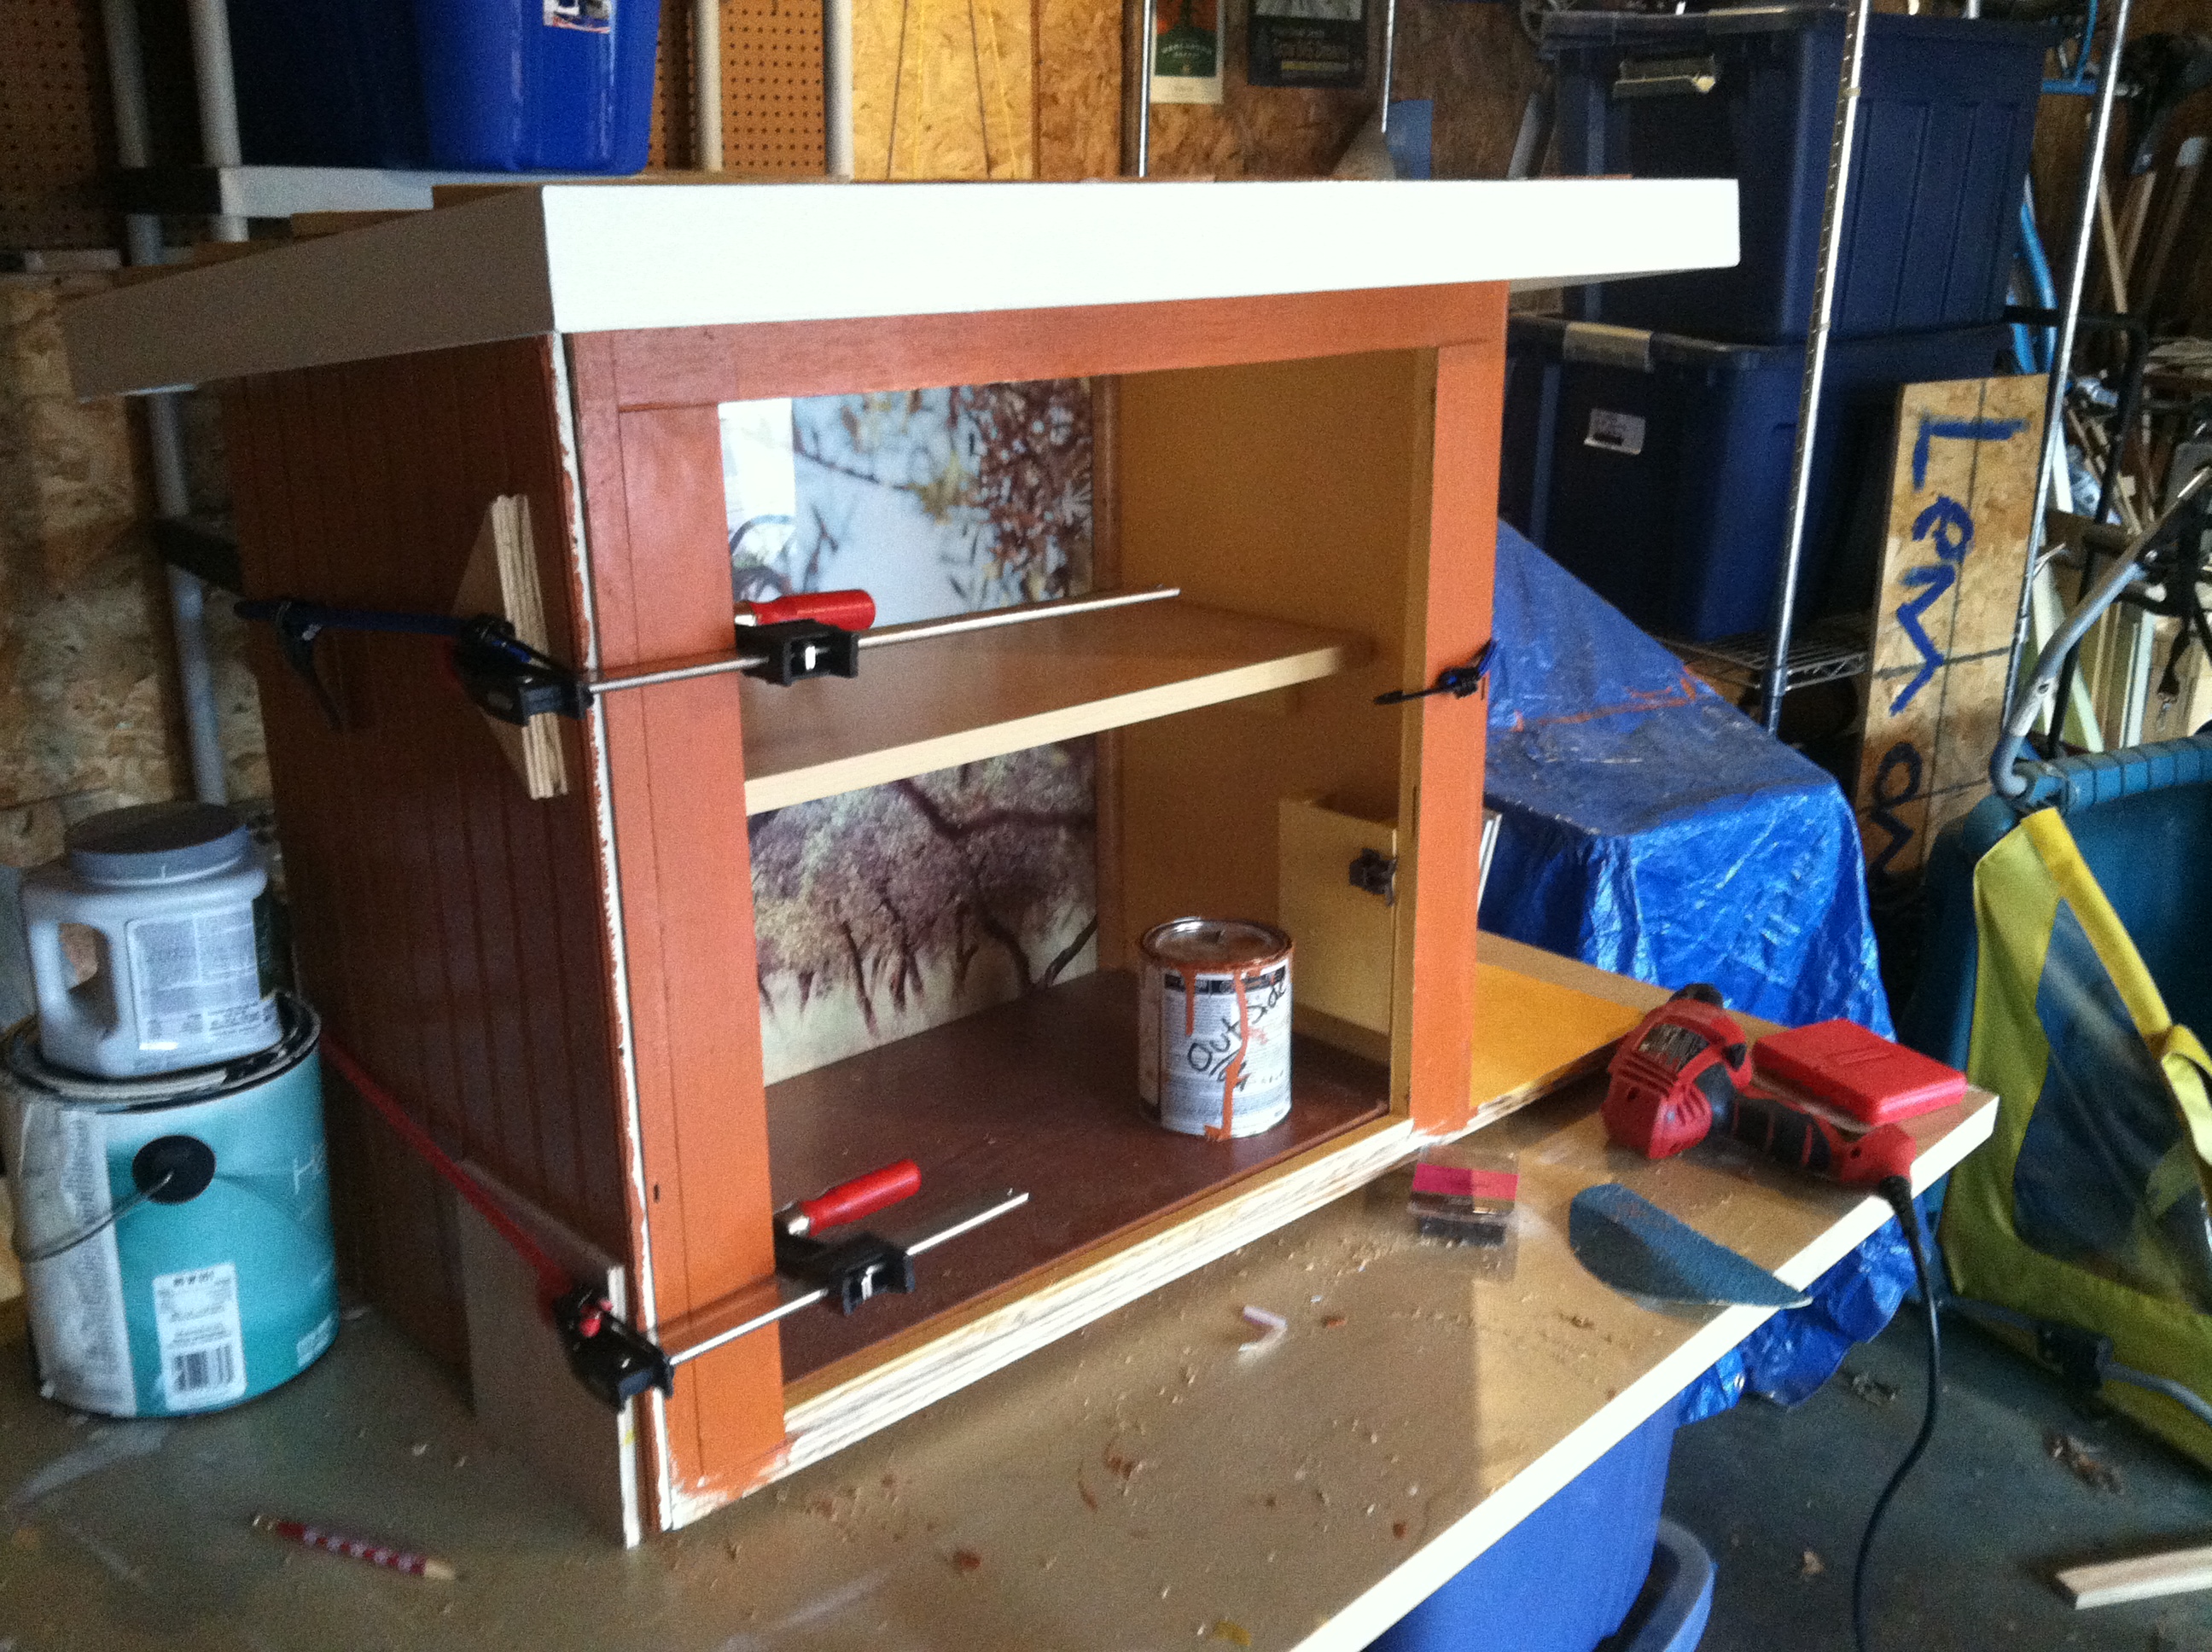 Here’s what the library looked like on November 1st. I’d painted the outside, and installed a little box (lower right) that serves both as a spot for bookmarks and as the place where I screwed in the door catch.
The clamps are because I had just glued the wainscoting onto the side in an effort to stylize my library even more. In true Little Free Library fashion, the wainscoting was left behind by my former renter, so I re-purposed it.
 This photo shows the wainscoting on the other side, as well as the door installed. I cut the plexiglass for the door using my father-in-law’s table saw. I’m not sure if it’s a good idea to cut plexiglass using a table saw, but I figured I wouldn’t tell my father-in-law about that until, well, right now.
 Then it was time to paint the trim.
Mercifully, the Minnesota weather held out quite nicely this fall, but by mid-November, it was getting too cold in the garage to work with paint. In this photo, I am painting the trim in the comfort of my kitchen.
It also turns out I’m a lousy trim painter. And not just because I have trouble cleaning the brush:
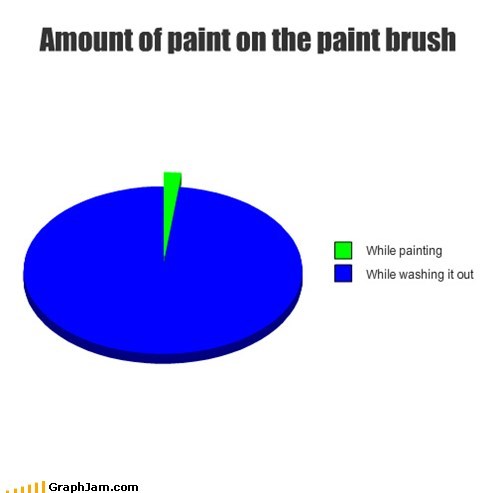
…I left globs of paint on each piece of trim. So I sanded lots of it off, then handed the job off to my wife. She sanded even more, then painted the trim for me. For us, I mean.
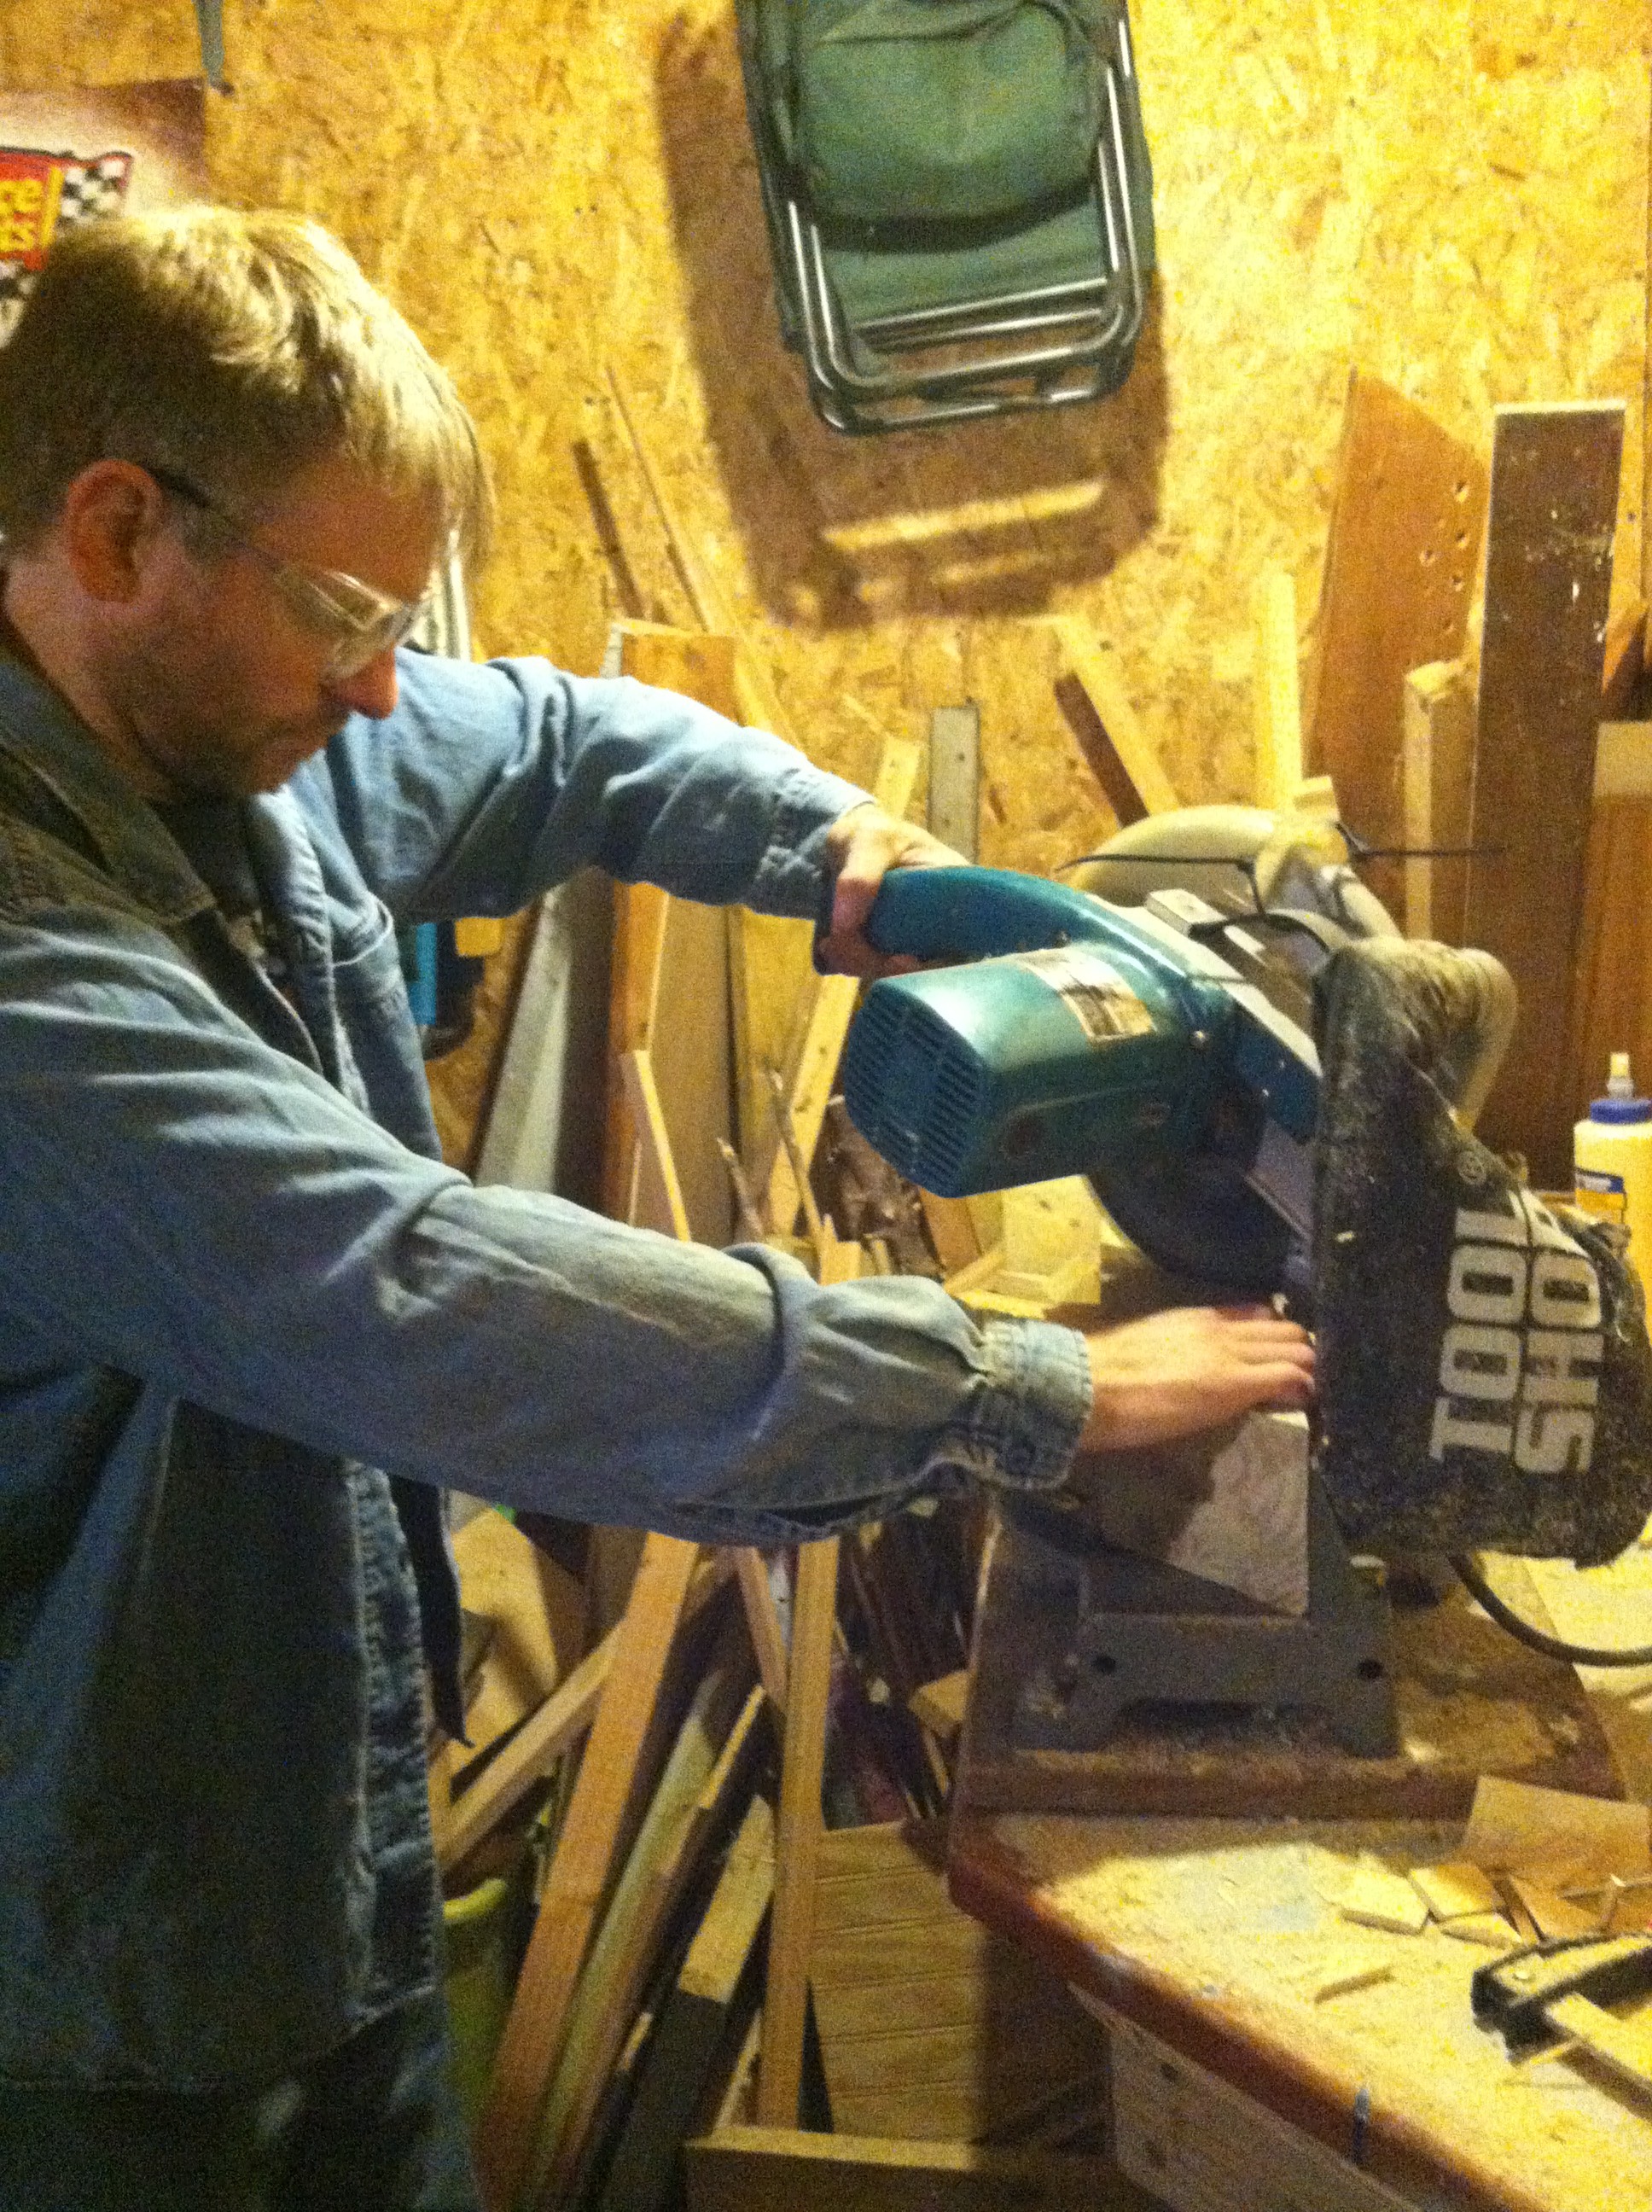
Oh – I should also mention that building a Little Free Library usually means also building a post, so in this picture you can see me testing the miter saw’s limits by cutting through a 4×4 piece of fence post. Mike took this photo figuring, I guess, that it was my turn to be in an unflattering, inane picture.
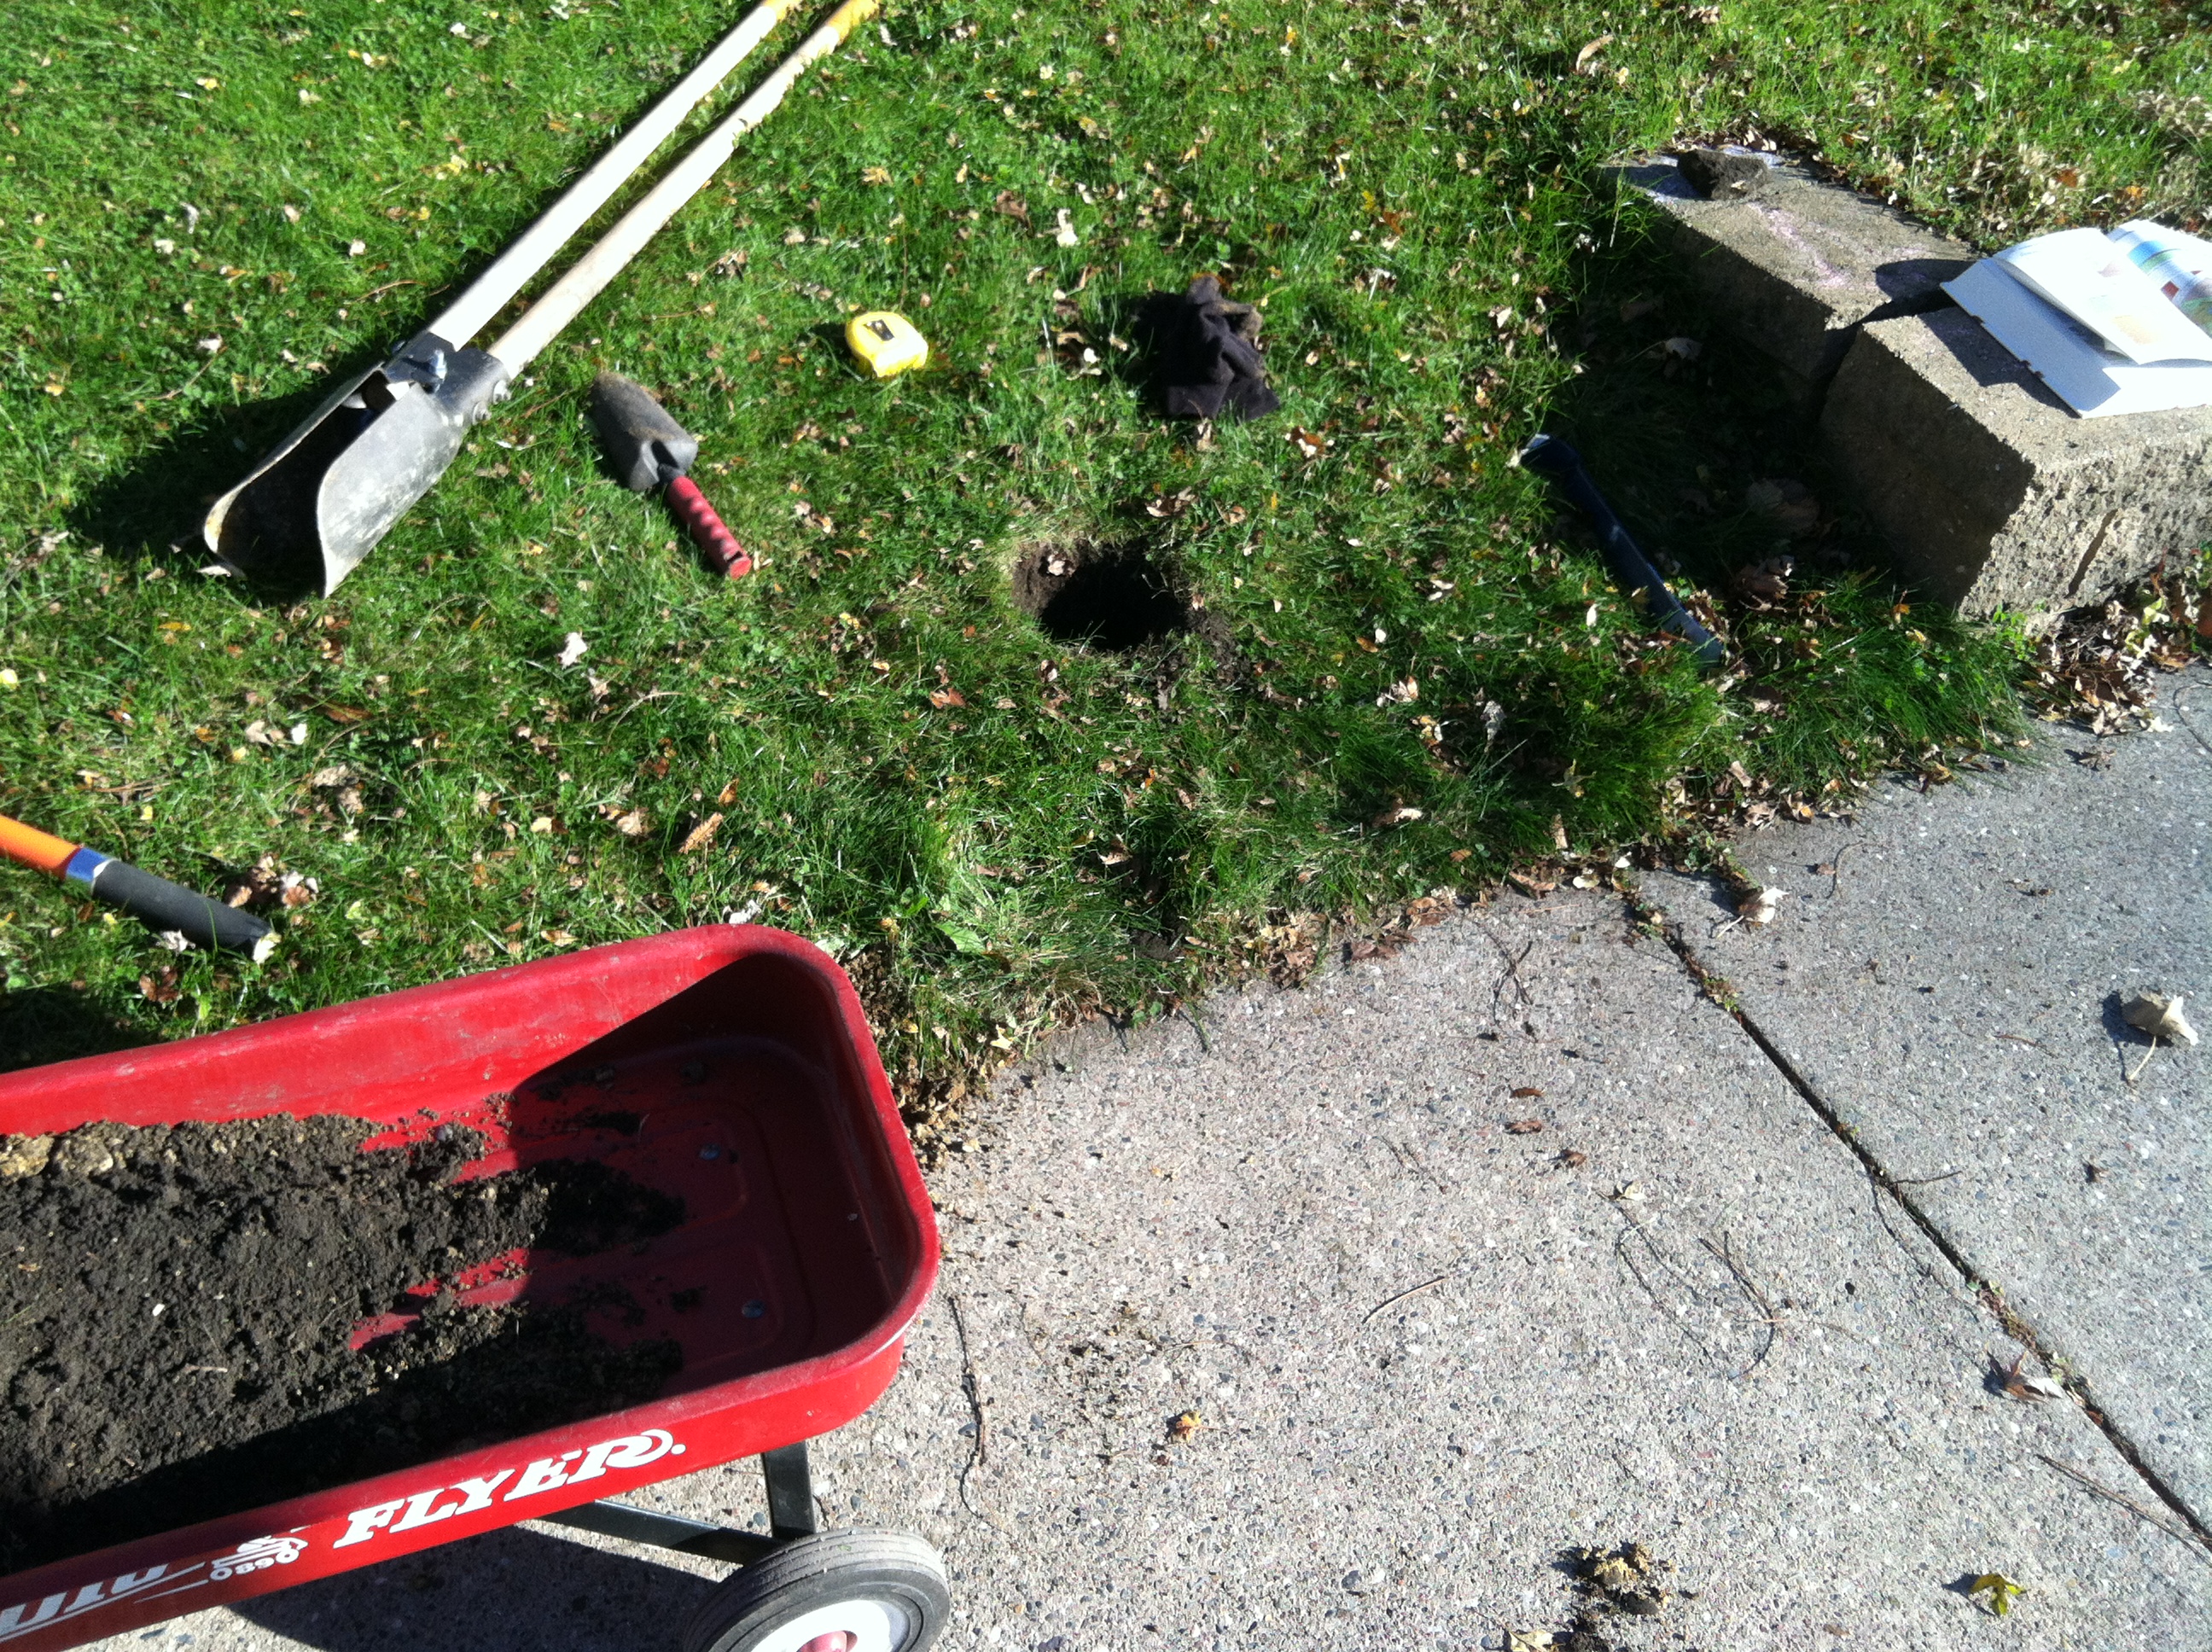 I used my lunch break on one of the last warm days of the year to dig the hole for the post. Here, you can see the post-hole digger I borrowed from a neighbor, my wagon for transporting the soil I removed, and a book that tells me how to dig a post-hole. Yep, I’m that big of a nerd that I actually bring a book outside to tell me how to dig a hole.
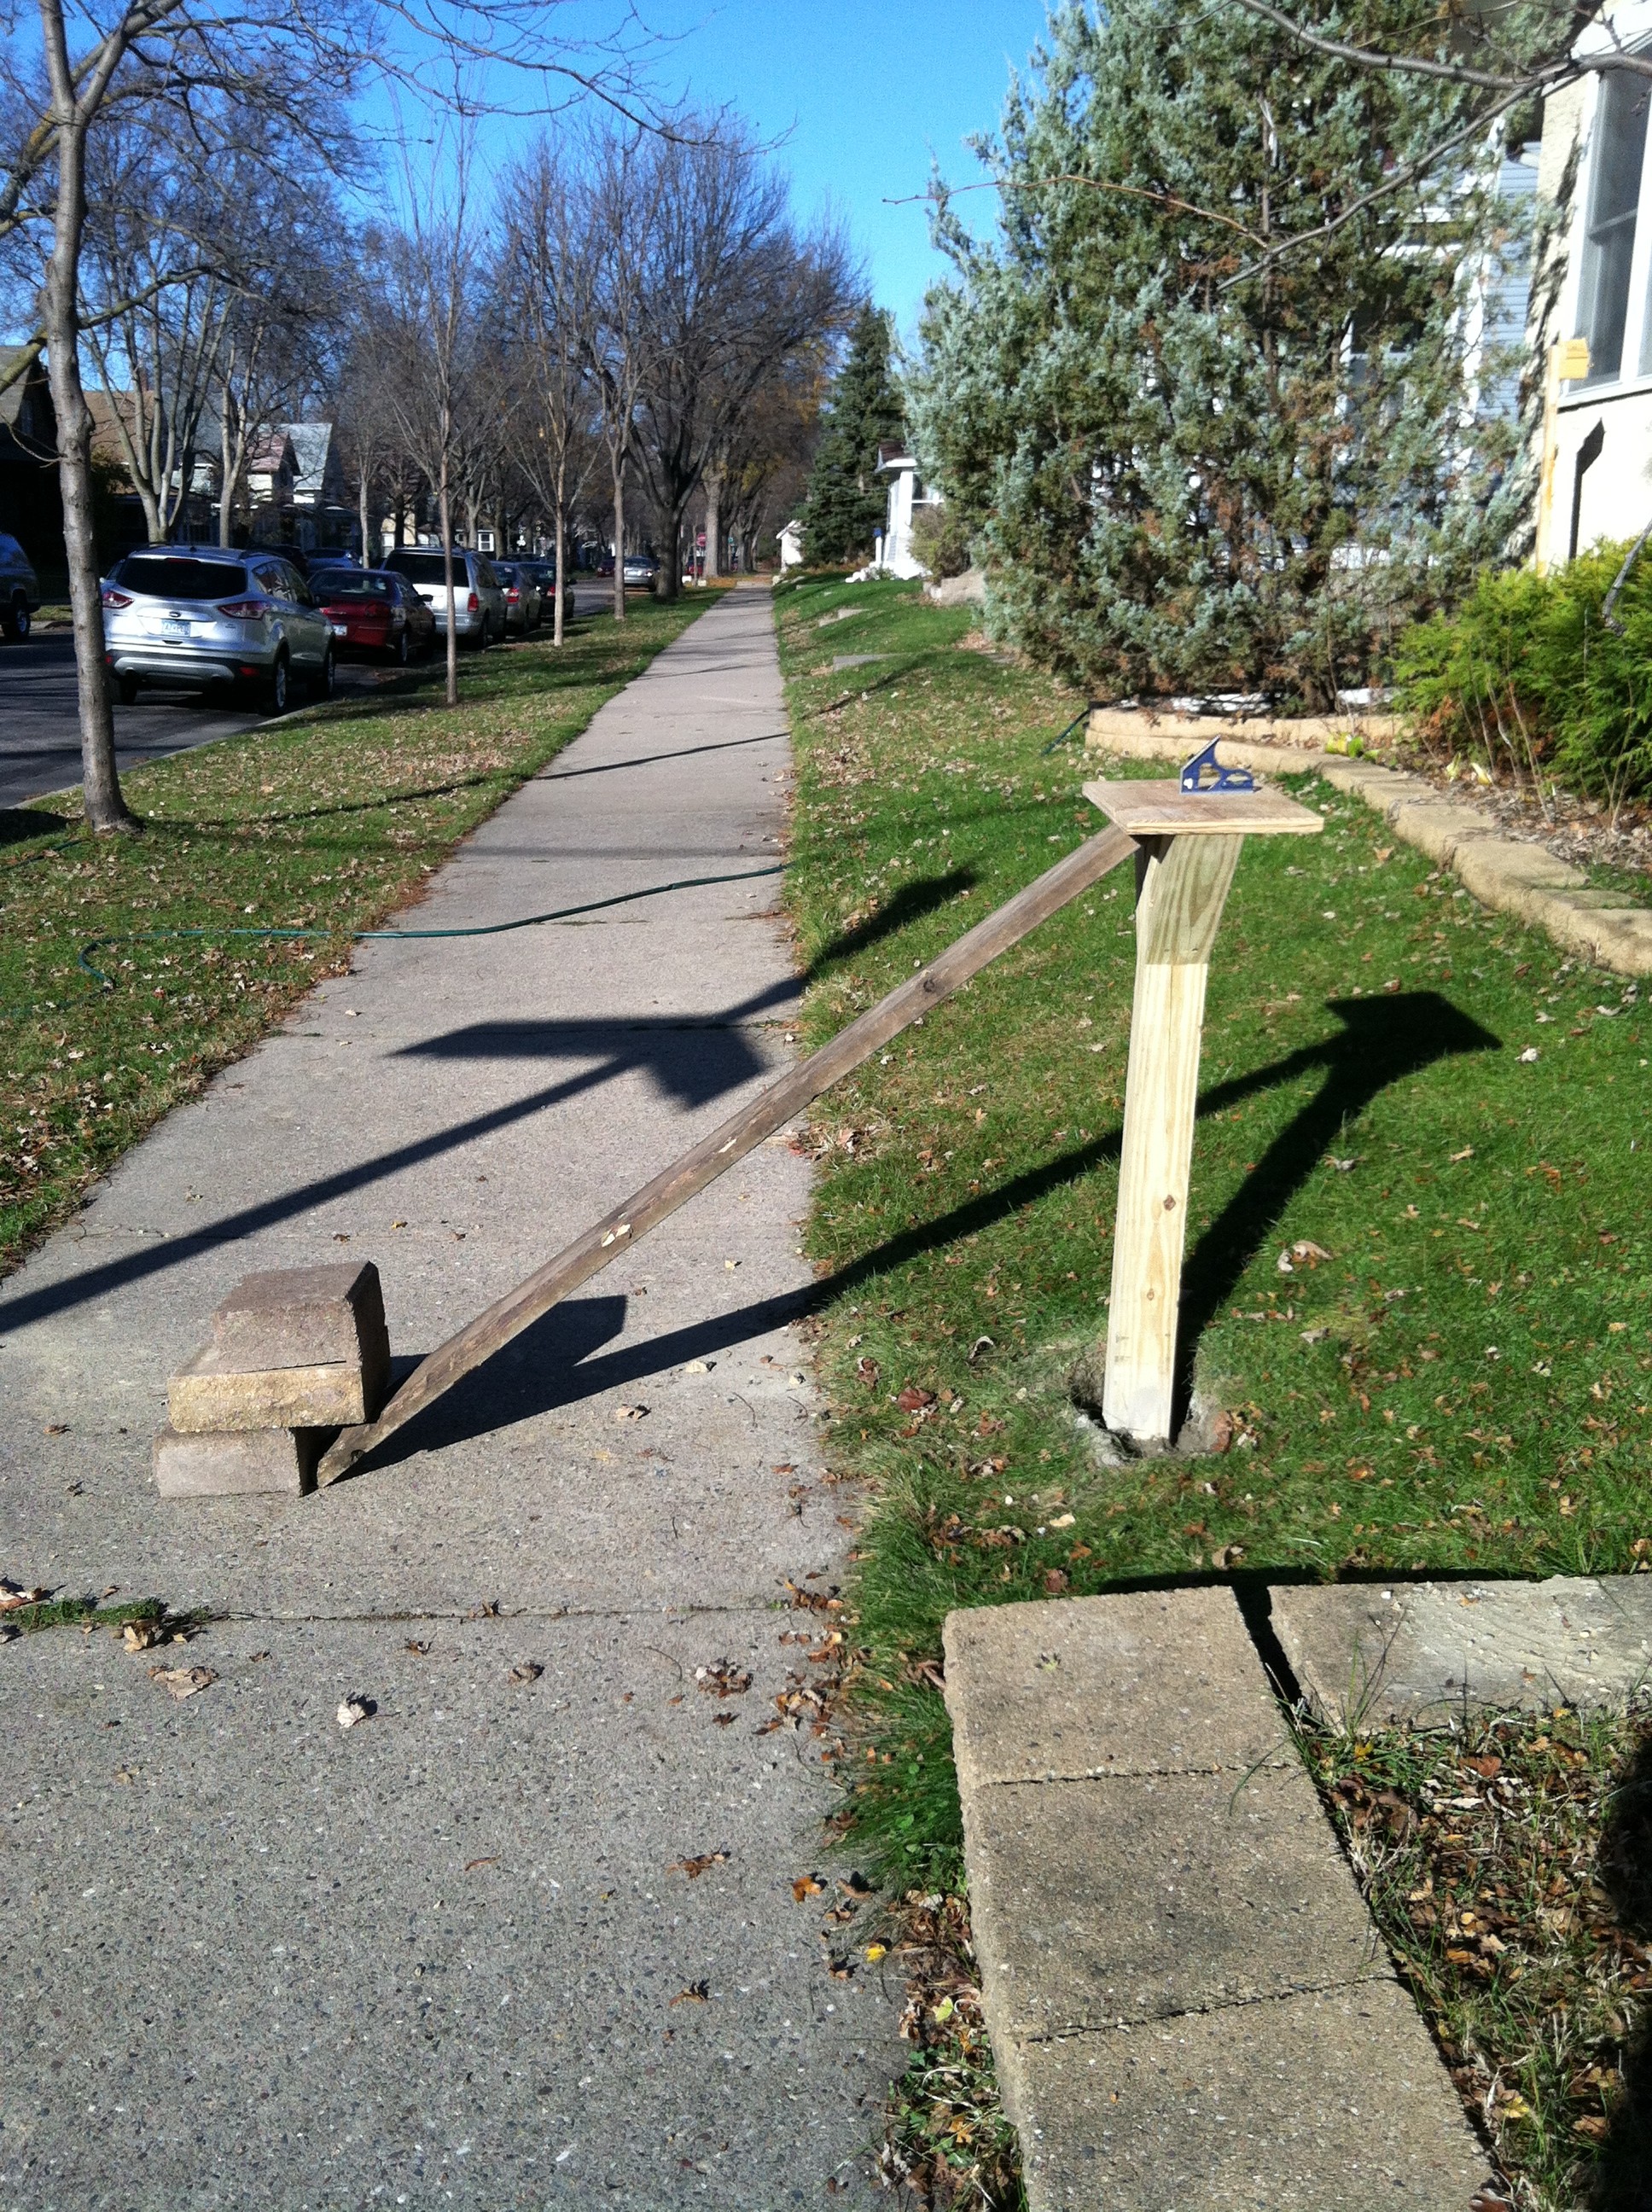
 Viola! Here you see the post is in the ground. On the brick wall to the right, you can see some of the limestone I had to dig out. Another neighbor took pity on my inability to dig deeper than 19 inches and let me borrow her large, heavy metal lever. I continually dropped it onto the limestone until I cracked through to the 24 inches I needed. The bricks you see butted against the post are there to stabilize it while the cement dries.
But even after the cement dried, it didn’t seem quite stable enough. So I bought another bag of cement and, on an amazingly beautiful day in mid-November, I poured in some more cement. The water I used for the cement, incidentally, was from my rain barrel, so…more recycling!
The 2×4 you see to the right here is to just nudge the post back a bit. It wasn’t quite level, but thanks to this pressure I applied over the course of 6 hours, it is now.

The only construction step remaining was to paint and nail on the trim, but while I waited for my wife to finish that task, I went to LittleFreeLibrary.org and registered my library. They sent me the confirmation you see at left.
A few days later, they sent me an email saying my kit was on its way. The email also included this fun tidbit:
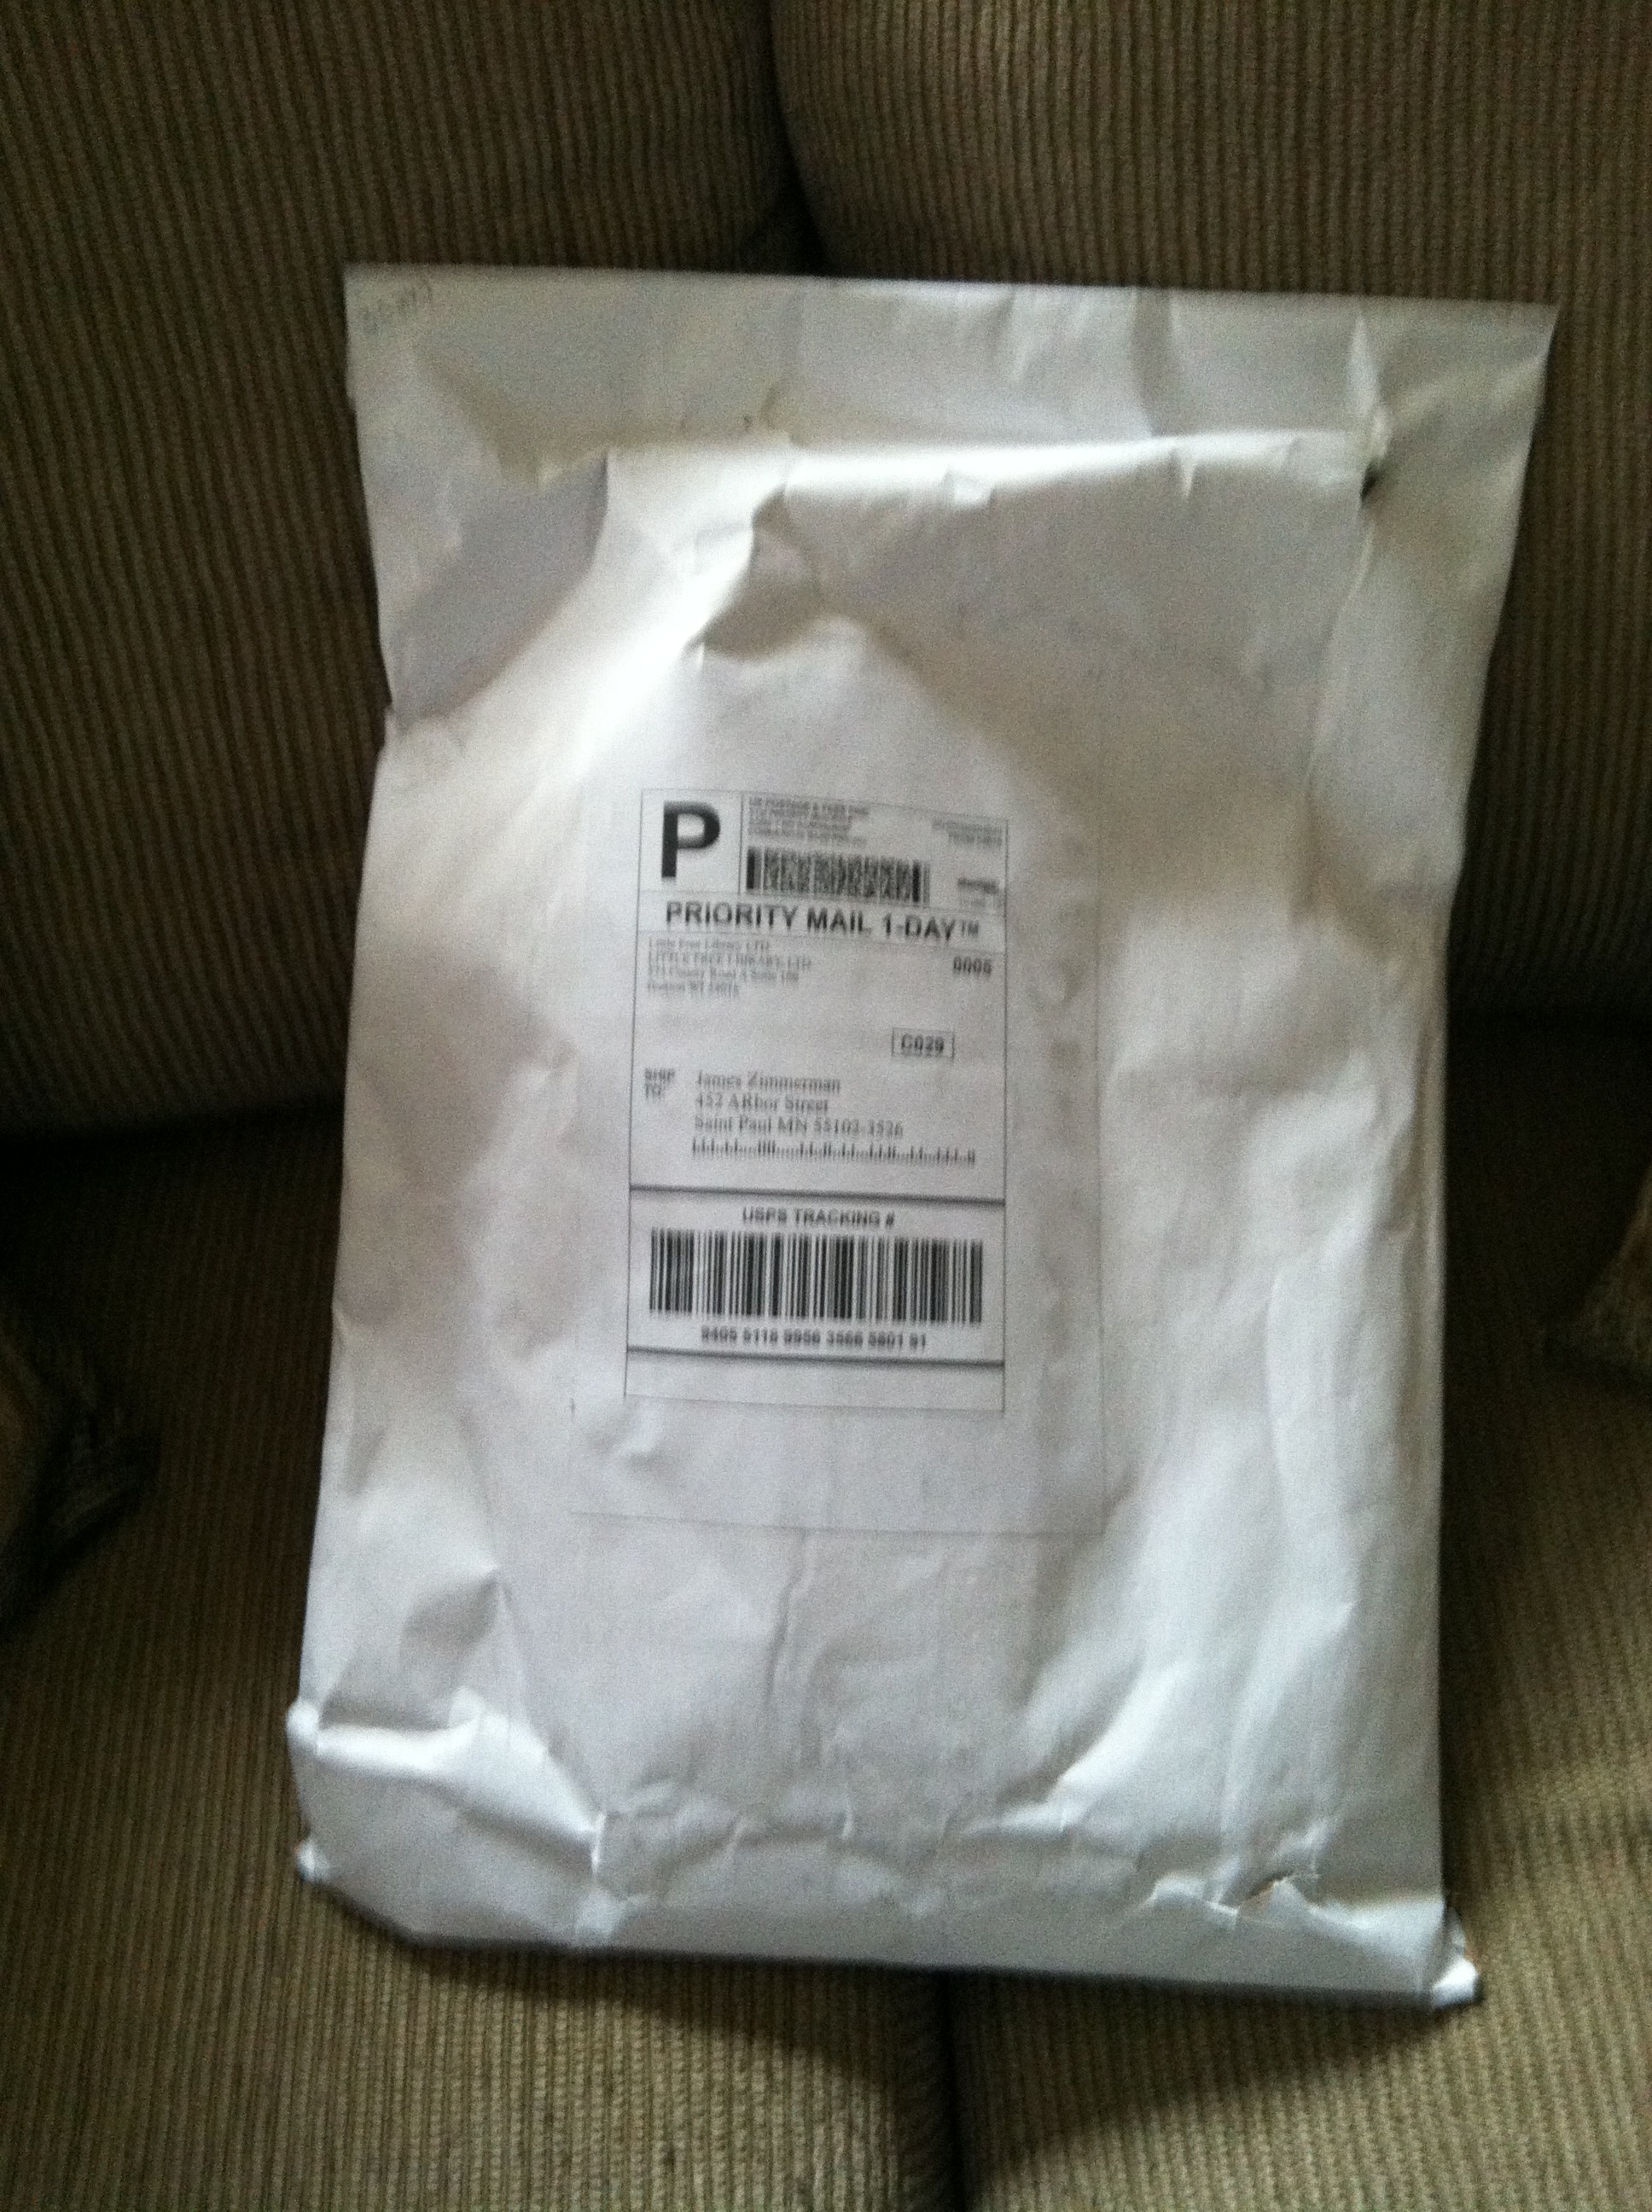
 Then, on Saturday the 21st, my package arrived! I was so excited!
Here’s what came in the package:
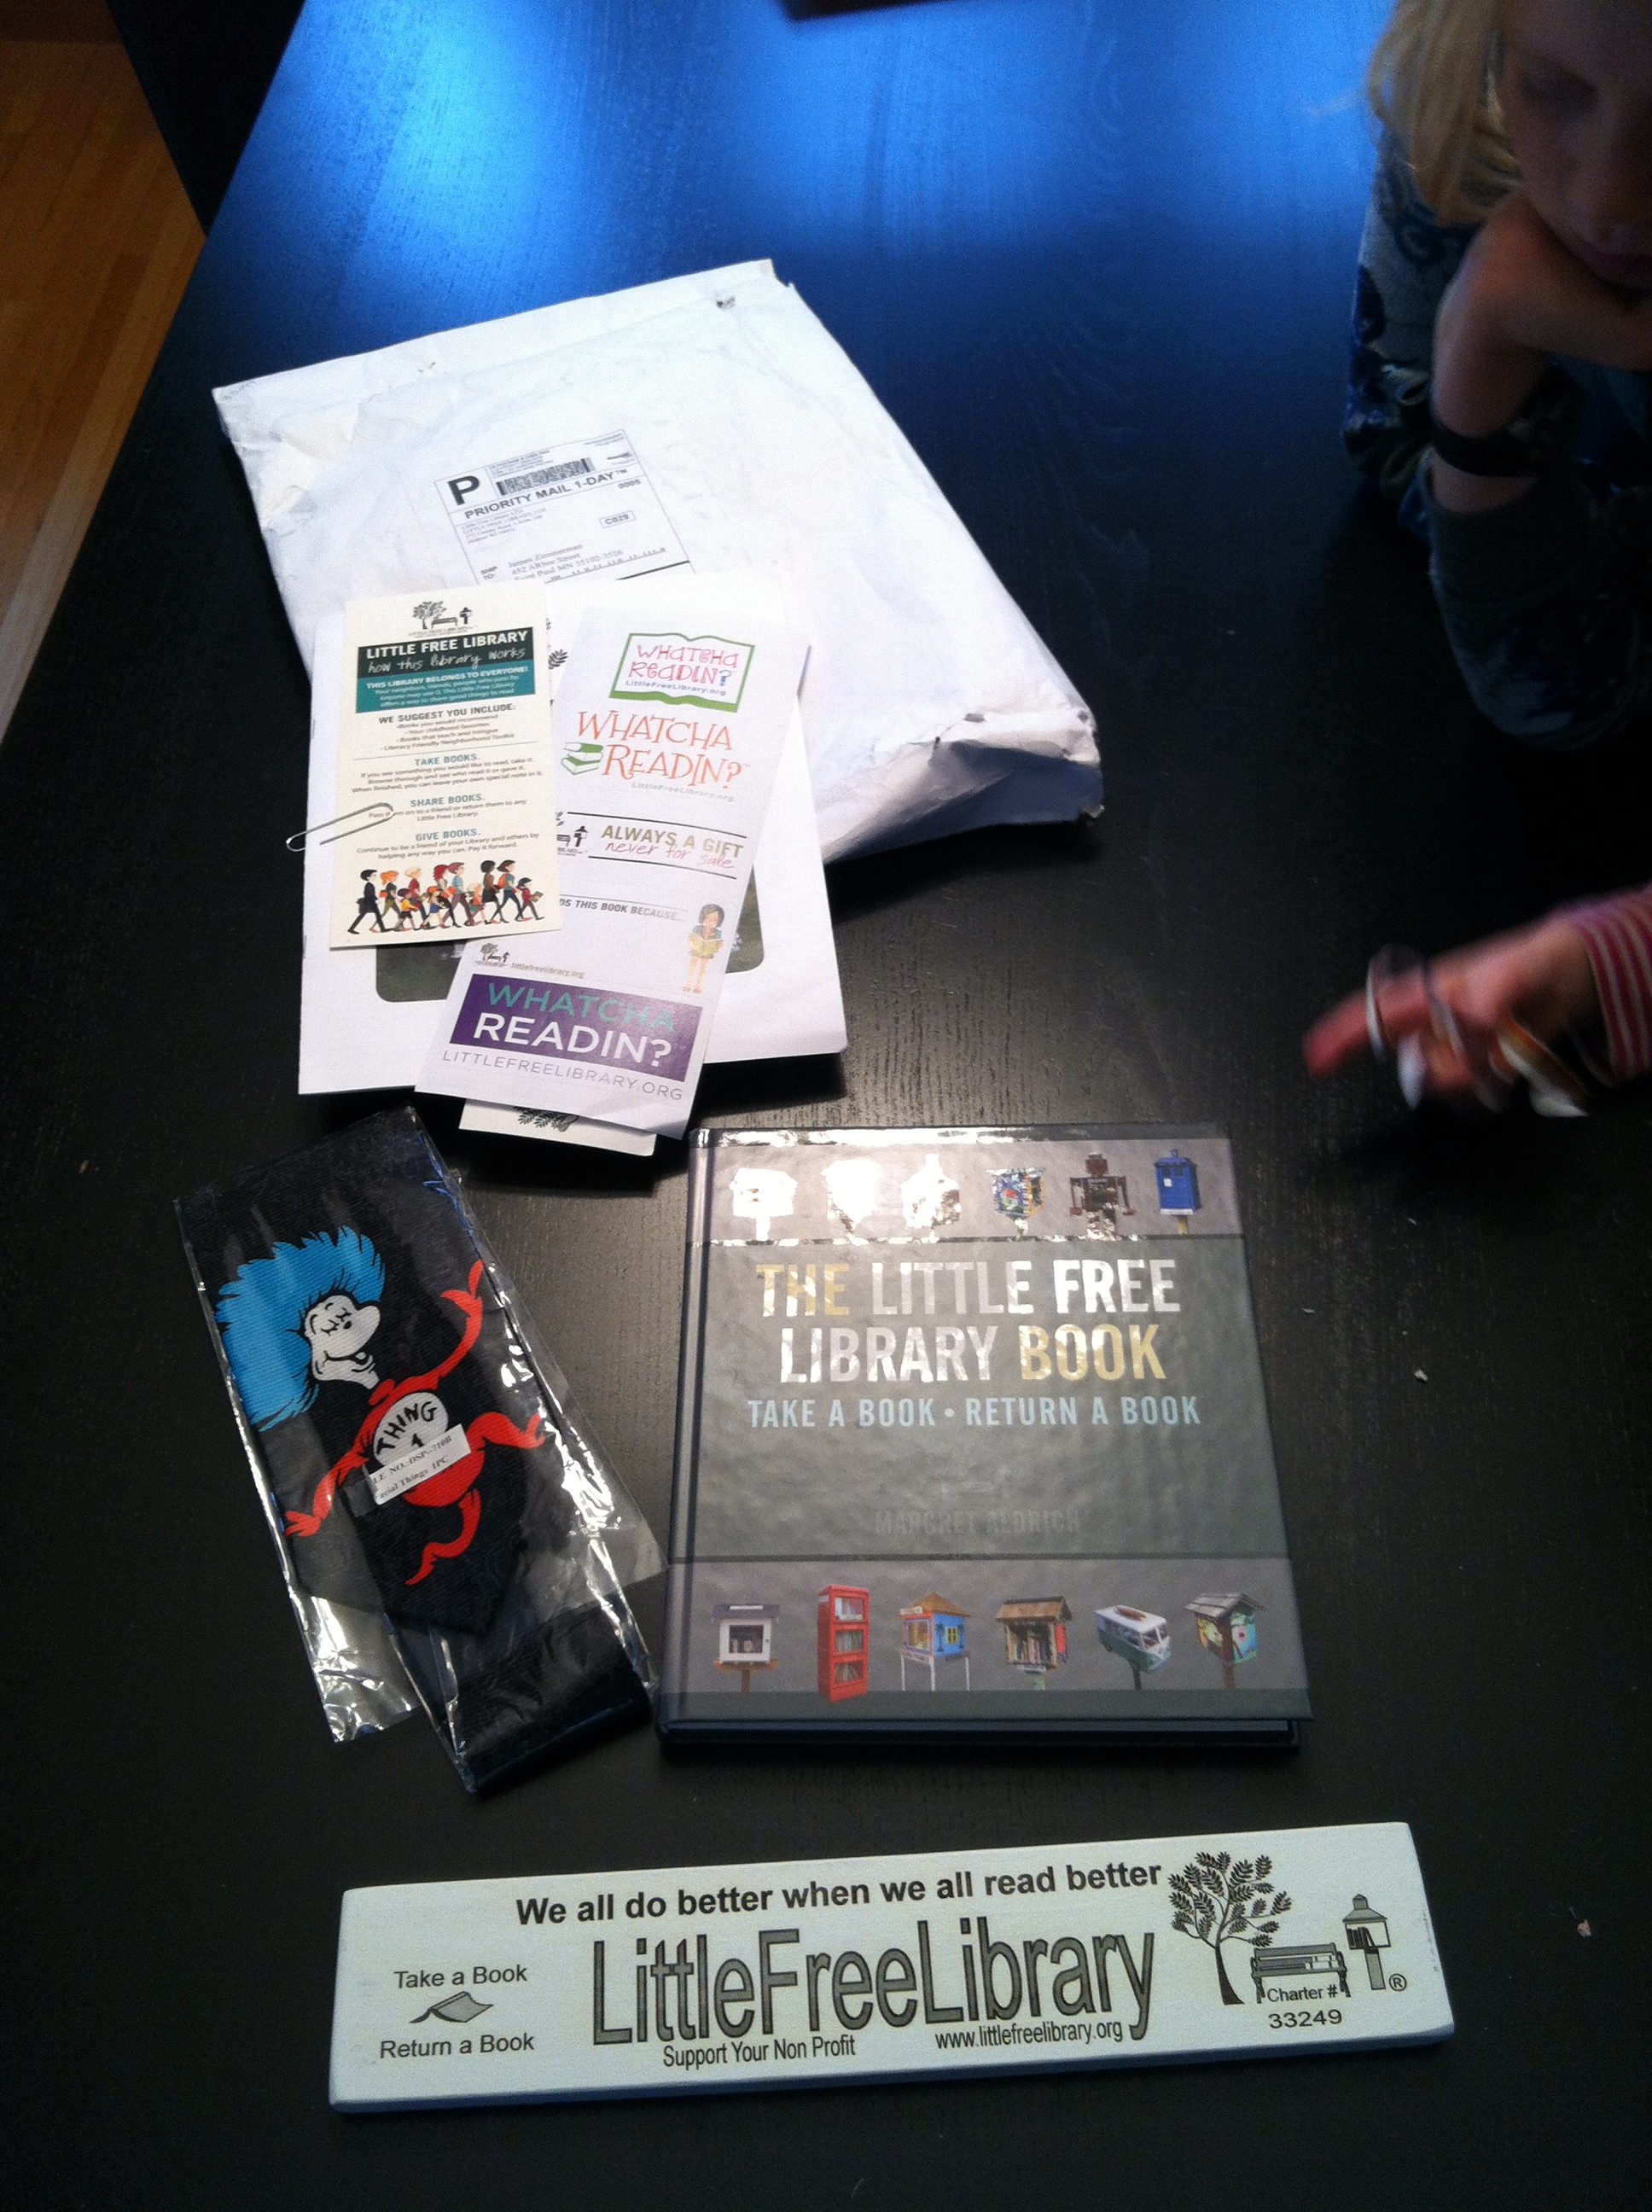
-An official sign, of course. The phrase at the top of the sign reads “We all do better when we all read better.”
-A Steward’s Guide.
-Stickers to insert in the books advertising the library.
-A flyer that talks about the library.
-A bumper sticker.
-The book The Little Free Library Book, by Margaret Aldrich.
-A necktie…which was a complete surprise.
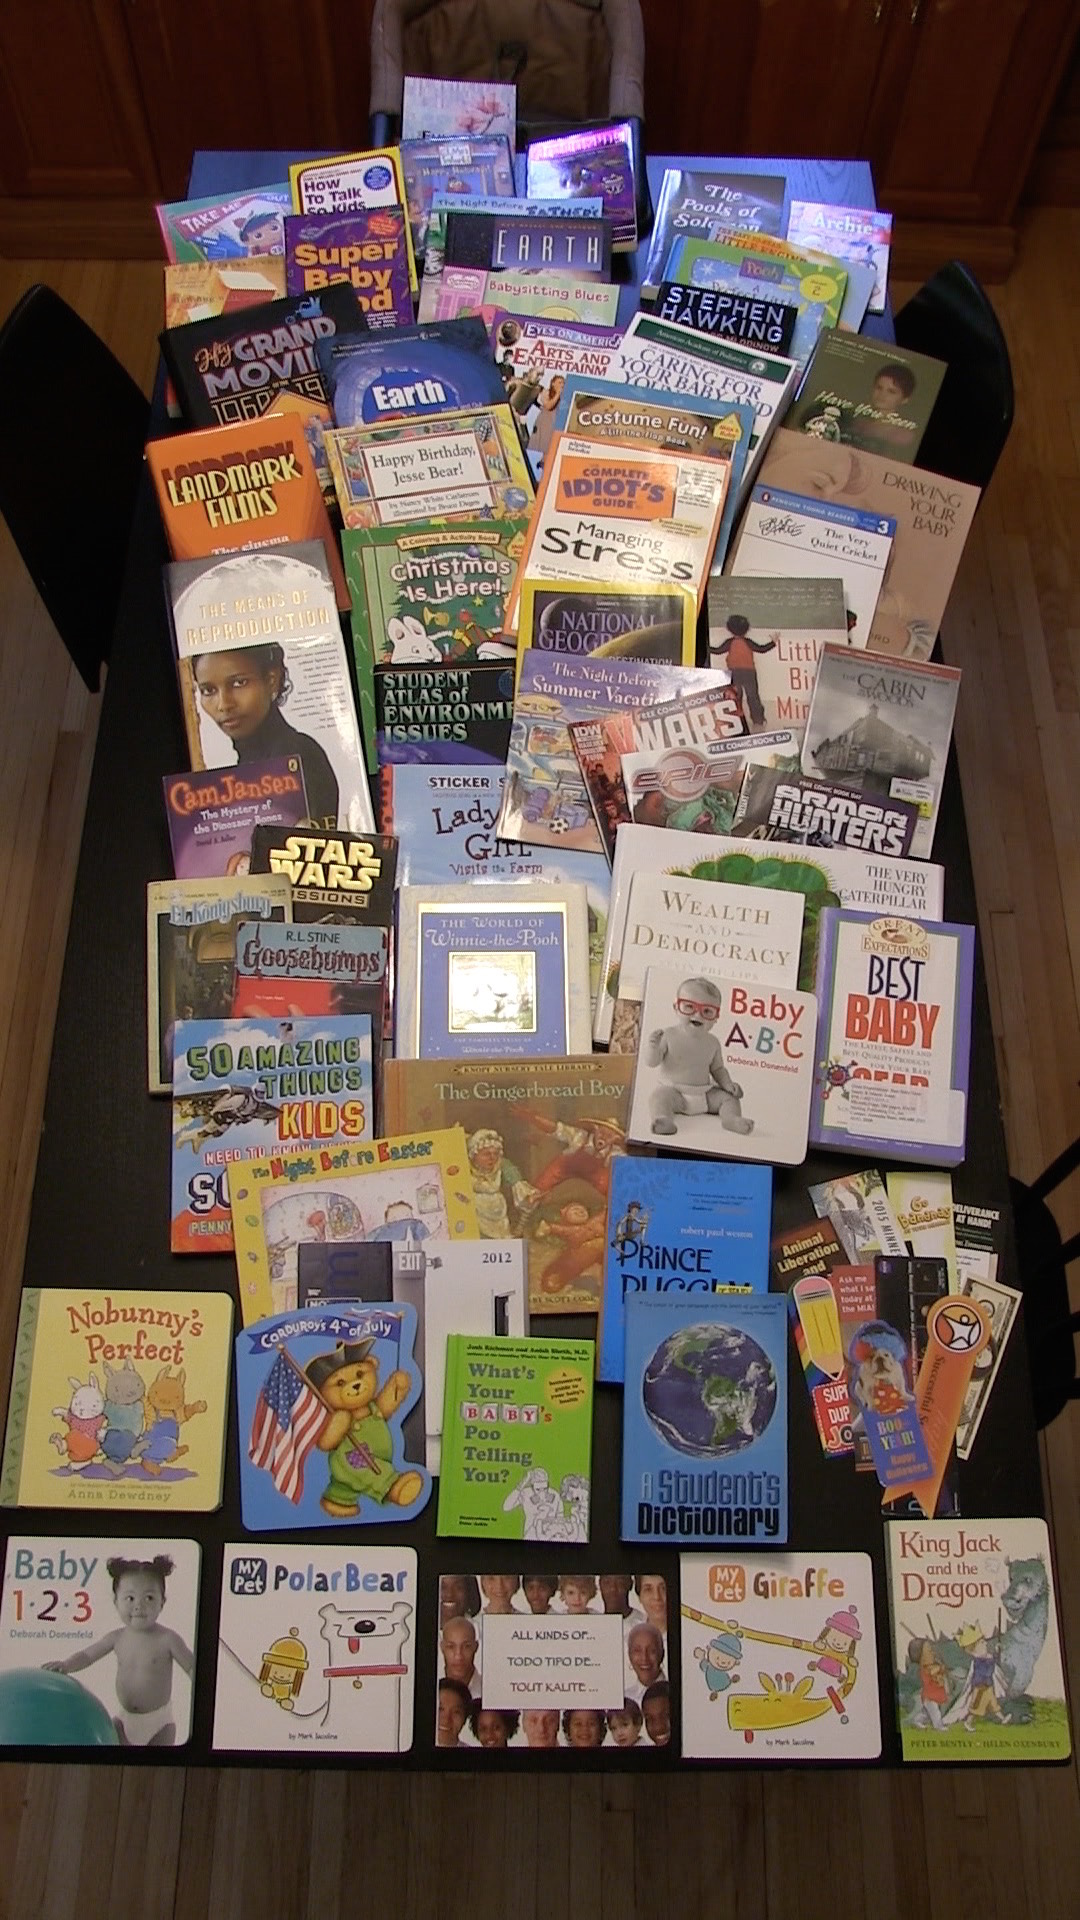 Another item to take care of while waiting was to assemble the books which would initially stock the LFL (“seeding” the library, to use the library stewards’ parlance).
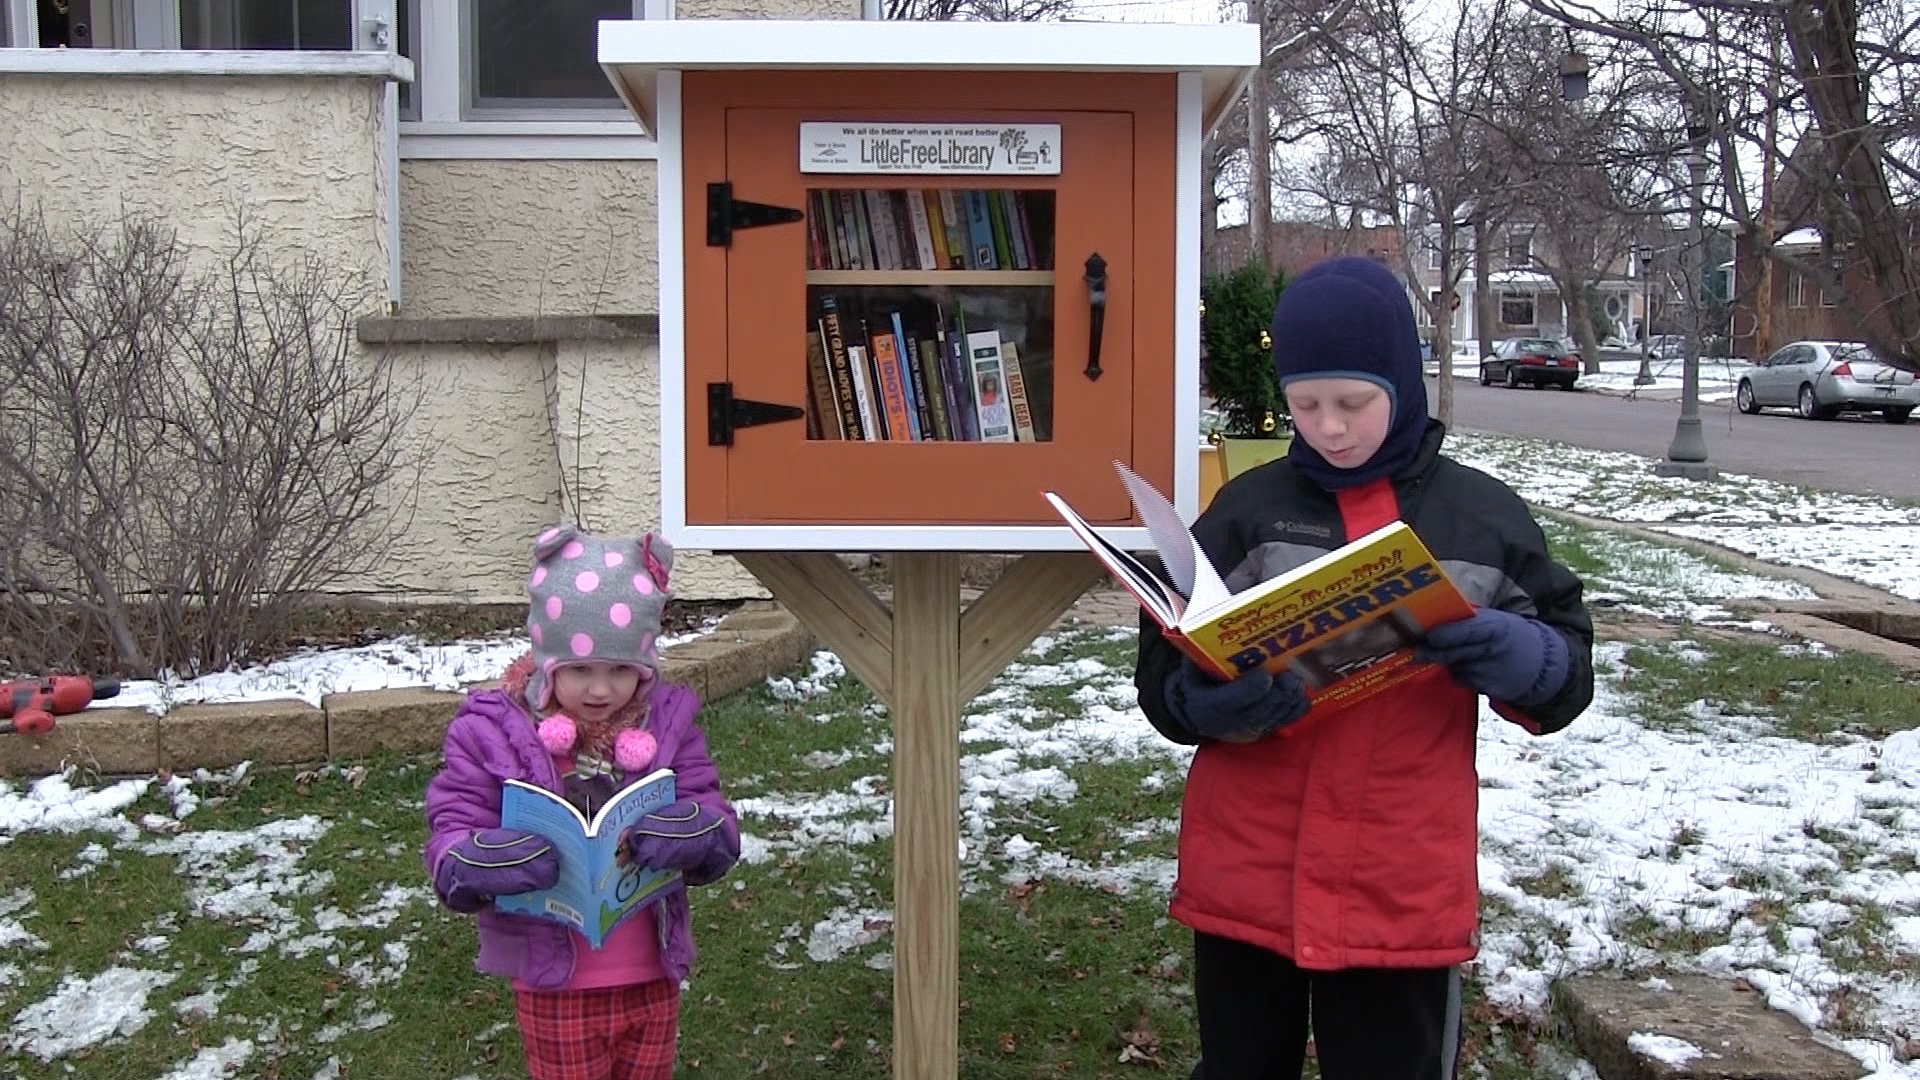
So here’s the collection! Fiction and non-fiction, board books, comic books, picture books, young adult fiction, memoirs, an atlas, a dictionary (contributed by Owen), DVDs, cook books, a sticker book, and bookmarks. Also included is The Complete Idiot’s Guide to Managing Stress, which we found lying in a cabinet when we moved in to our house over four years ago. Since I clearly have no intention of ever managing my stress, I figure I’d give it back to the community.
All told, this represents about 20 percent of the books I have in stock to contribute. With some luck, it’ll be a long time before I run out.
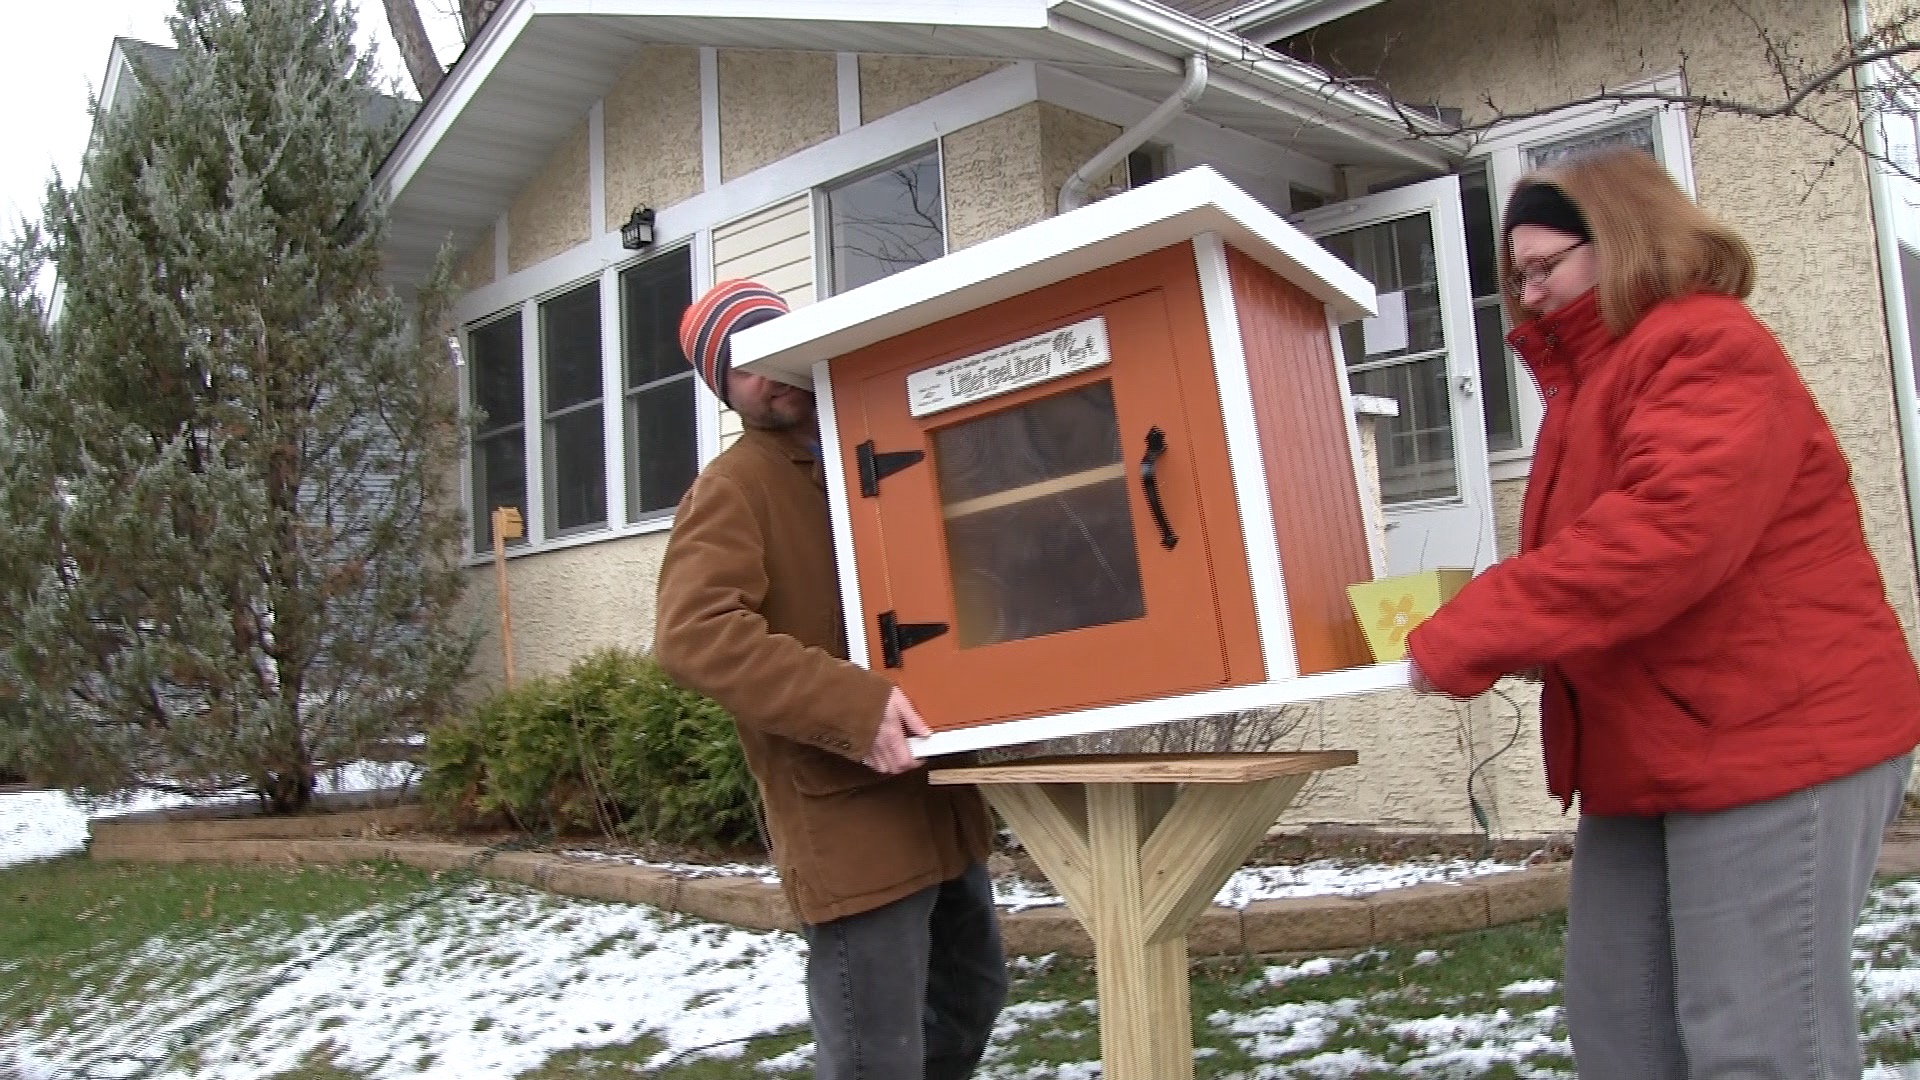 Finally, it was time to install. Jennifer and I carried the library out of our house (where it had been for the last week as we nailed the trim).
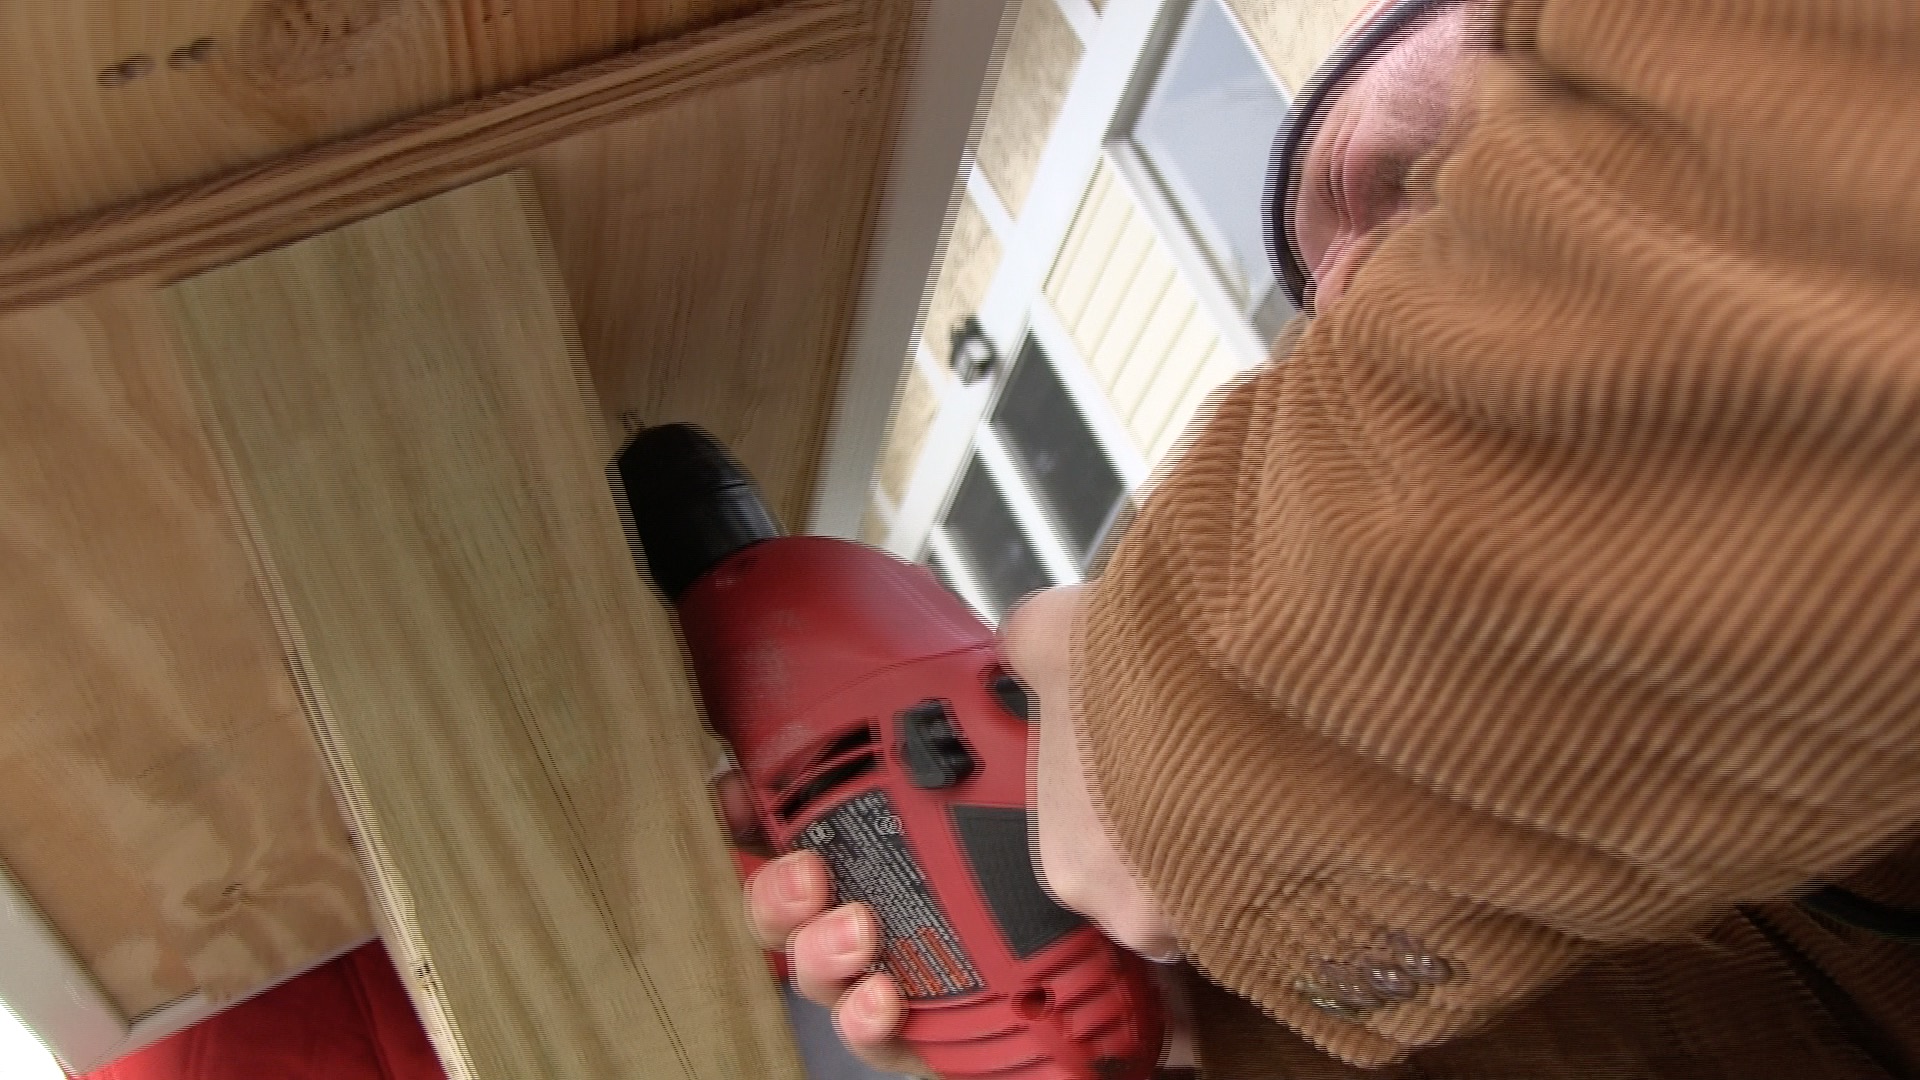 Then, after Jennifer ensured it was situated correctly on the post, I drove eight screws up through the bottom.

Isla assisted by handing me each nail, in turn, as I needed them. Having predrilled the holes, inserting the screws proceeded very smoothly and quickly.
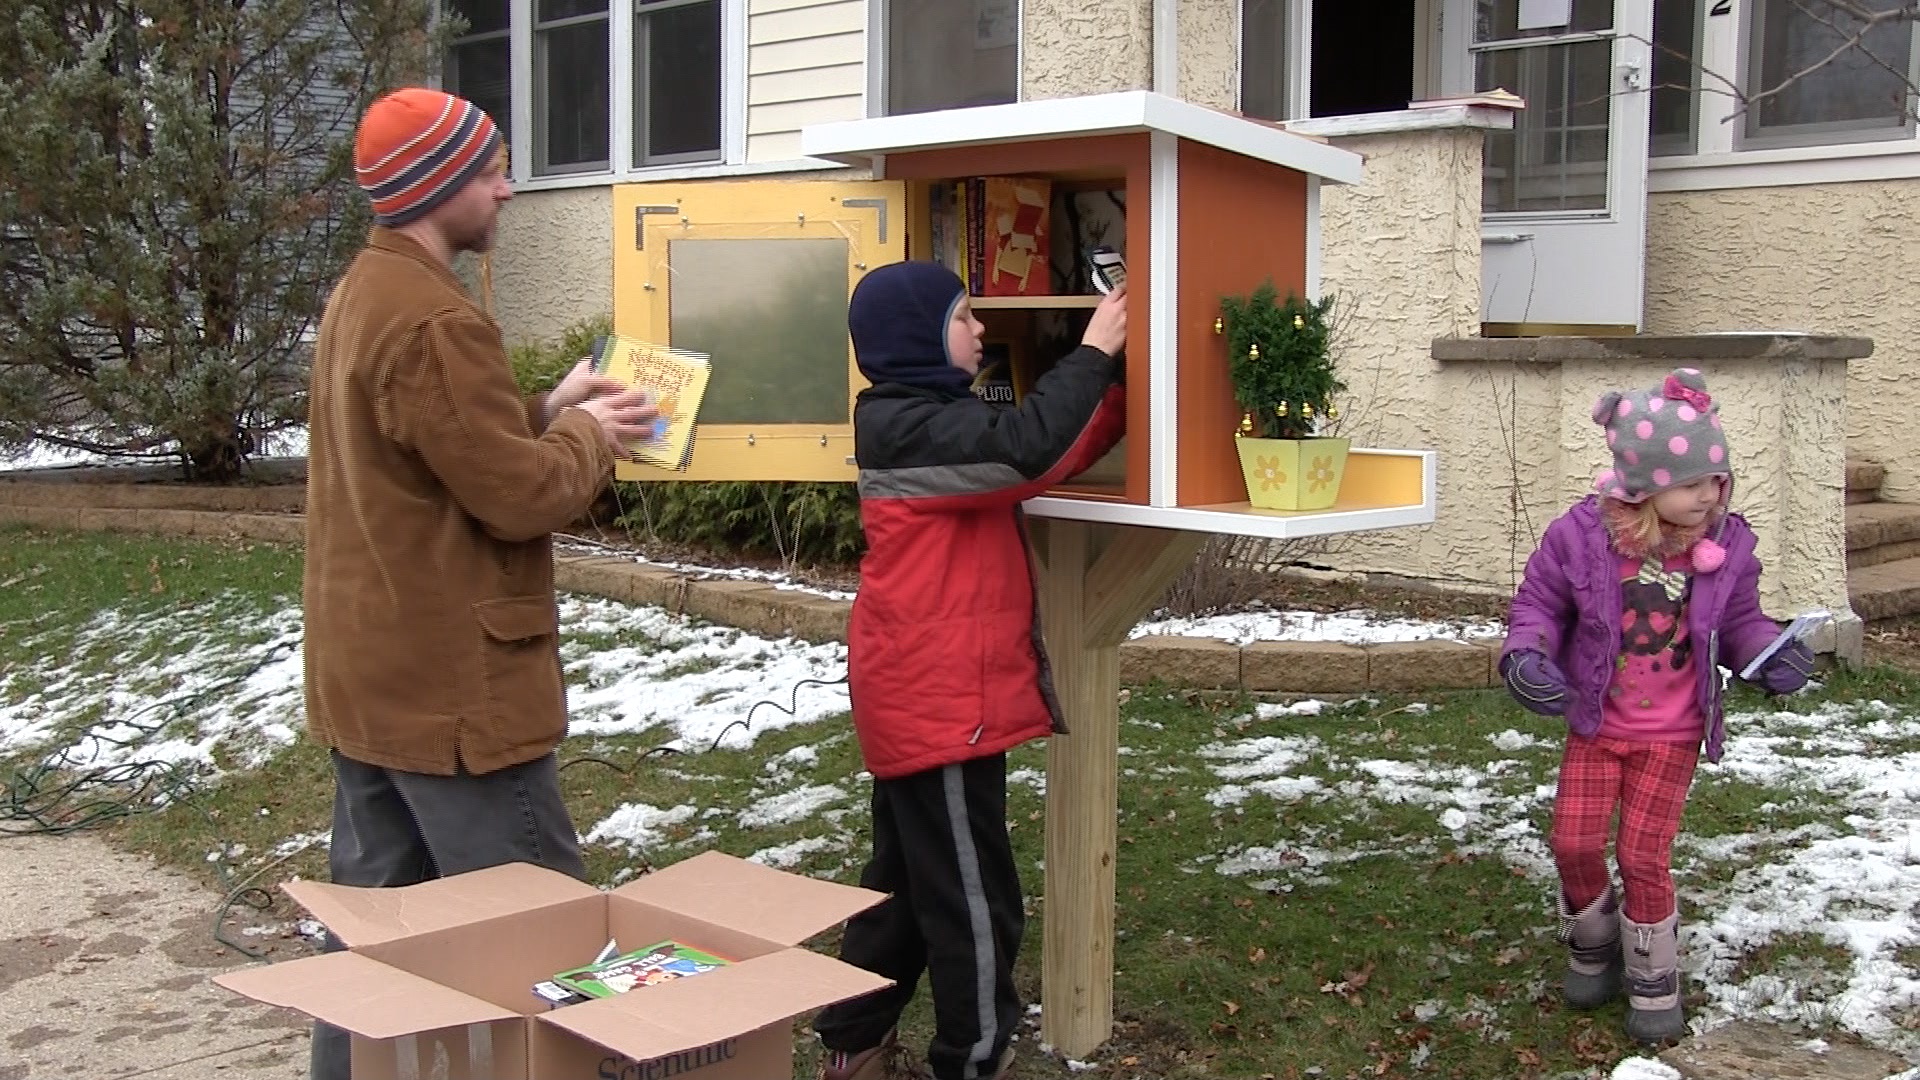
I then carried two boxes out of the house, which carried the stock. Owen and Isla helped to load up the library. A suggestion I read about in my Steward’s Packet said to not fill the library, but to instead allow room for sifting through the items and to allow others room to donate their own texts.
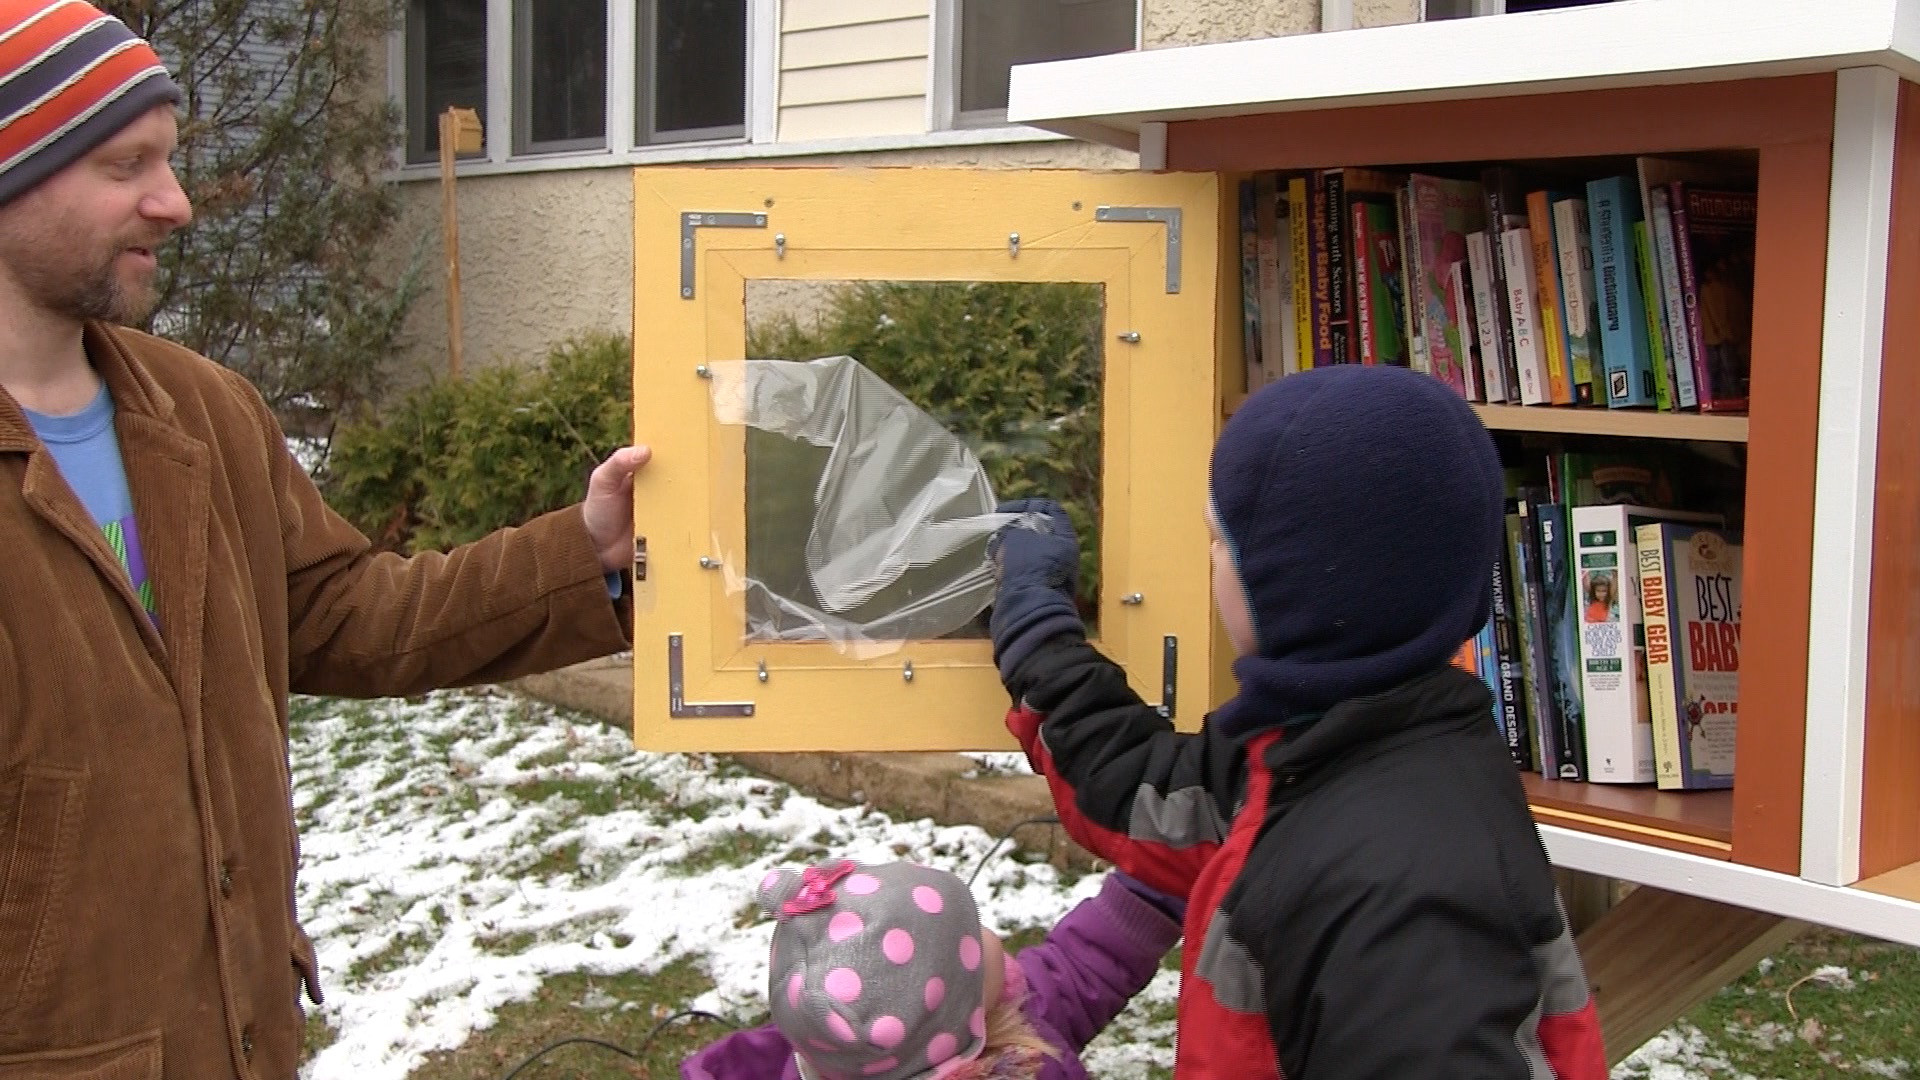 The final step in preparing the library was to remove the plastic wrapping that protected the plexiglass. I began peeling it off (I was careful to get it around the fasteners that hold the plexiglass to the door), but then Owen said he wanted to tear it off, so above you can see Owen in the midst of the very last step.
Here’s a video of the library’s installation:
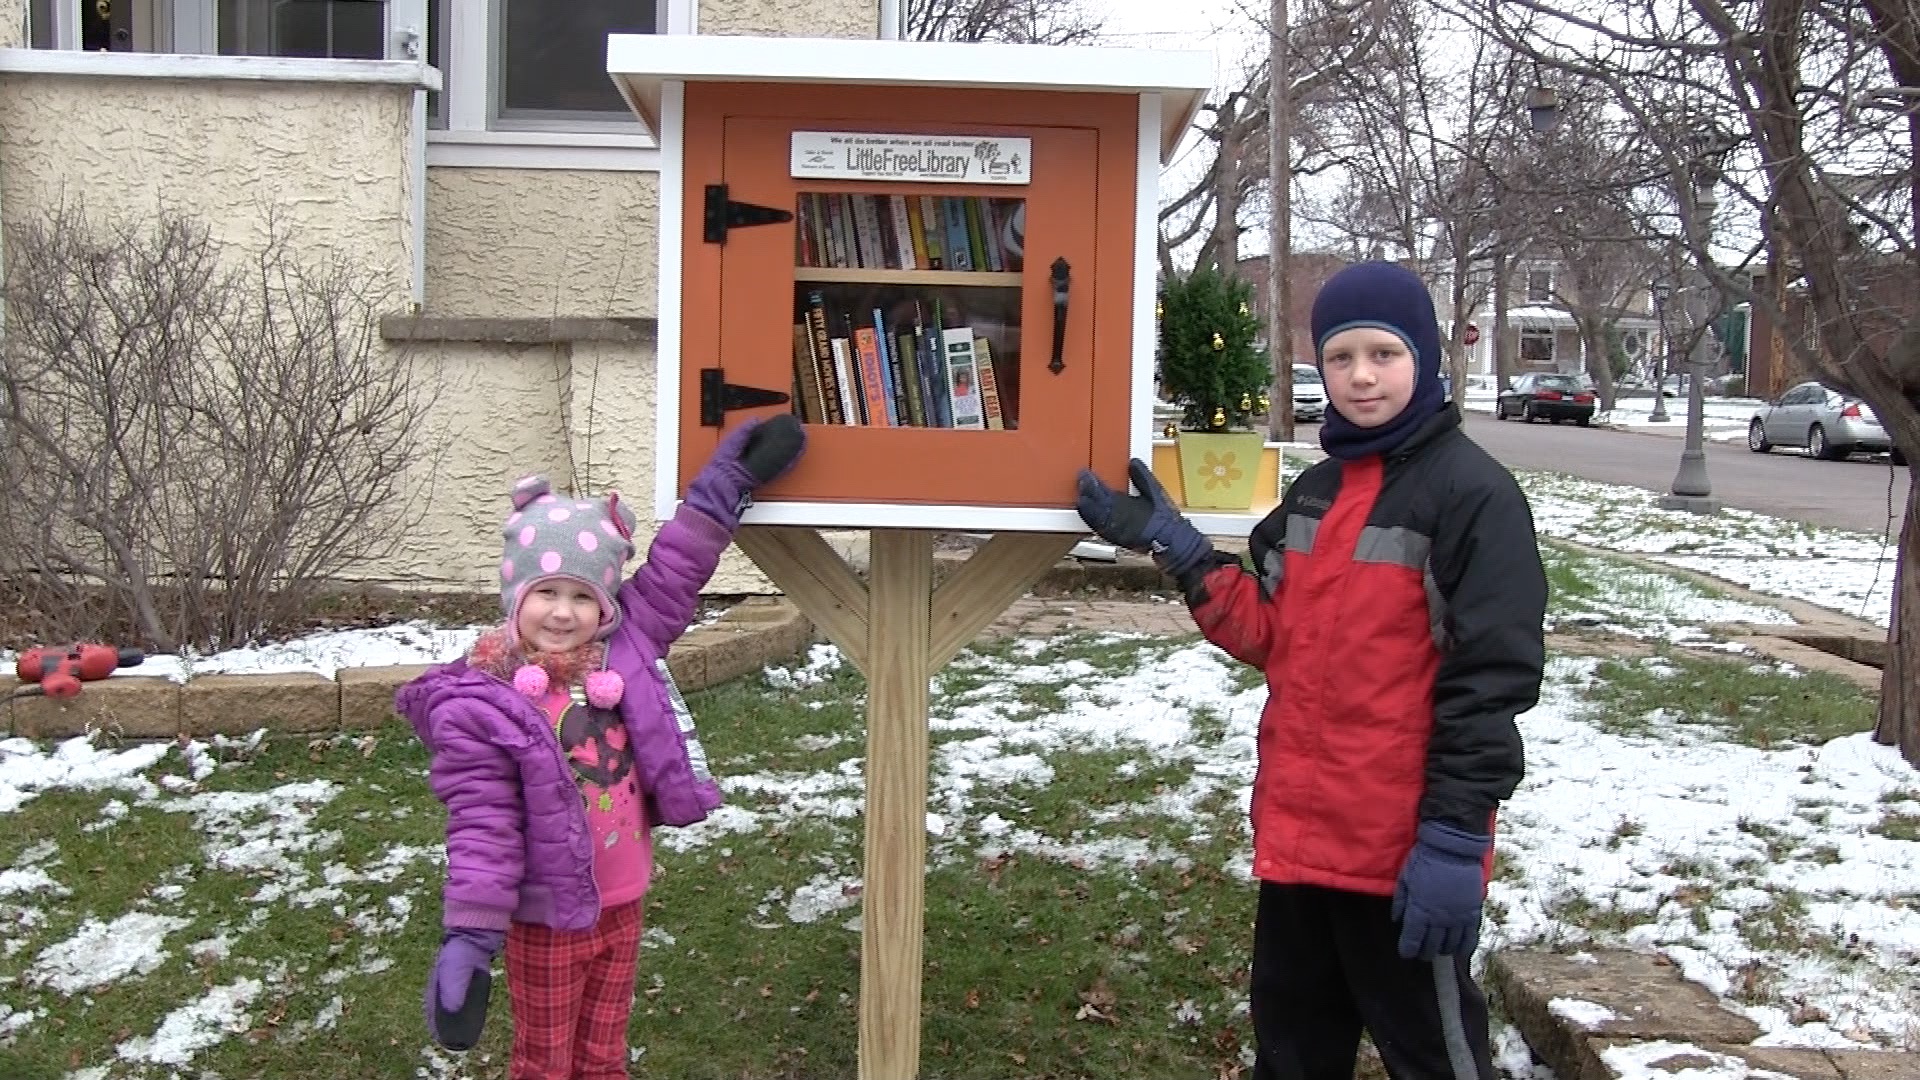 Ta da!
Little Free Library #33249 is now open to the public.
Click here to download a PDF of the basic plans Mike and I followed in constructing our libraries: LFL plans
Nice story. I especially like how it was a family project! Any reports on activity?
Thanks, Mike!
Yes, definitely some activity. The first visitors came about 15 minutes after we installed the library. When I checked on it the next day, there were about 10 books missing and 7 or 8 new books.
I’d estimate about a quarter of the books in it are not from me – others have contributed. I even took a book from it. Last summer, I was reading a Tesla biography I’d checked out from the library, but I never finished it. Well, someone put a copy in my library, so now I own a copy!
James, I love it 🙂
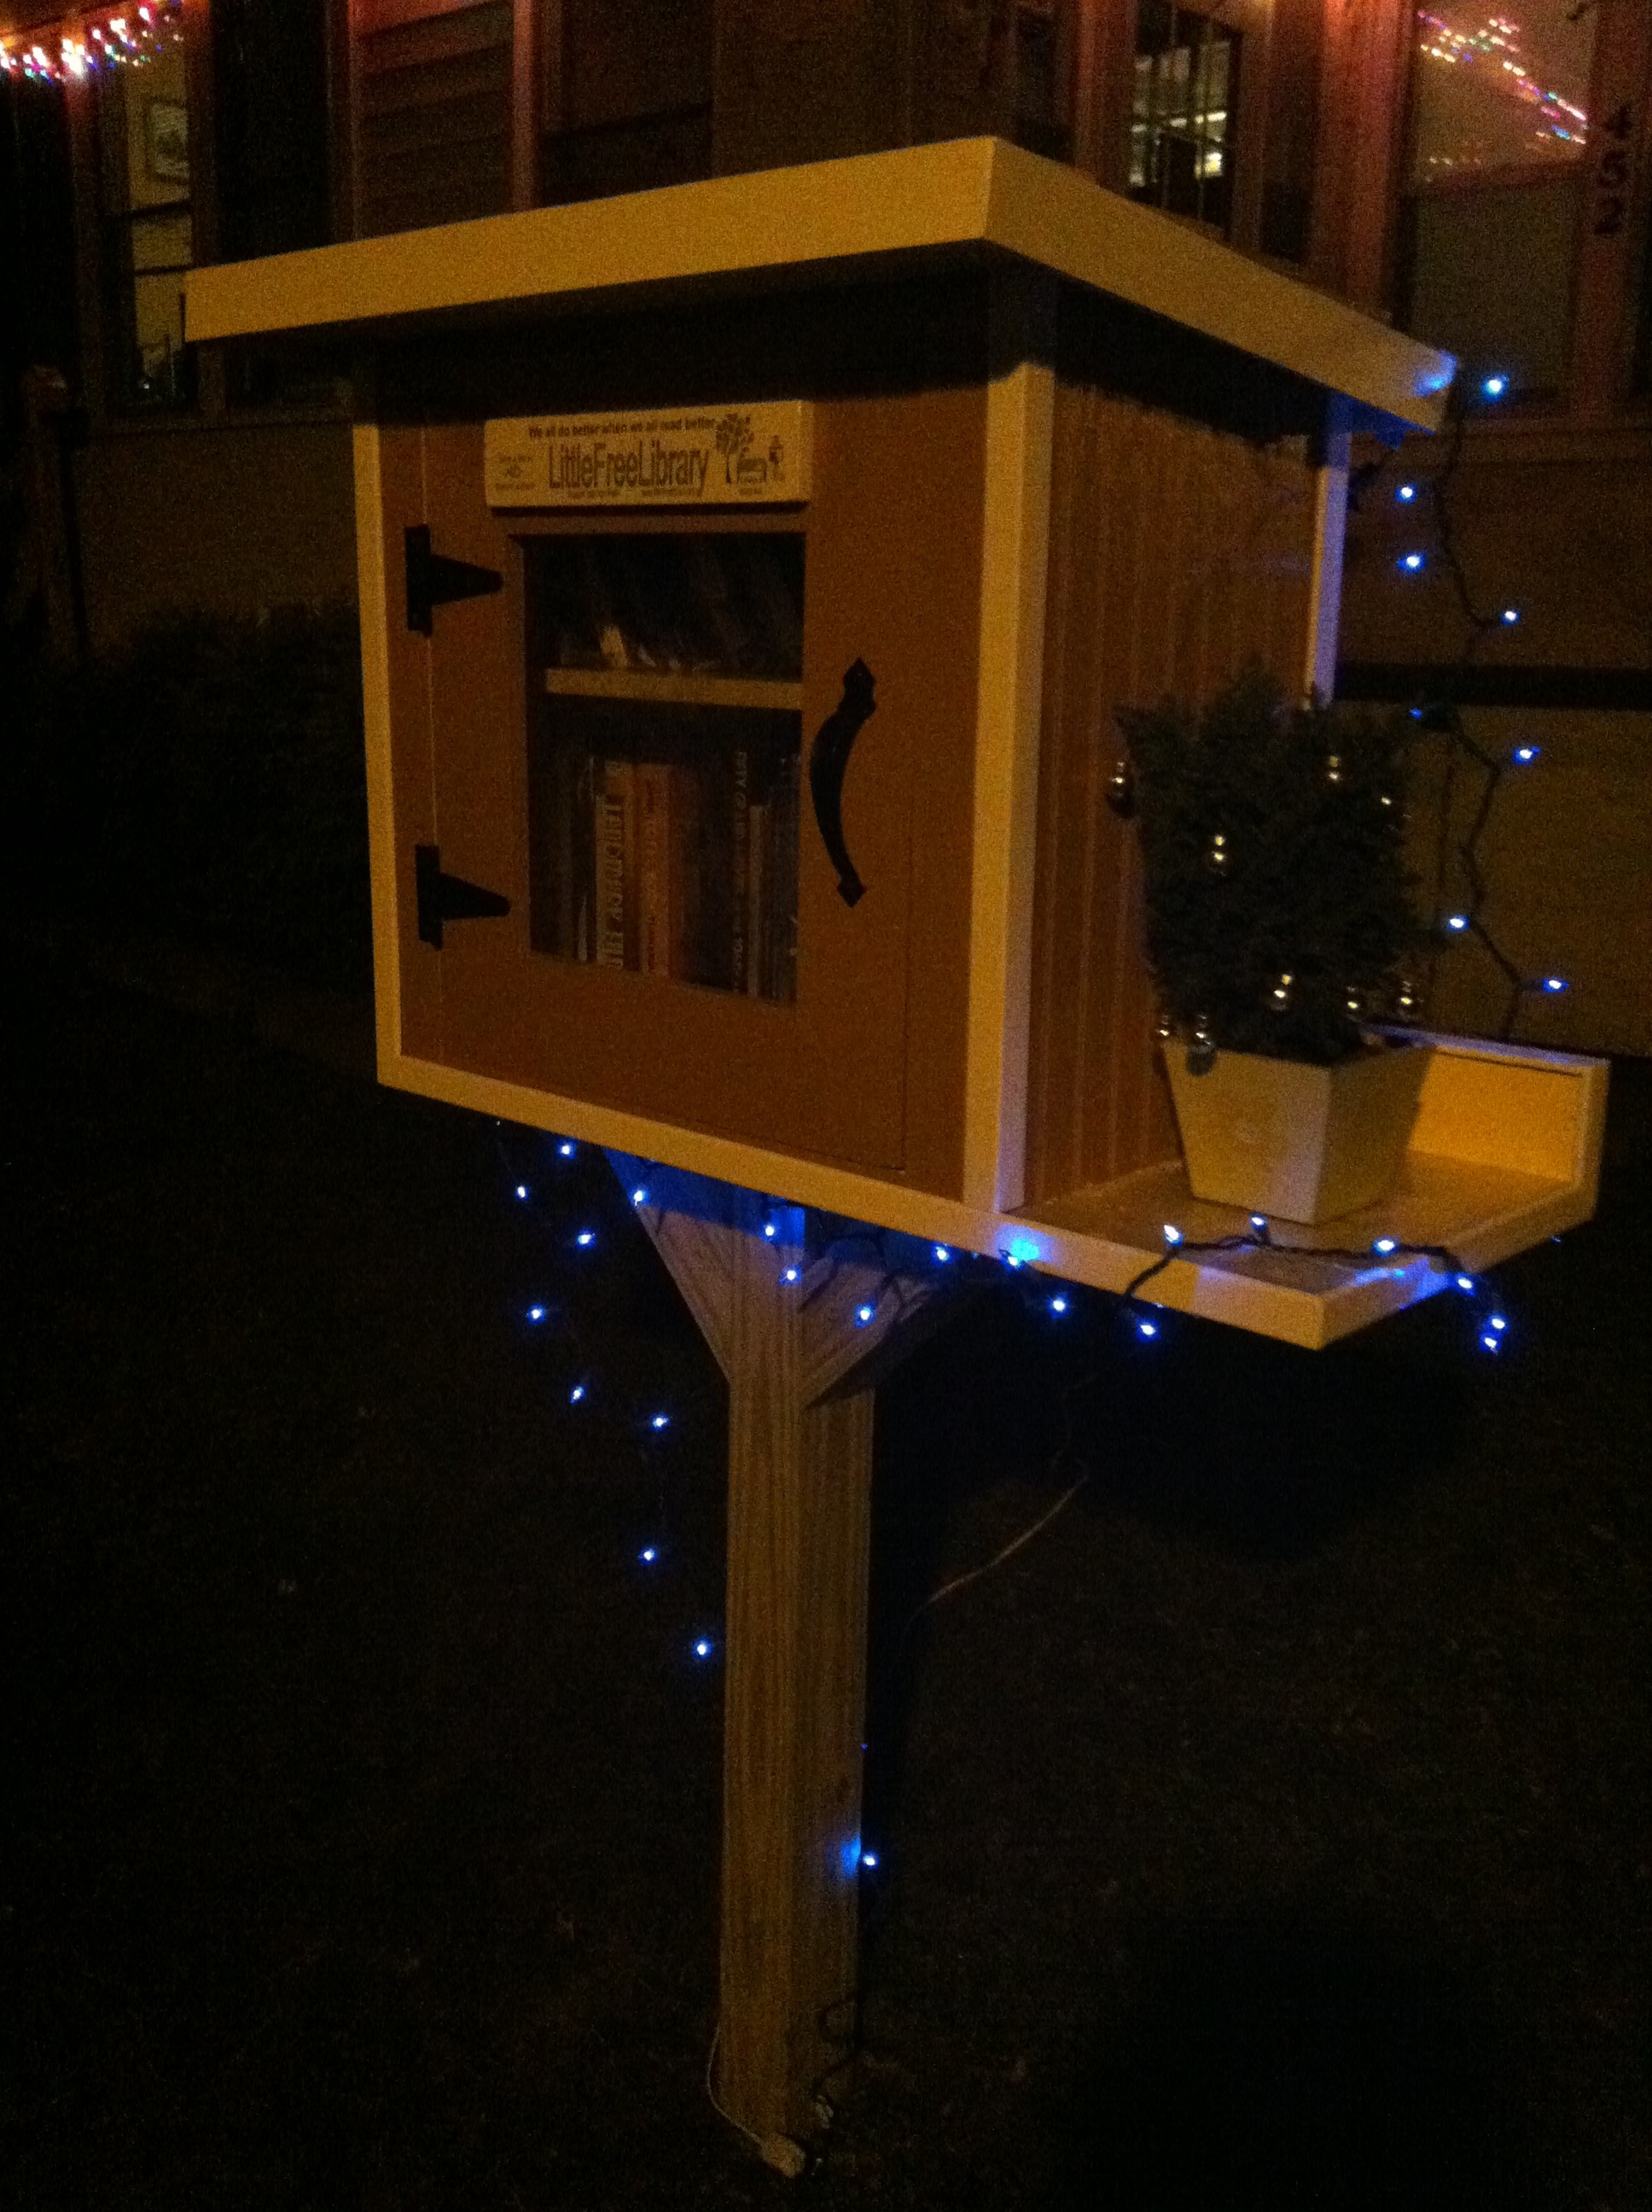
Especially the retro yellow plant/shelf thing.
Thanks, Barry!
I guess the pot is the one thing I didn’t really talk about. It’s a pot my wife bought many years ago, and it’s been sitting in our garage on a shelf since we moved into our house 4+ years ago. I had to re-glue some of the split wood on it, and I drove in a screw on one side where it had come apart (I hid that side on the back). I put a couple coats of polyurethane to keep it in shape. The tiny evergreen tree was ~$5 at Trader Joe’s.
Did you use one of the free plans from the website? I am like you, I haven’t made it to the actual “doing” phase, but I plan to this spring! Fingers crossed!
Hi Tammy.
I was originally going to use the plans FOUND HERE (clicking this link will open a PDF), but the plans were frustratingly incomplete. On one page, I wasn’t even sure why I needed to cut the piece show. Still, I did use the general dimensions provided on the first couple pages.
Good luck to you this spring! You can do it! Let me know if you want more specifics on my design.
Great job! I too had LFL envy! I wanted one but was unsure where to start. I purchased their book and started enlisting my fathers help! So after studying the book, he began building my LFL! He completed it just this week. I will pick it up today and weather permitting, have it installed by the end of the weekend!! I ordered my sign and eagerly await its arrival!! I am sending out invites to my neighbors to my ‘grand opening’ of my LFL!! Congrats!!
Thanks, Robin!
I hope the weather is good enough for you to install. It’s been a mild December so far.
I love this -very well done -did you send this to Littlefreelibrary.org ? It is just the kind of thing they should share on their main web site .
Thanks for doing this !
Thanks, Clarisse.
No, I didn’t send it to Littlefreelibrary.org. I’ll look into it – thanks for the suggestion.
Nice job!